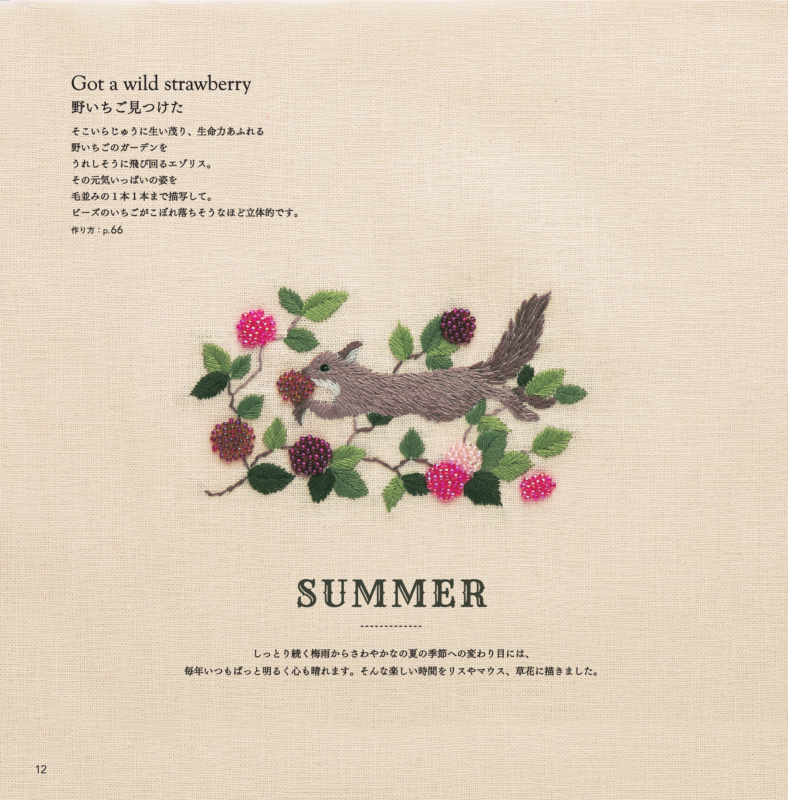
Jumping Hare & Squirrel


最近、X(Twitter時代)の画像を整理していたら、トビウサギとリスの制作途中の画像が見つかりました。

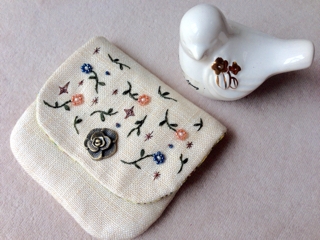
Design Details
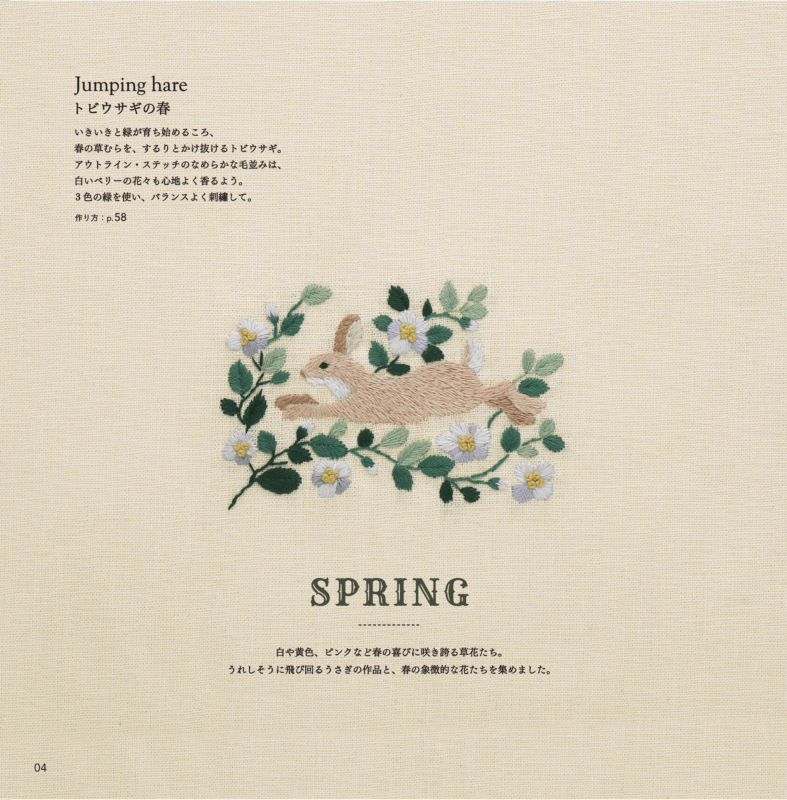
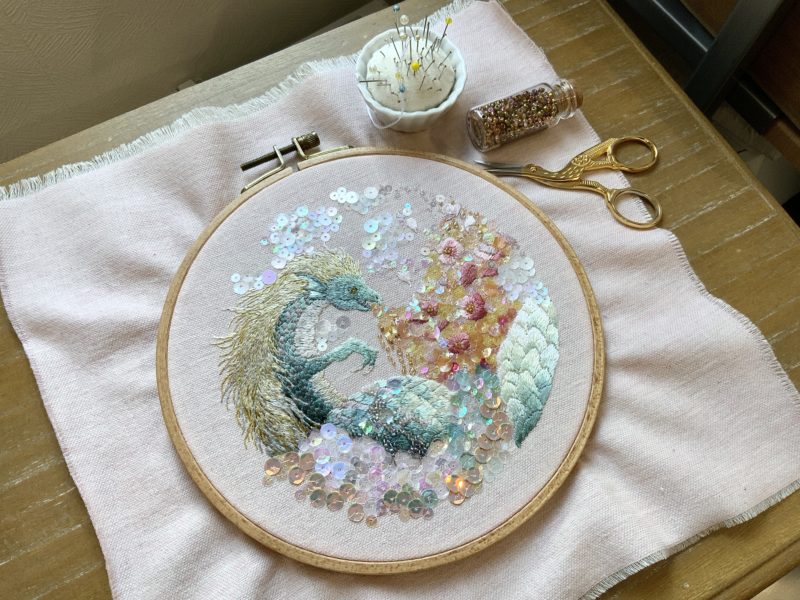
ウサギとリスが思い切りジャンプしている、ちょっと懐かしい作品です。
周囲の植物の配置もお気に入り。
図案付きで、書籍にも掲載になっています。
(草花と動物たちの刺繡ガーデン 収録)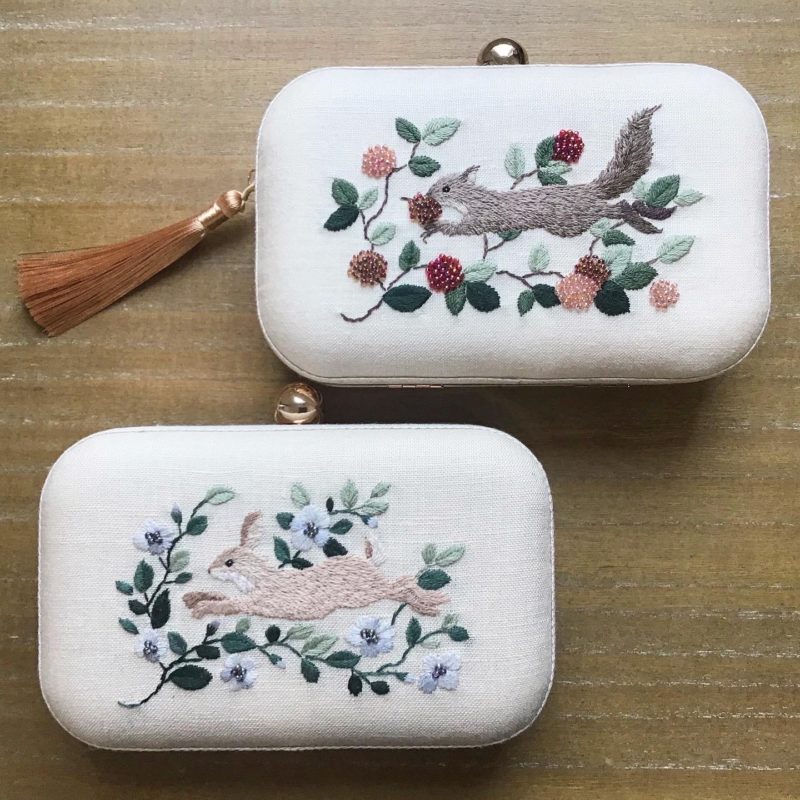

Progress of embroidery
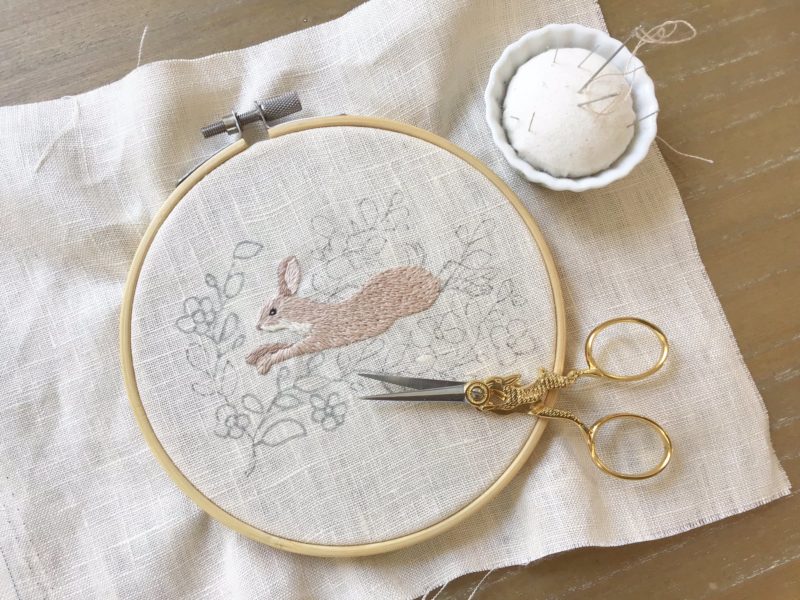
初めはこのような感じから。
うさぎのボディーができあがってきました。
うさぎをあしらった糸切りばさみと一緒に、記念撮影。
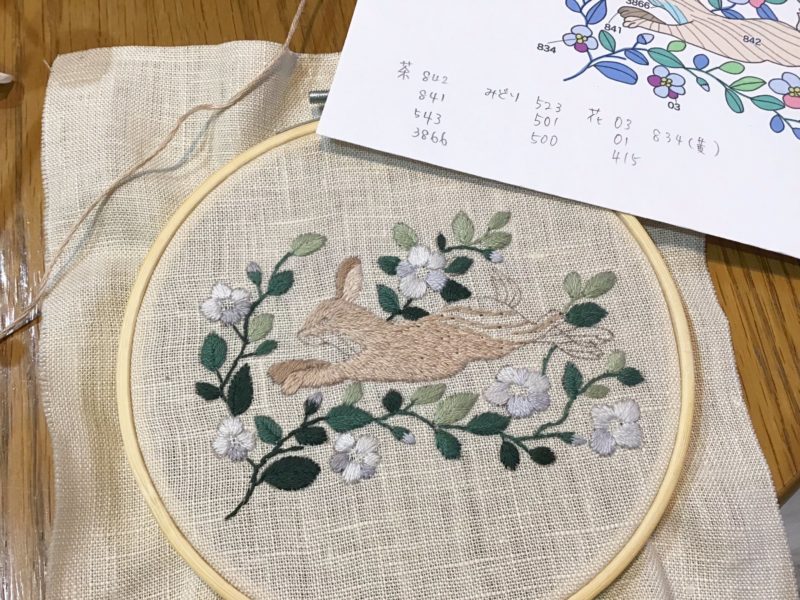
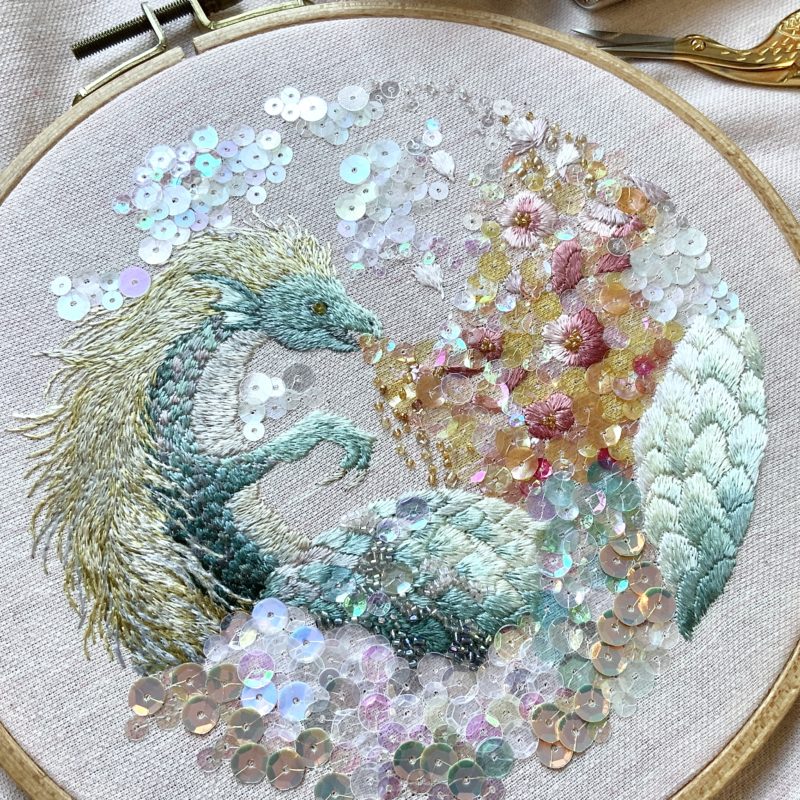
周囲の装飾が出来上がってきました。お尻の辺りをやり直ししたり、試行錯誤しながら前進。
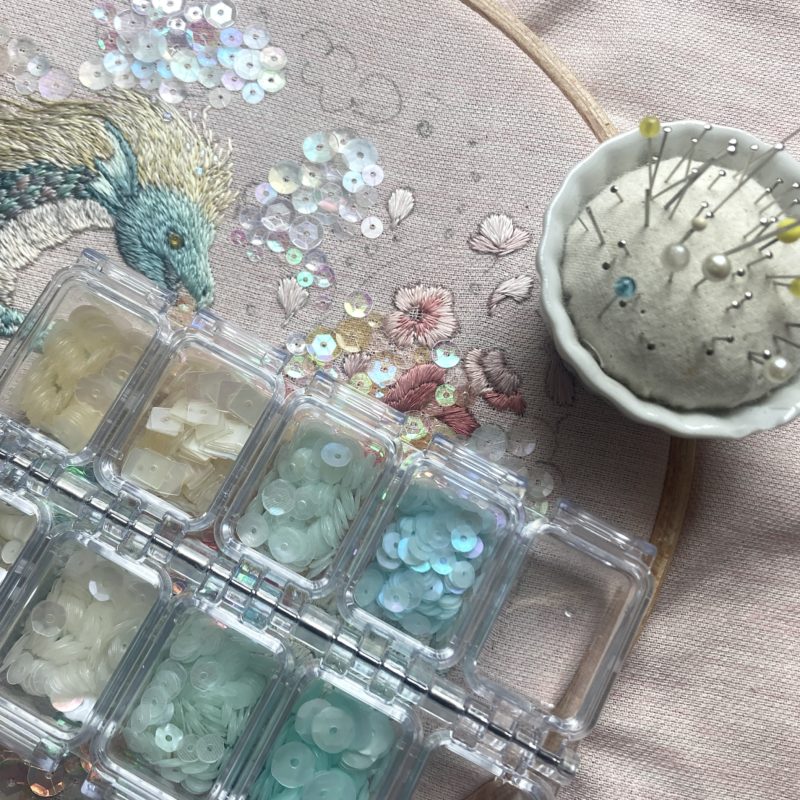
色番号をメモしつつ、できるだけ色数を少なくできるように工夫しながら進めているところ。
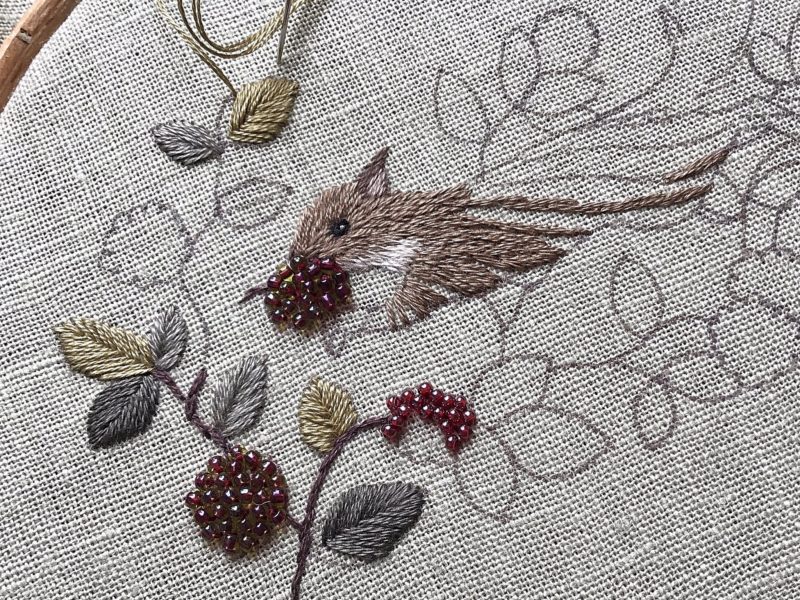
リスバージョンの制作。
ビーズのベリーを印象的にしたかったので、最初の段階から入れて周囲とのバランを見ながら進めています。
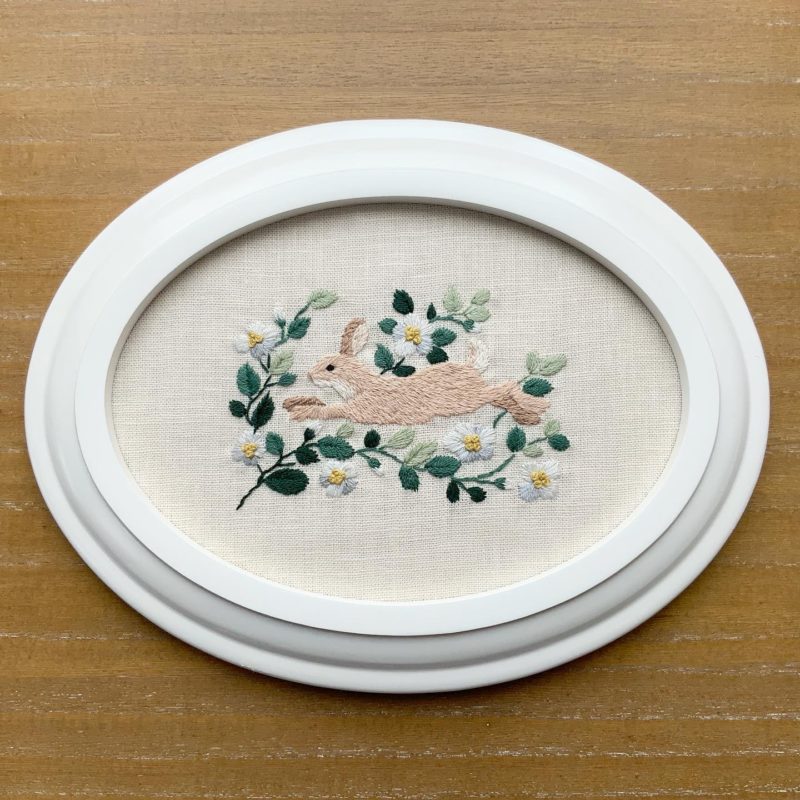
刺繍の方はこれで完成。
楕円のフレームとぴったりサイズです。
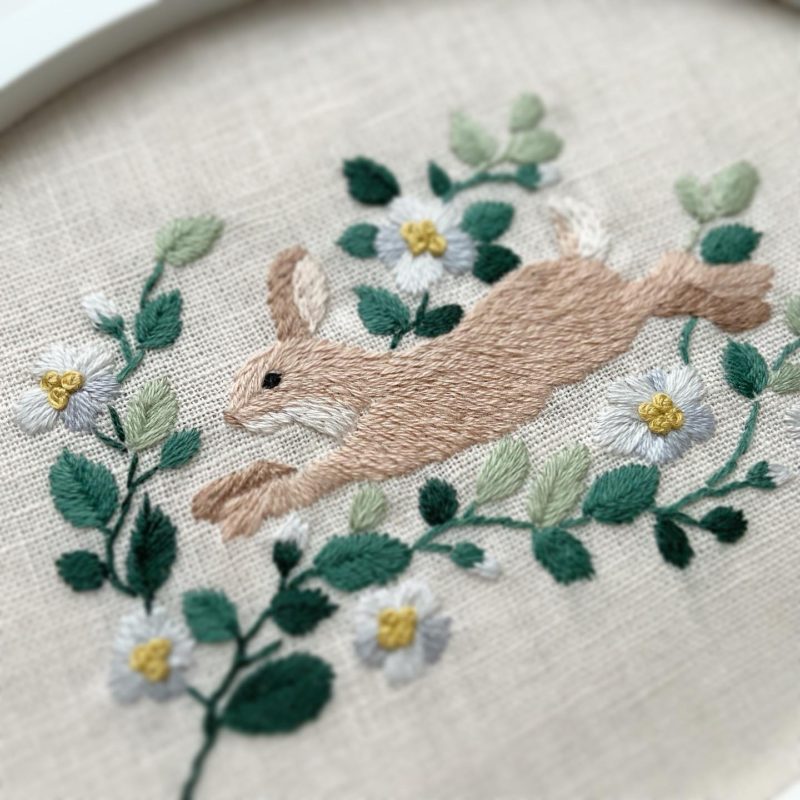
アップで見ると、毛並みの流れがよくわかります。
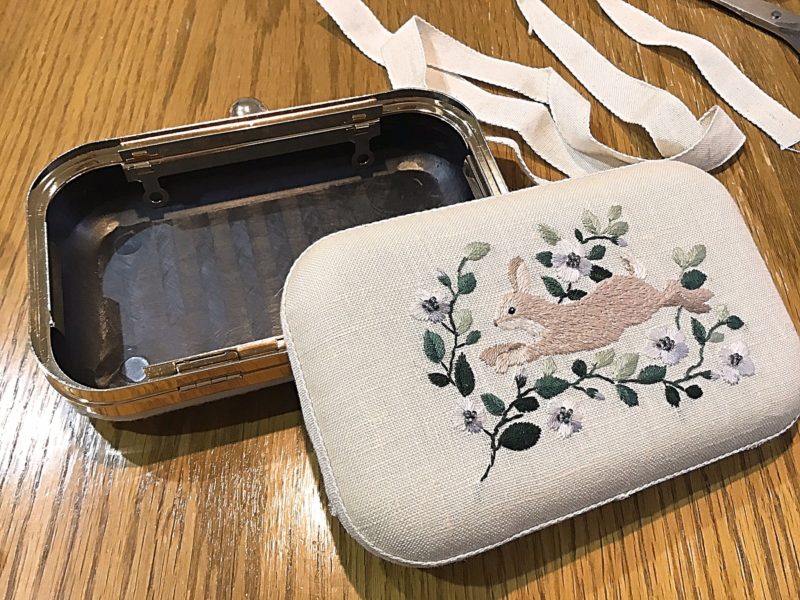
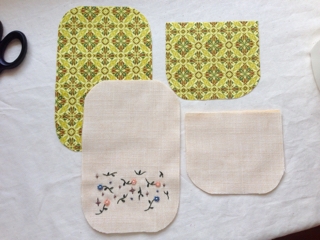
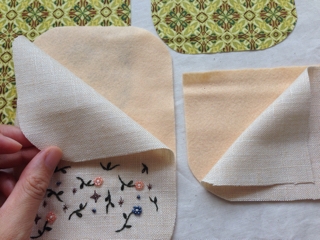
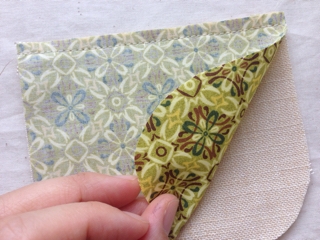
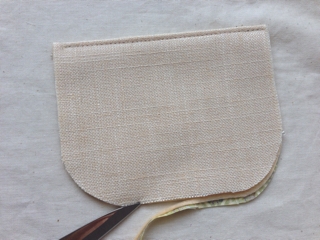
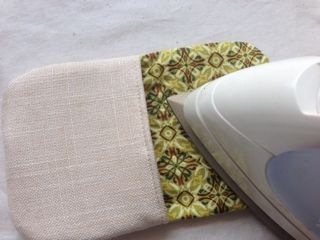
出来上がった刺繍布を、ボックスに仕立てているところ。
後ろにあるリボンは、縁の装飾に使ってます。
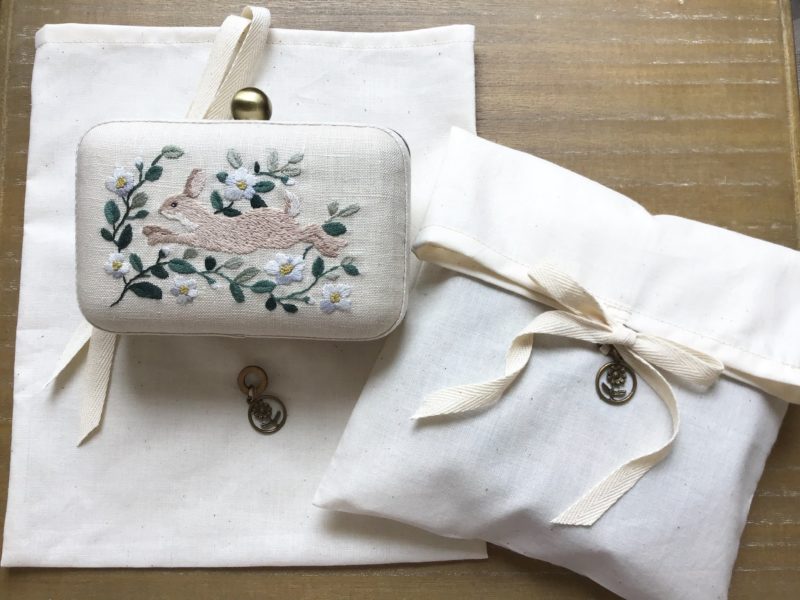
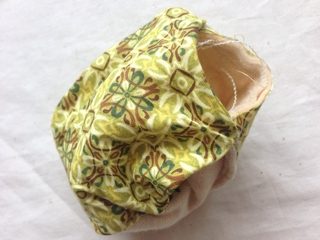
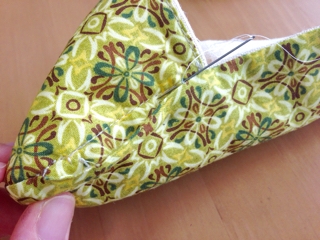
ボックスの完成。
専用の布袋とセットにして。
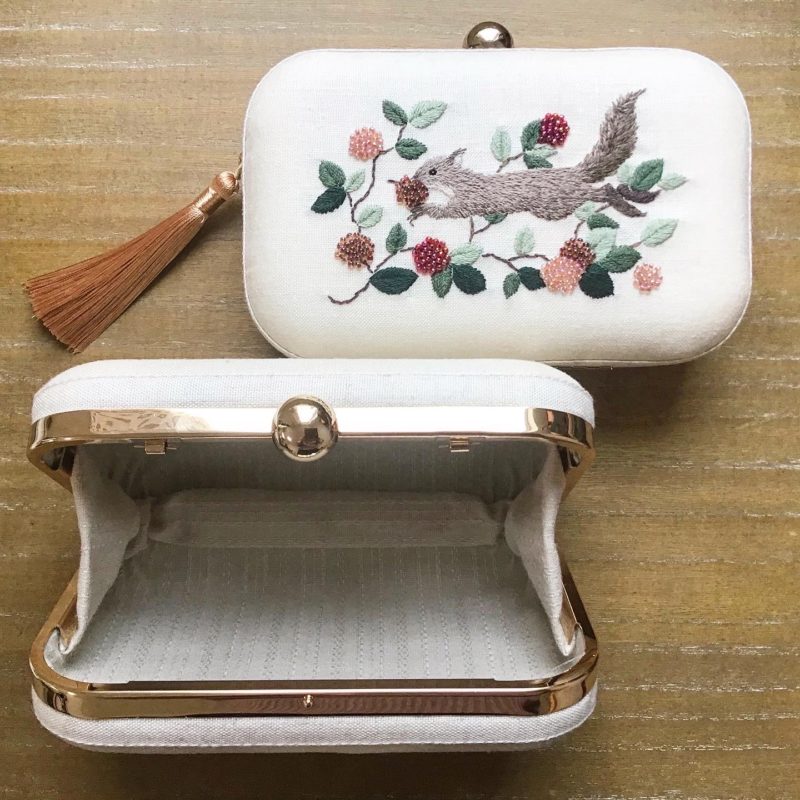
リスのボックスもできました。開くと、こんなかんじに。