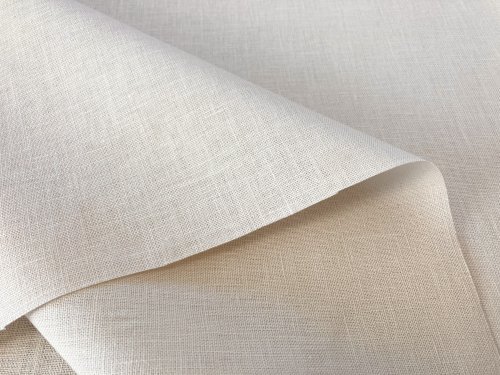
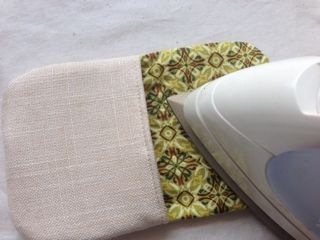
Any fabric you like is fine. A medium-weight fabric is recommended for easier sewing. If you prefer a lightweight fabric, adding fusible interfacing will help improve stability.
For this project, a slightly firm outer fabric is used. Canvas, oxford fabric, or twill also work very well.
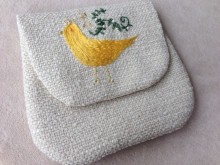
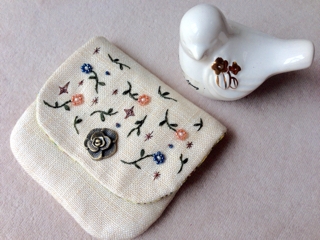
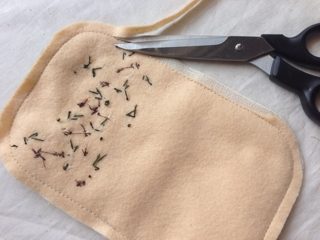
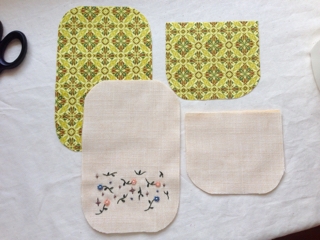
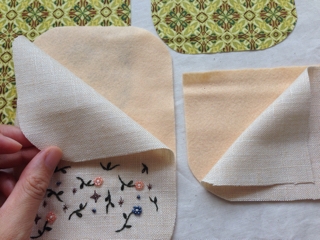
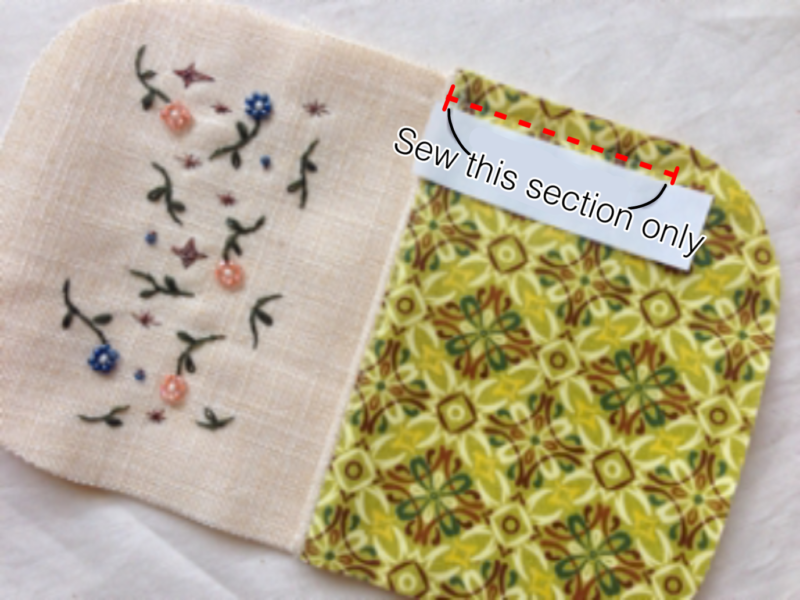
If you plan to add embroidery or decorative stitching, it is best to complete the embroidery before cutting the fabric.
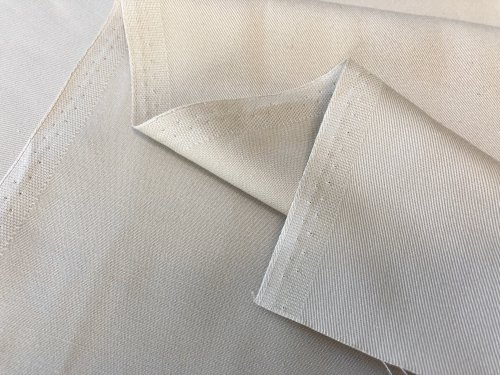
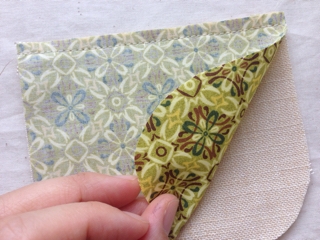
Lining Fabric
For this pouch, a standard cotton sheeting print is used. It has a similar thickness to a regular bandana or napkin.
You can also choose satin or another smooth fabric for a different look.
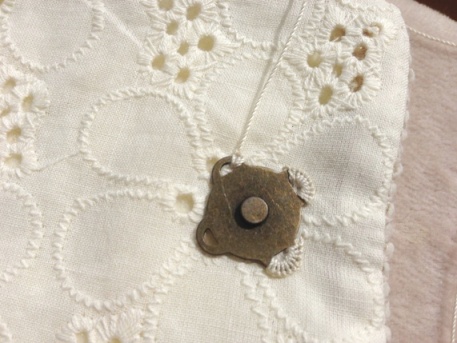
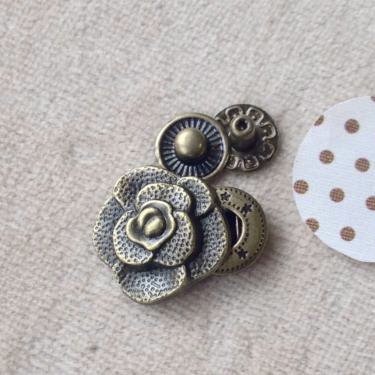
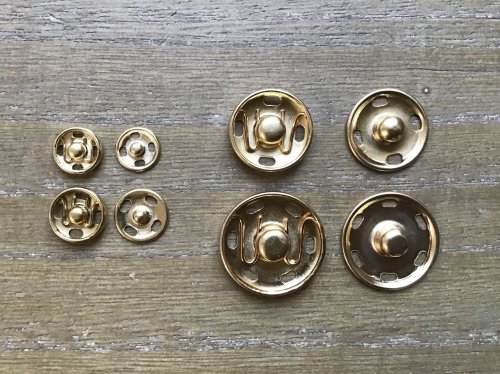
Snap Fastener
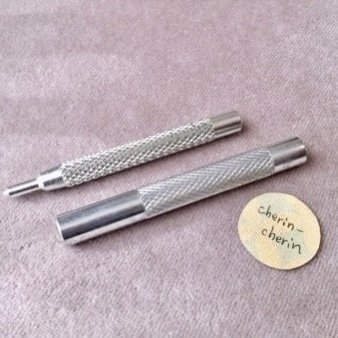
A snap fastener attached with a setting tool is used for the pouch opening.
You can also use any closure you prefer, such as a regular button or a sew-on snap fastener.
Snap fastener
Snap fastener setting tool
Easy hand-sewn options:
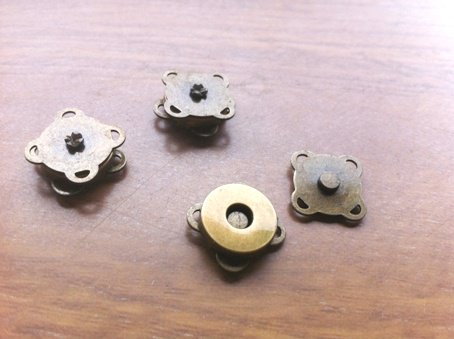
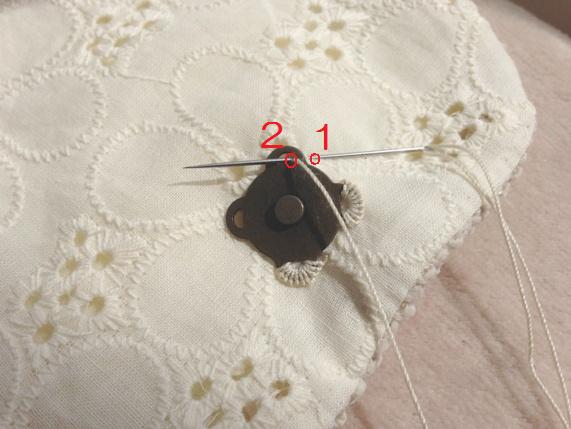
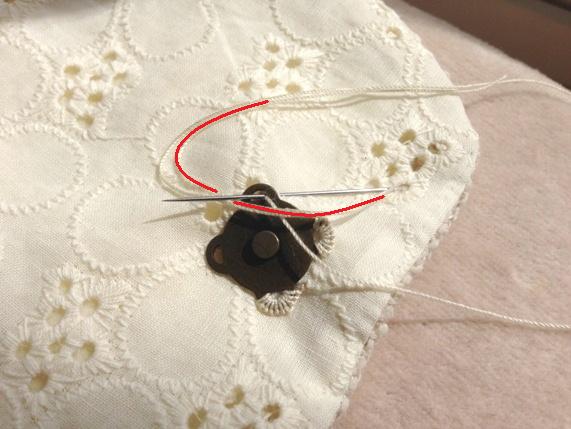
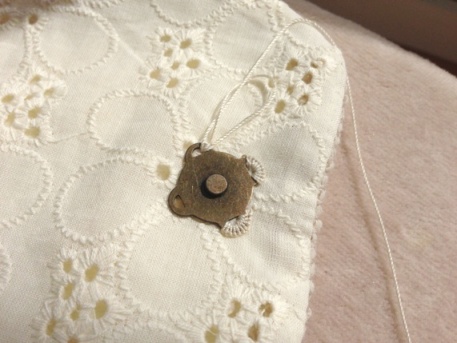
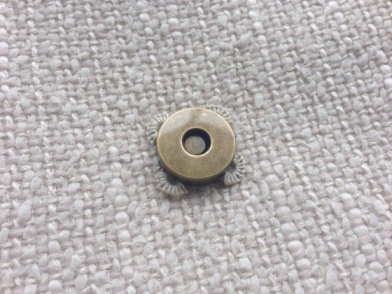
Magnetic button
Sew-on snap fastener
Easy hand-sewn options:
Magnetic button
Sew-on snap fastener
Felt
Used as an interfacing substitute.
A thin synthetic felt made of polyester works best. Choose a type with minimal thickness for easier sewing.
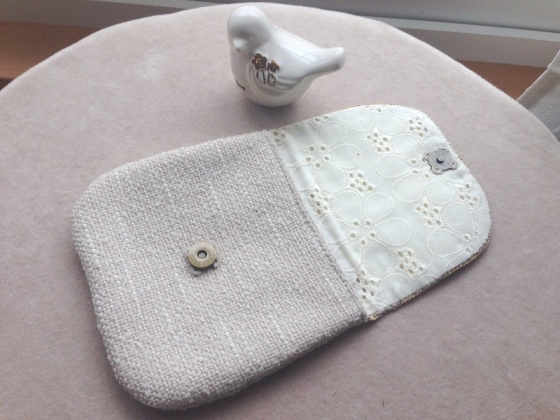
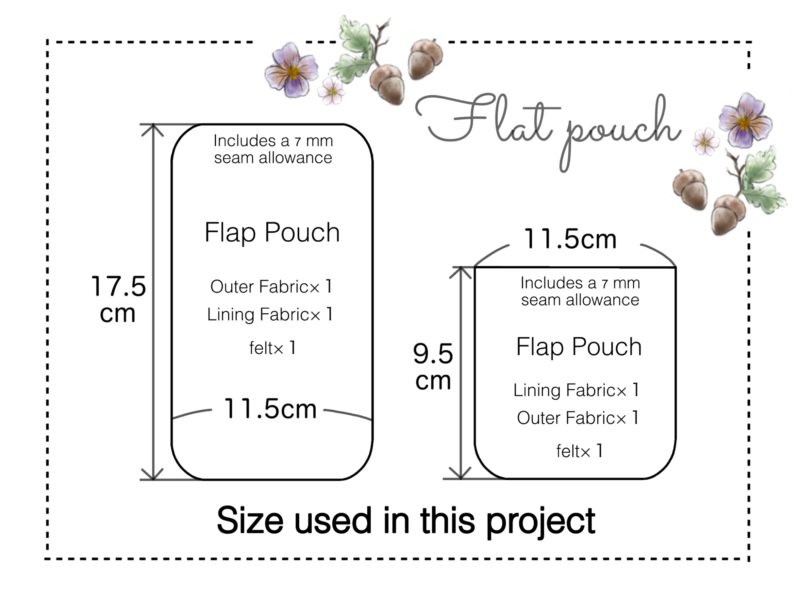
✂️ Fabric Cutting Size
No paper pattern is required. Almost any size will work, resulting in a proper pouch.
Try making larger versions or smaller ones to explore different variations.
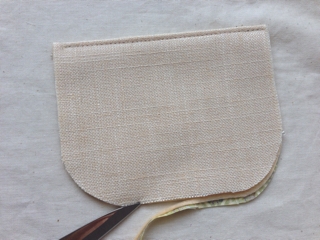
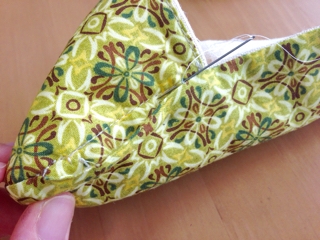
For rounded corners, draw the curve on one corner first, then trace it onto the remaining three corners for consistency.