How to Make a Lined Drawstring Pouch
Beginner-Friendly Tutorial

In this tutorial, I’ll show you how to make a lined drawstring bag that is easy to sew even for beginners and perfect for everyday use.

Once you learn the basic method, it’s easy to customize, making this a versatile and essential pattern to keep.
Let’s get started!


How to Make a Lined Drawstring Pouch
Beginner-Friendly Tutorial
Materials & Preparation |
Cutting the FabricThings to check before you start |
1. Sew the outer fabric and lining togetherCombine the fabrics and assemble the main body. |
2. Turn it right side outTurn the bag inside out and shape it with an iron. |
3. Insert the drawstringThread the cord through to complete the bag. |
Final StepsFinal tips and summary |
Materials

Here are the materials you will need:
This time, I used a standard cotton sheeting fabric.
It has a thickness and texture similar to a typical bandana or napkin.

For the lining, I used the same type of cotton sheeting fabric as the outer fabric.
I used a slightly narrow satin ribbon, about 4 mm wide.
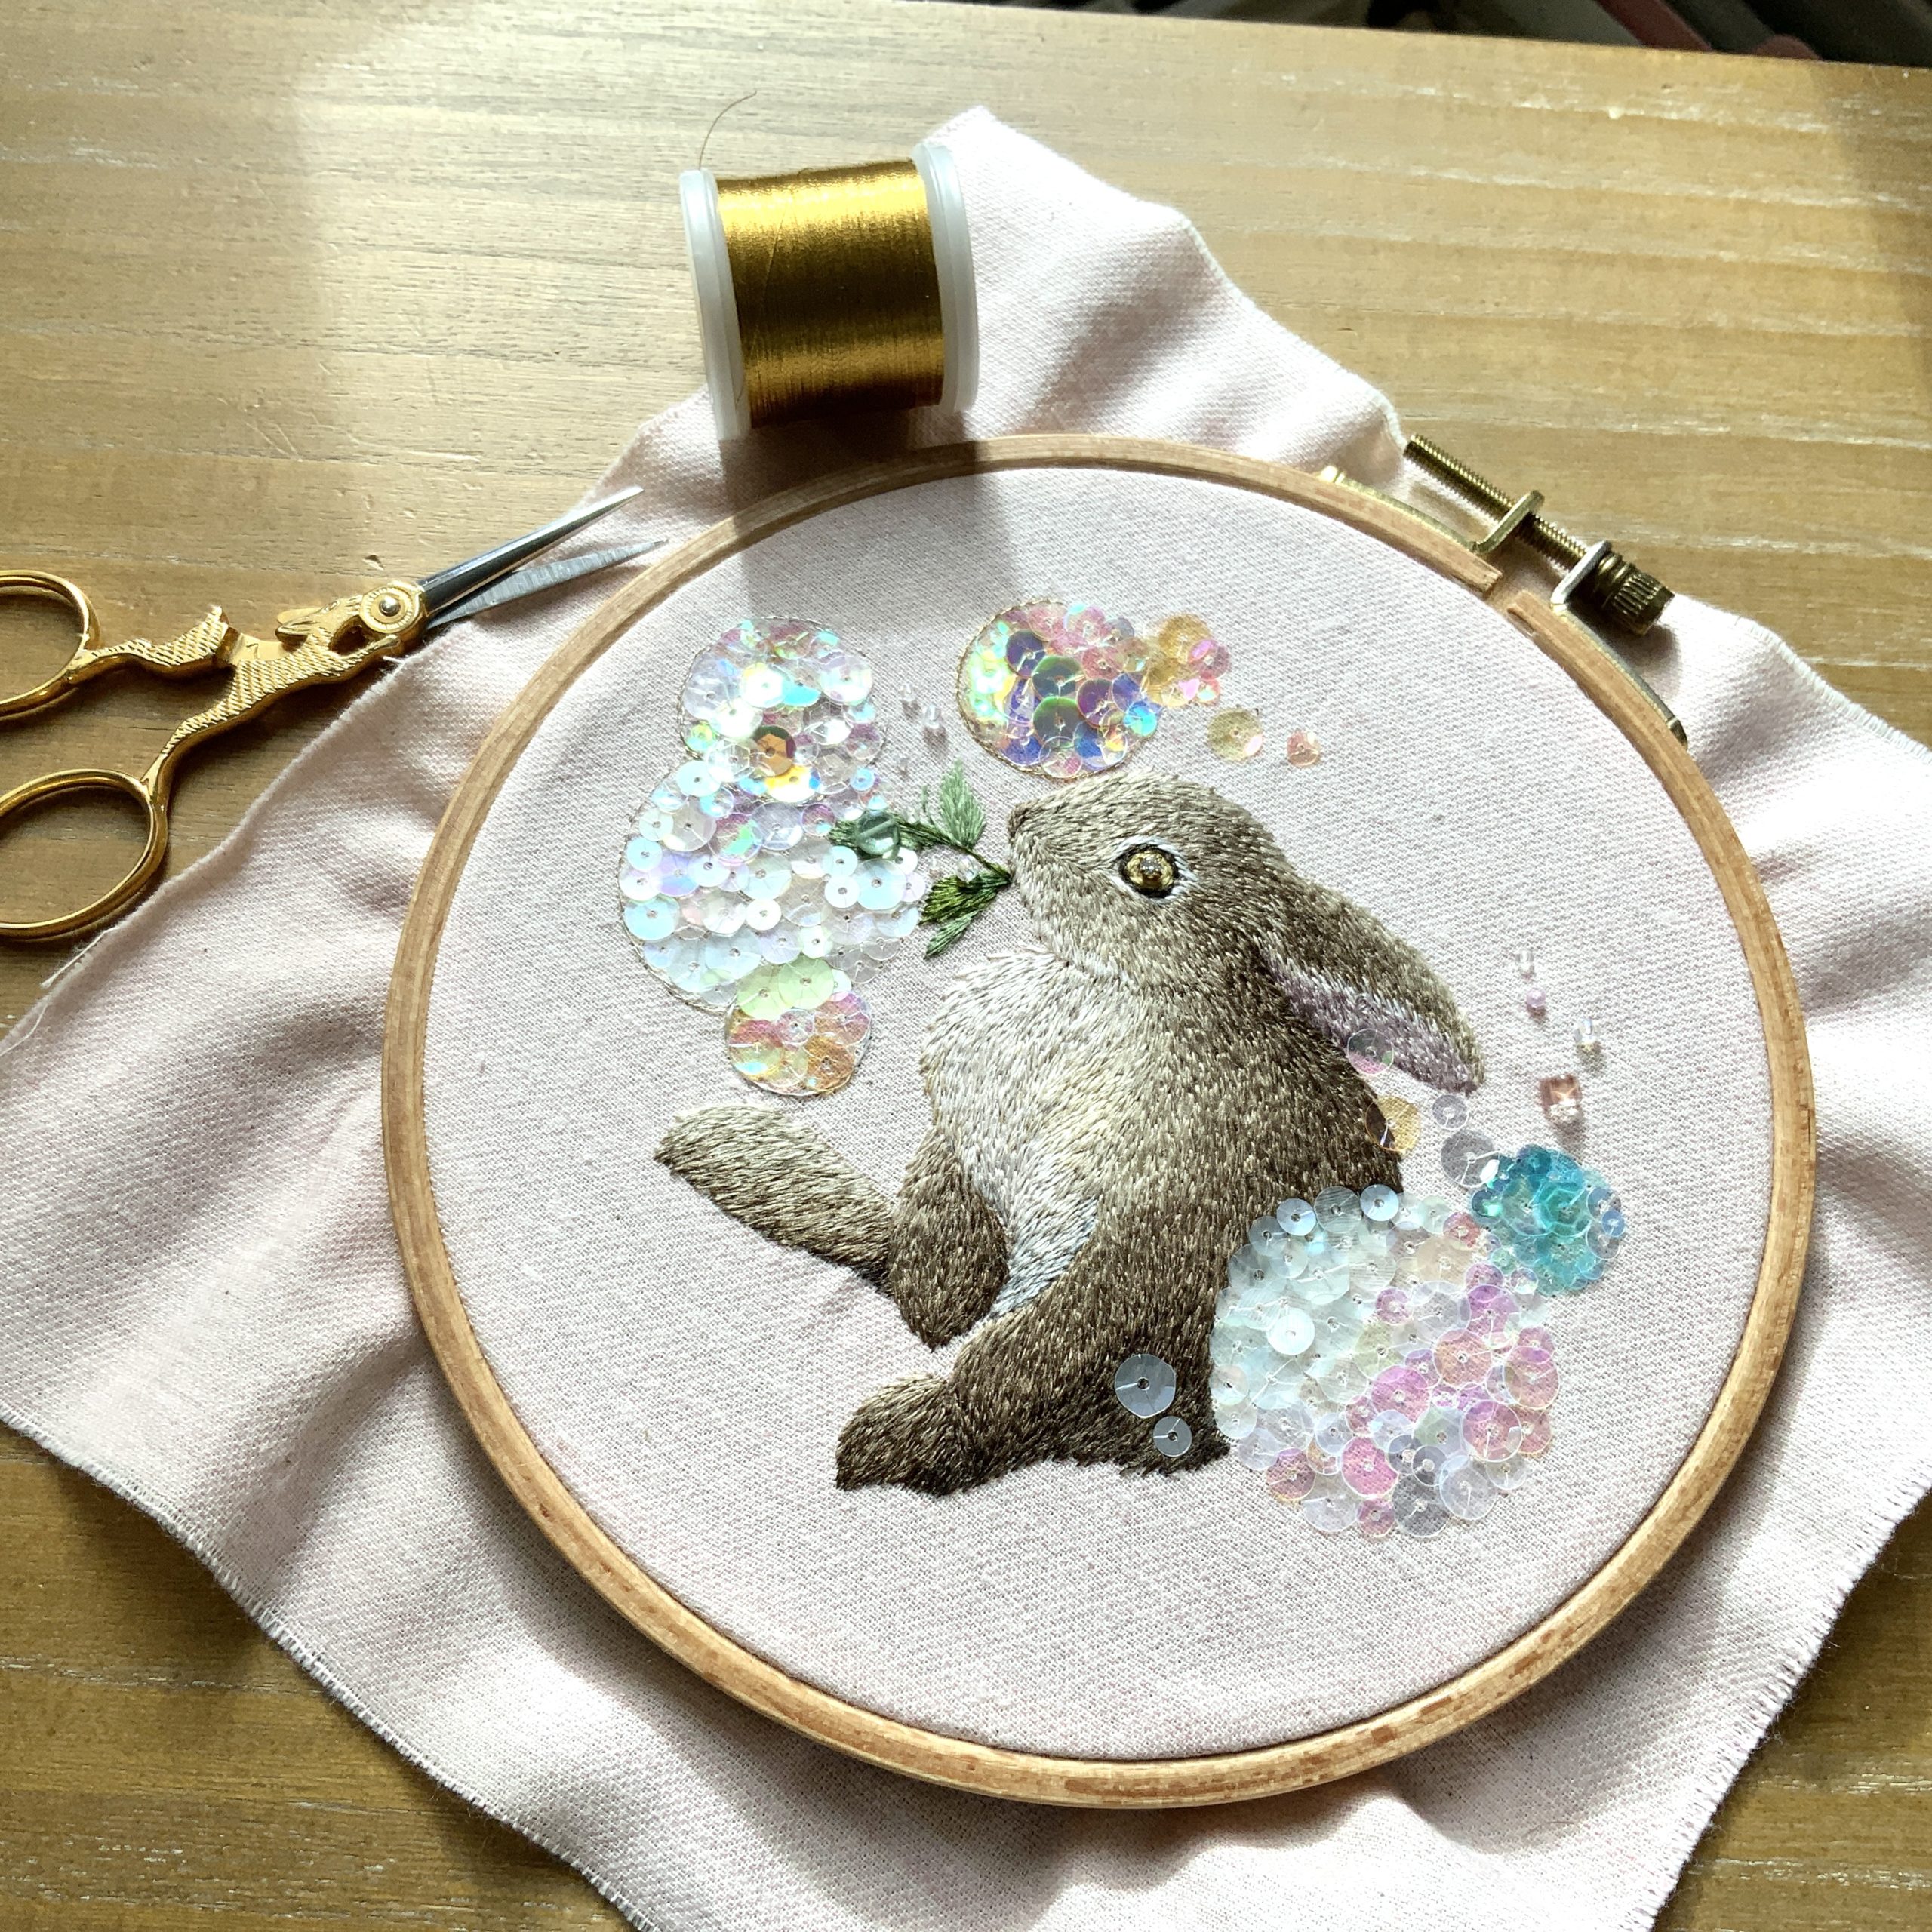
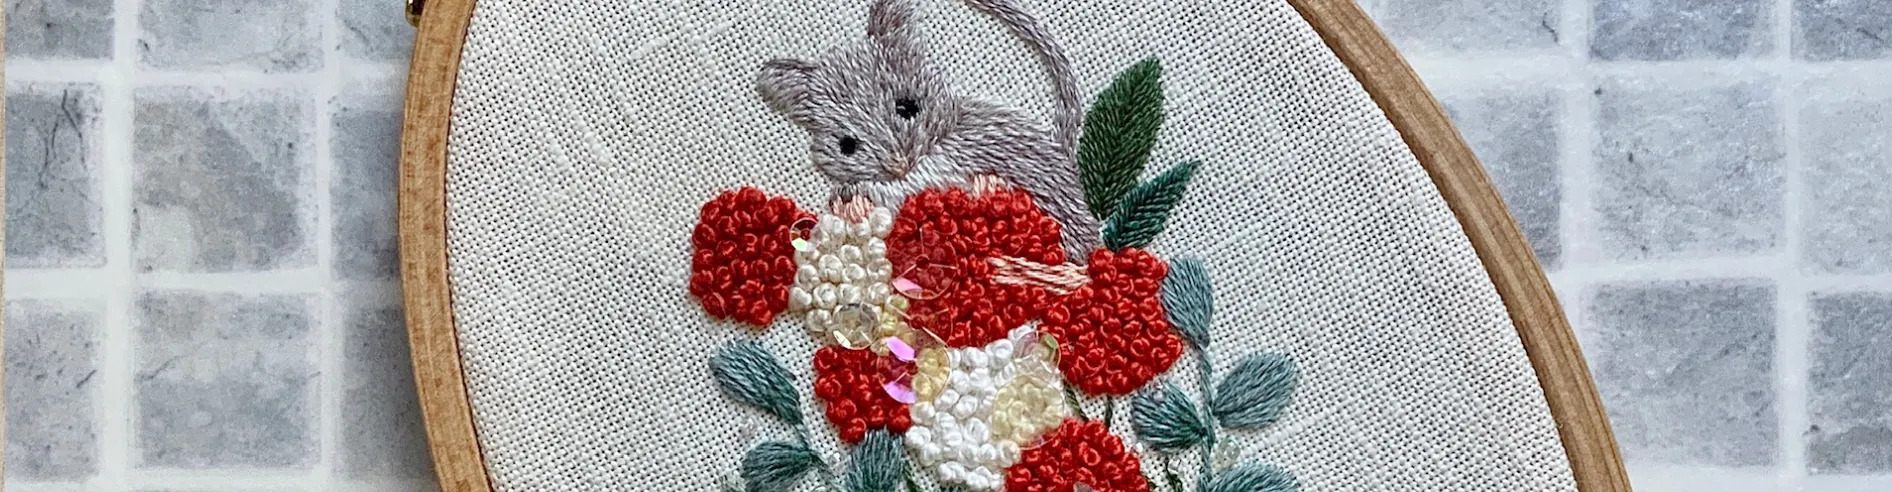
Prepare any decorations you like.
You can also make it without them.


Finished size: 16 cm × 21 cm
(Mini size: 10 cm × 12 cm)
The markings for the drawstring opening and the frill are shown on one side only. If you are making a design with two drawstrings like the sample, please mark both sides symmetrically.

1. Sew the outer fabric and lining together

① Place the outer fabric and lining right sides together (RST) and sew them together. Press the seam allowances open with an iron.
(RST: placing the fabrics with the right sides facing each other)

② Align the two pieces right sides together as shown in the next image.
Tip: Make sure the seam lines are aligned properly for a clean finish.

③ Sew all around the edges, leaving out the marked drawstring openings.
Leave the marked areas for the drawstring openings unstitched.
It is recommended to add backstitches before and after the openings.
If you would like to insert two drawstrings in opposite directions, leave the opening on the other side unstitched as well.


③ Pin the seams of the outer fabric and lining carefully before sewing to achieve a neat finish.
2. Turn it right side out

① Prepare to turn the bag right side out.
Press the seam allowances toward the outer fabric along the seam line, as shown in the photo. This will make the next steps easier.

② Apply a small amount of glue to the drawstring opening area to hold the seam allowances in place.
Use only a tiny amount to prevent it from soaking into the fabric.

③ Press the seam allowances on the lining side open. Then, prepare the seam allowance on the opposite side as shown in step ④ to make the next steps easier.

④ This shows how the seam allowance on the opposite side should be folded and arranged.
This area can be difficult to press, so do as much as you comfortably can.

⑤ Use a seam ripper to open about 3–4 cm of the seam where the outer and lining fabrics are joined, creating an opening for turning.

⑥ Turn the bag right side out through the opening.

⑦ Shape the bag.


⑧ Press with an iron to finish shaping the bag.

⑨ Close the opening with a slip stitch.
3. Insert the drawstring

① Sew around the drawstring opening to create a tunnel for the cord.
② If you like, add decorative elements such as lace on top.

Insert two cords from opposite sides so they come out in reverse directions, allowing the pouch to be tightened easily.
You can also use just one cord if you prefer.

F i n i s h!!
Thread the drawstrings to complete your pouch!
For the smaller pouch, you can make a version without the frill.
Simply omit the “frill section” in the pattern and use only the drawstring opening and a 7 mm seam allowance.
(2015.04.08 Mayuka Morimoto)