Materials & Tools Used in the Lessons (Animal Embroidery at Your Own Pace)
Materials Used in the Lessons
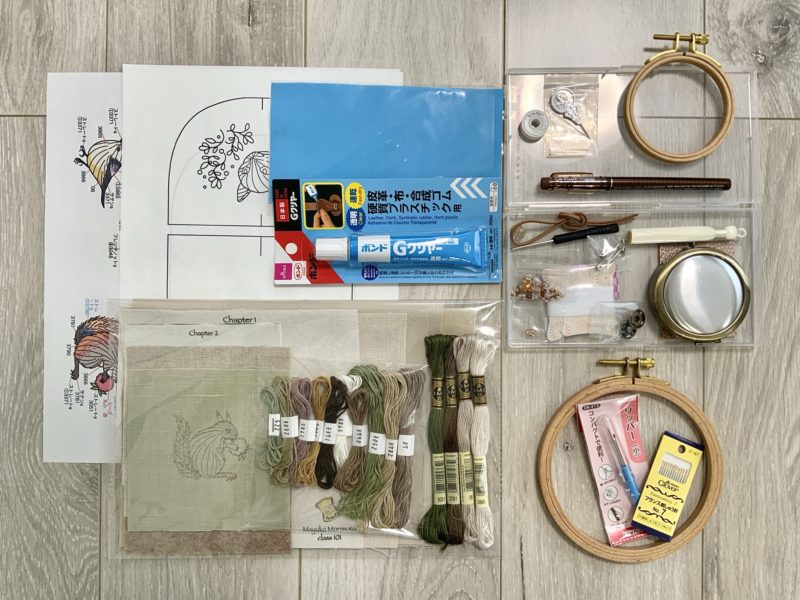
Welcome to this materials guide for the course. This page lists the items used throughout the lessons, from basic fabrics to useful small tools. Please use it as a simple reference while you prepare your workspace.
DMC #25 Embroidery Threads
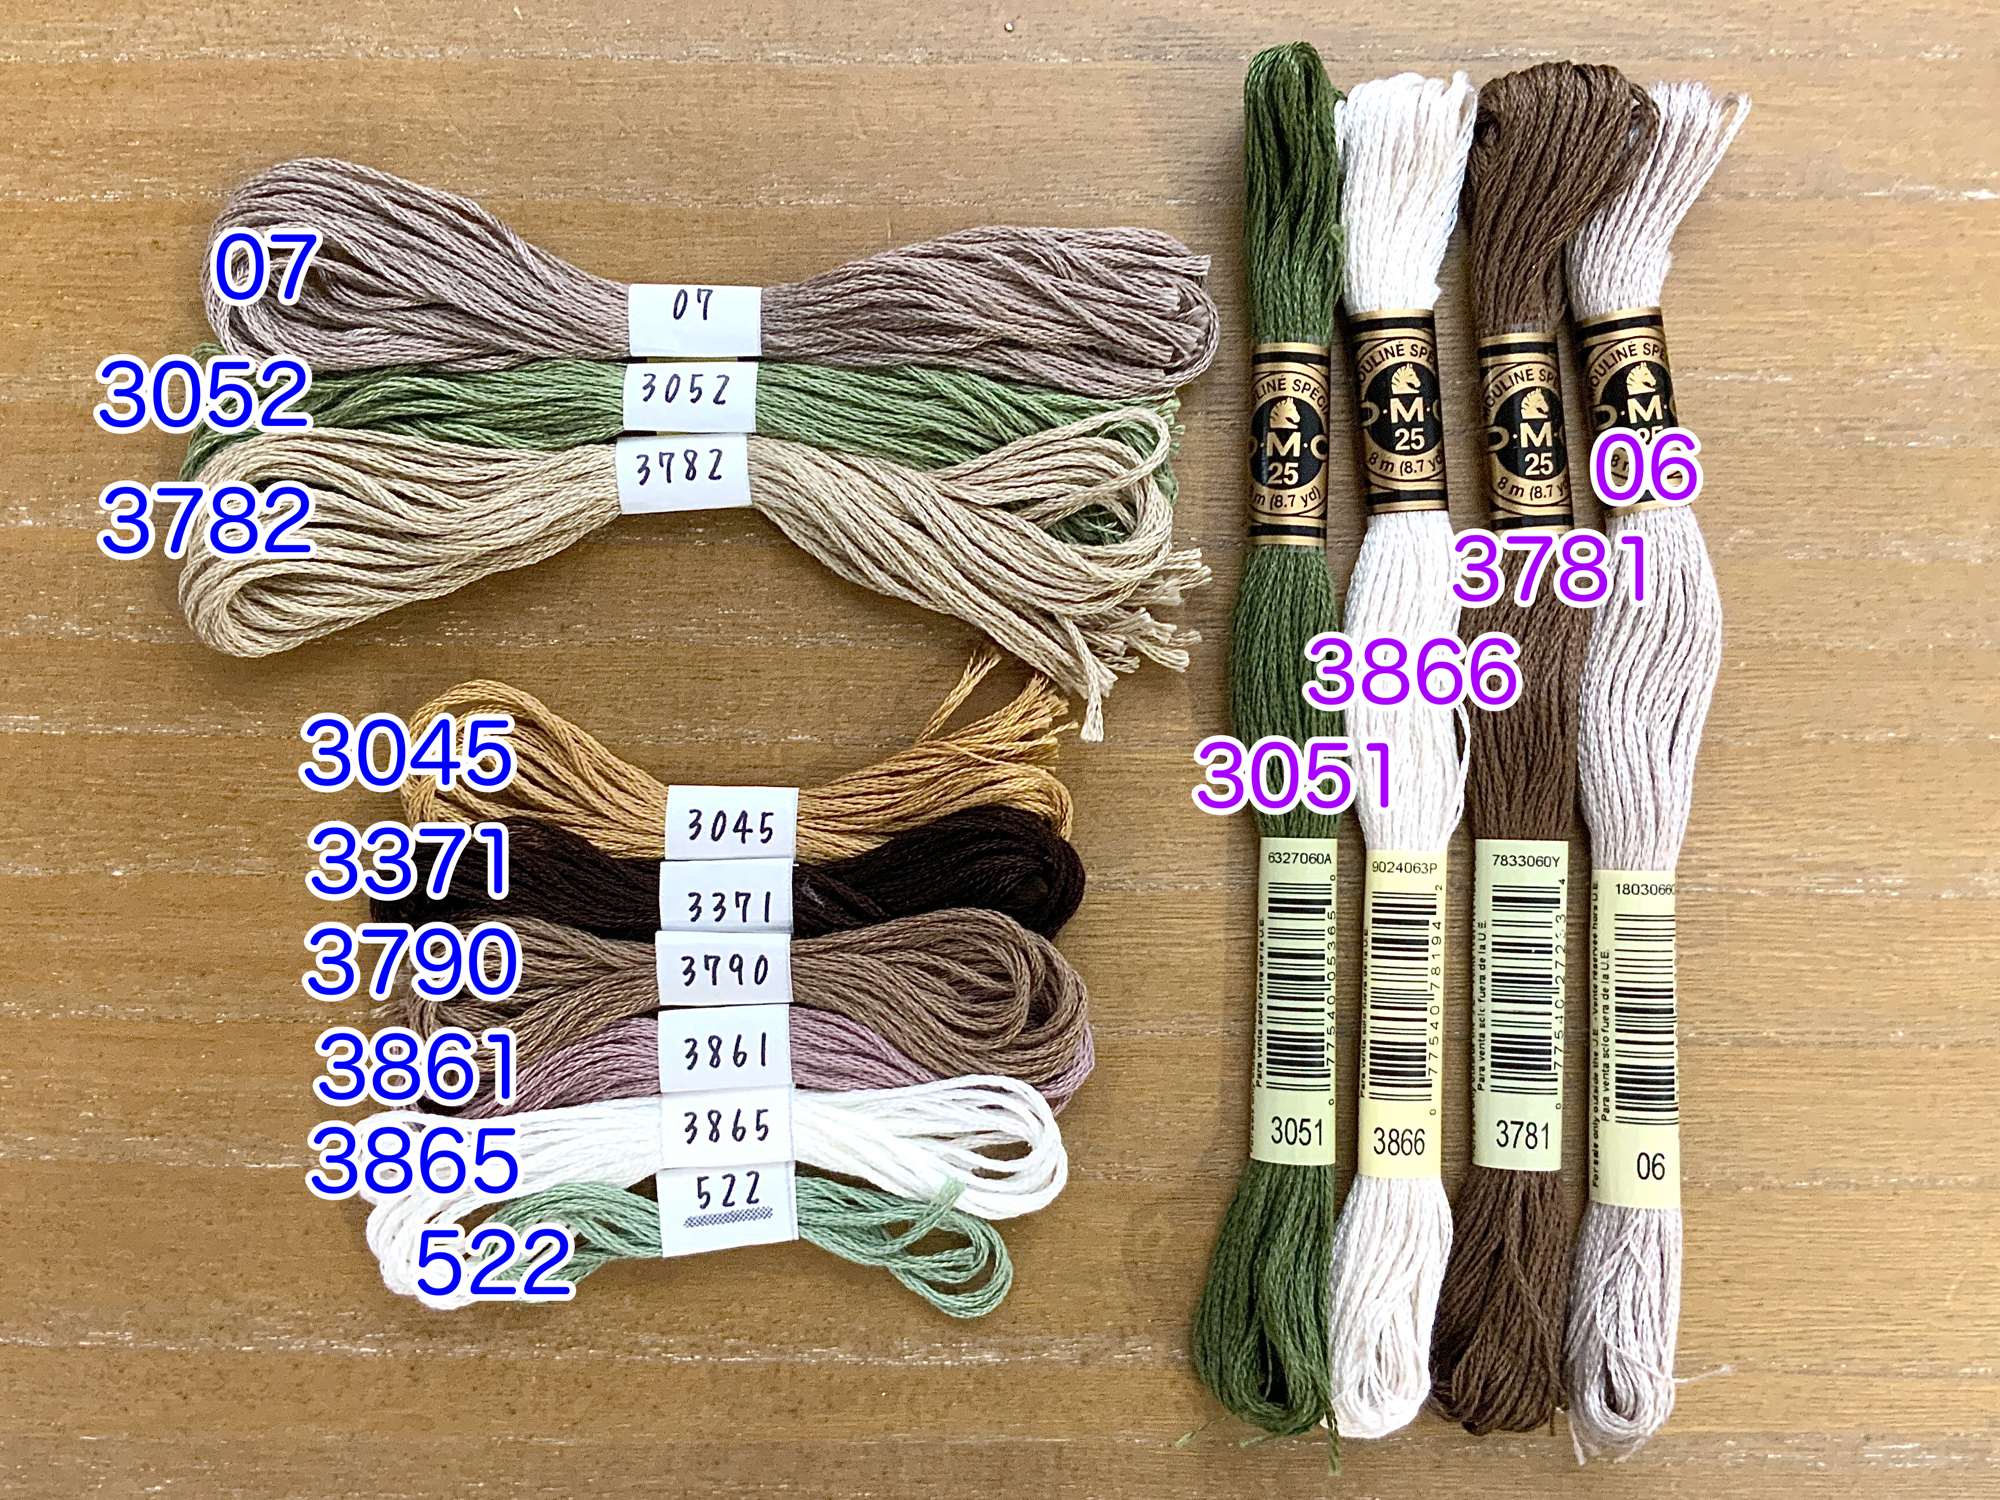
- 06, 07, 522, 3045, 3051, 3052, 3371, 3781, 3782, 3790, 3861, 3865, 3866
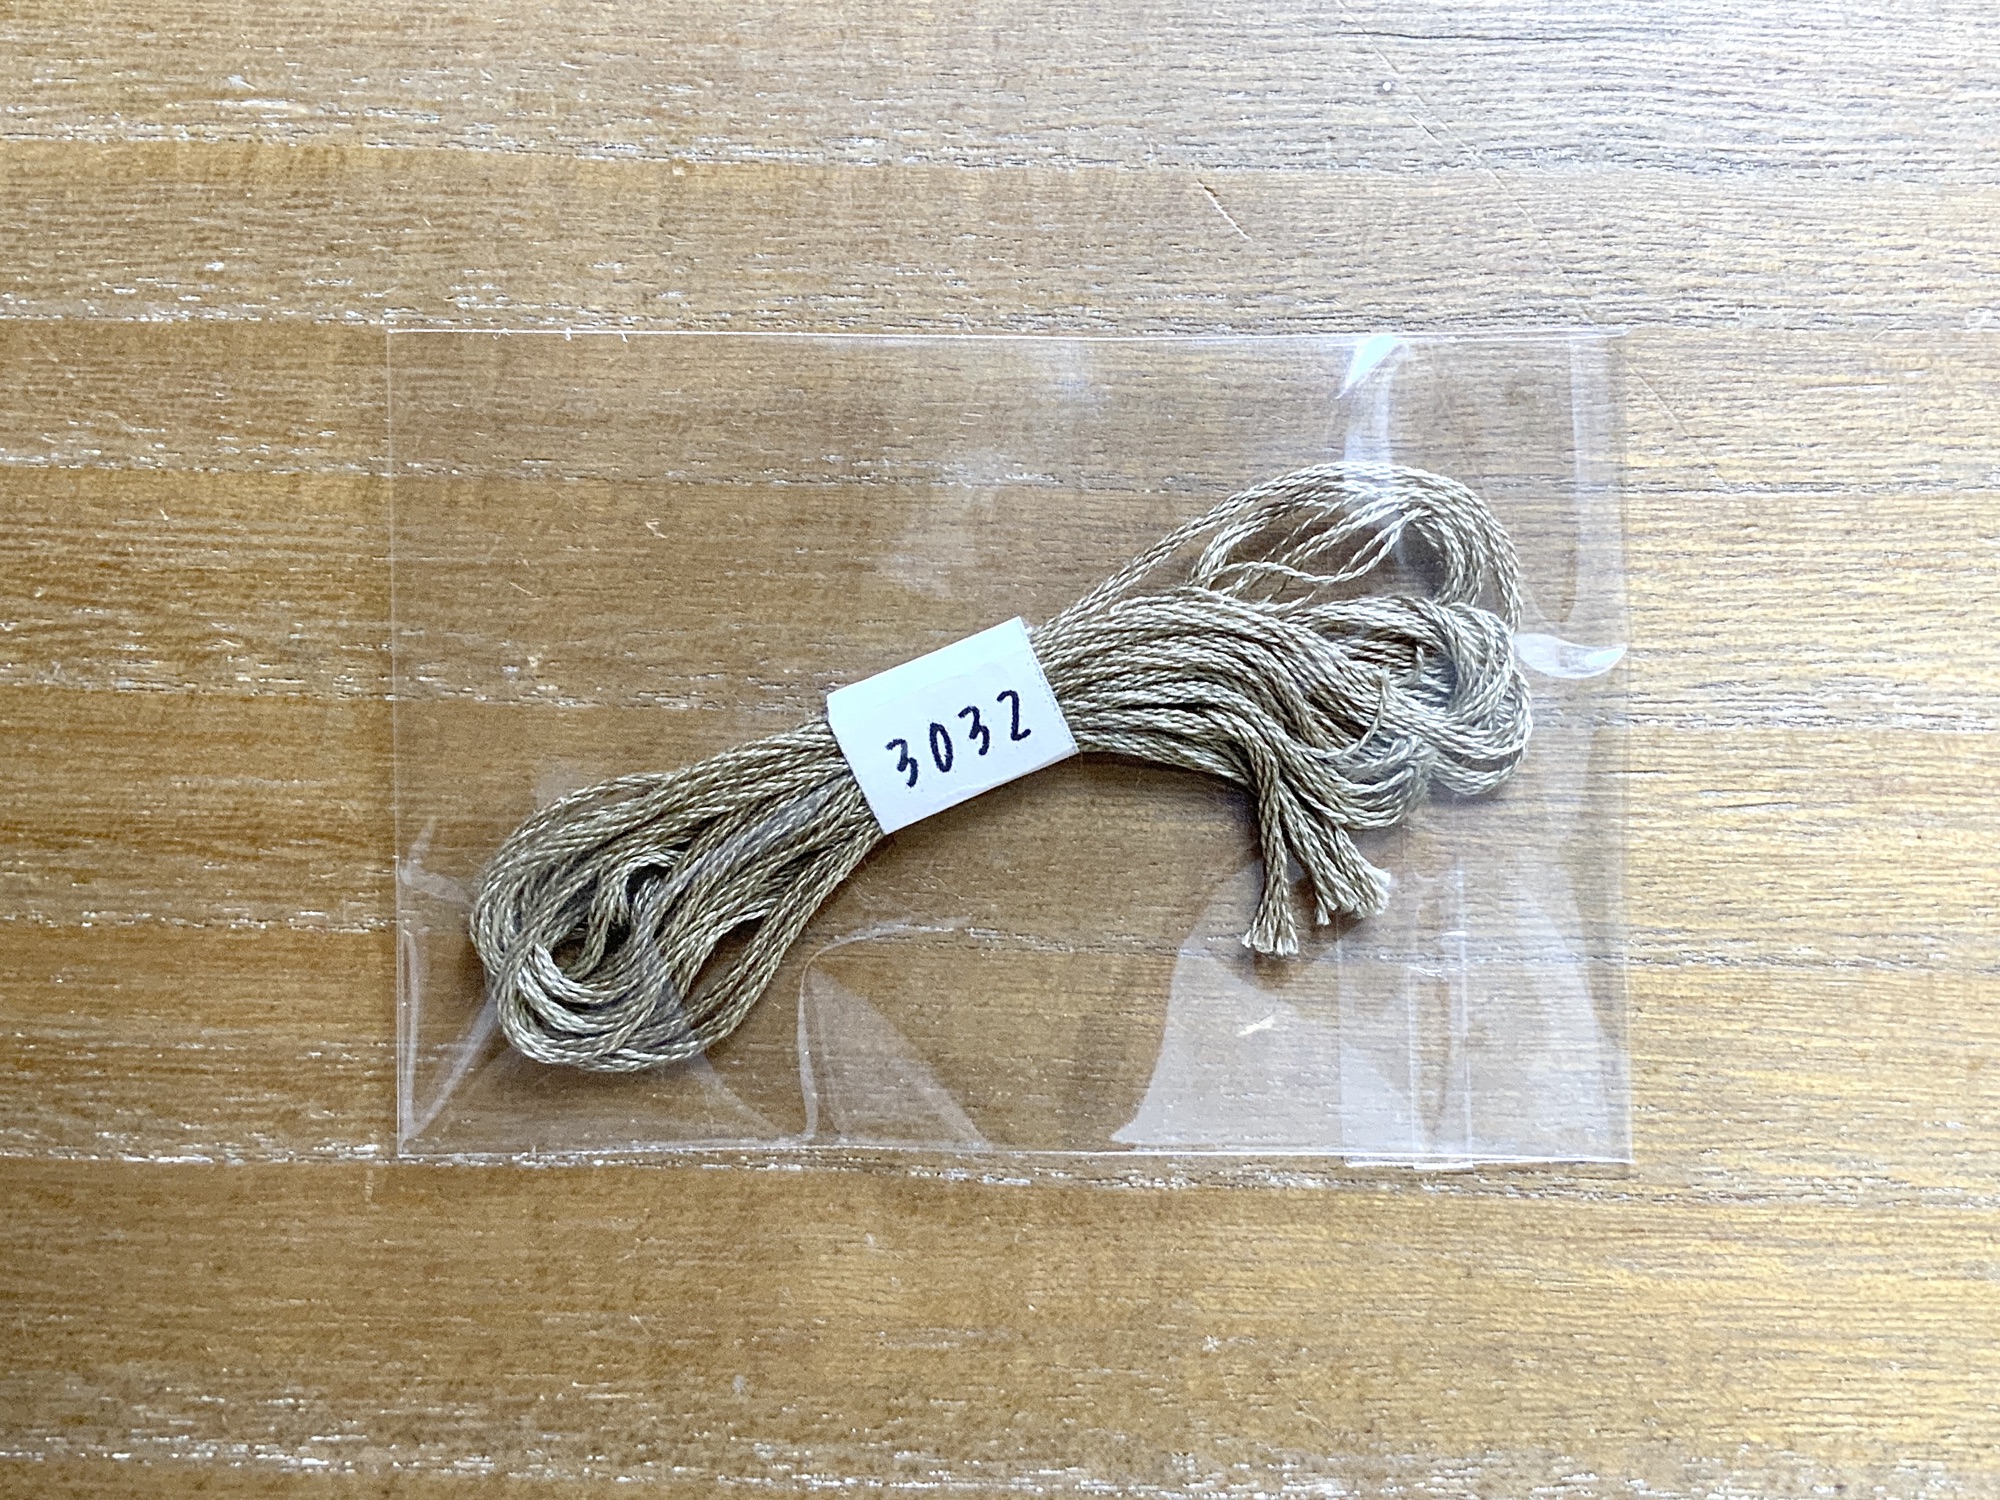
- 3032Color 3032 is used in the 'Wild Hare' embroidery accessory.
Needles and Hoops
Needle Set
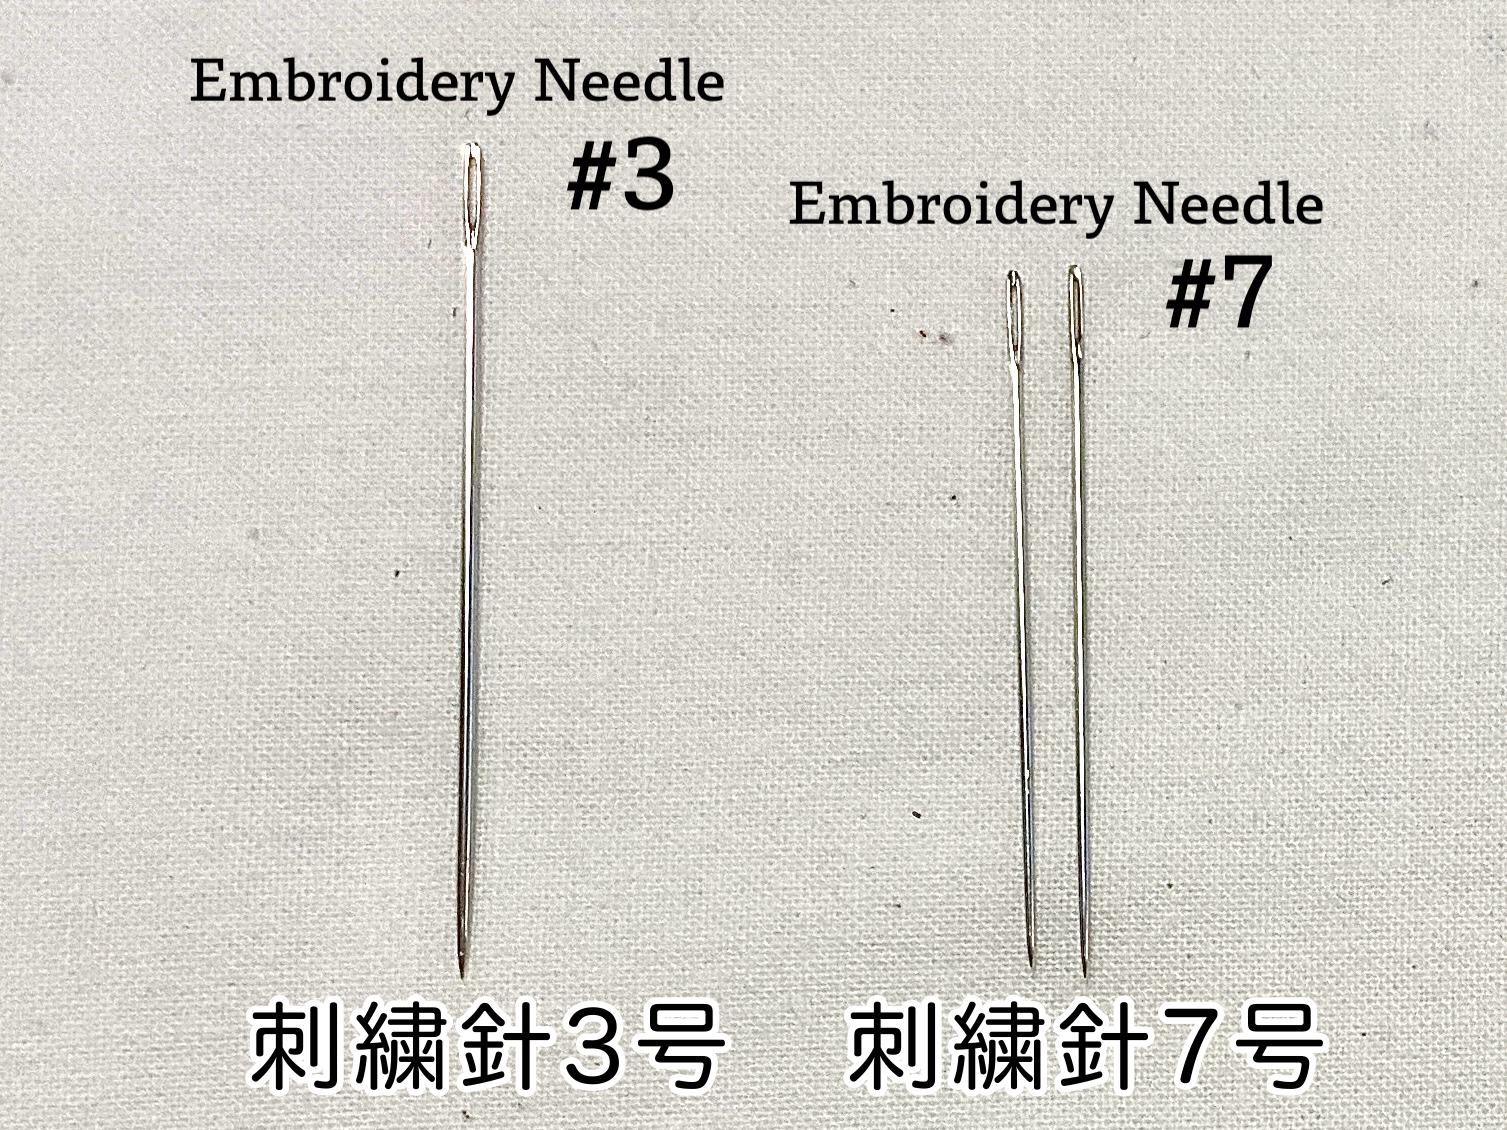
- Embroidery needle No.7A standard embroidery needle.
- Embroidery needle No.3A slightly thicker embroidery needle.
Hoop Set
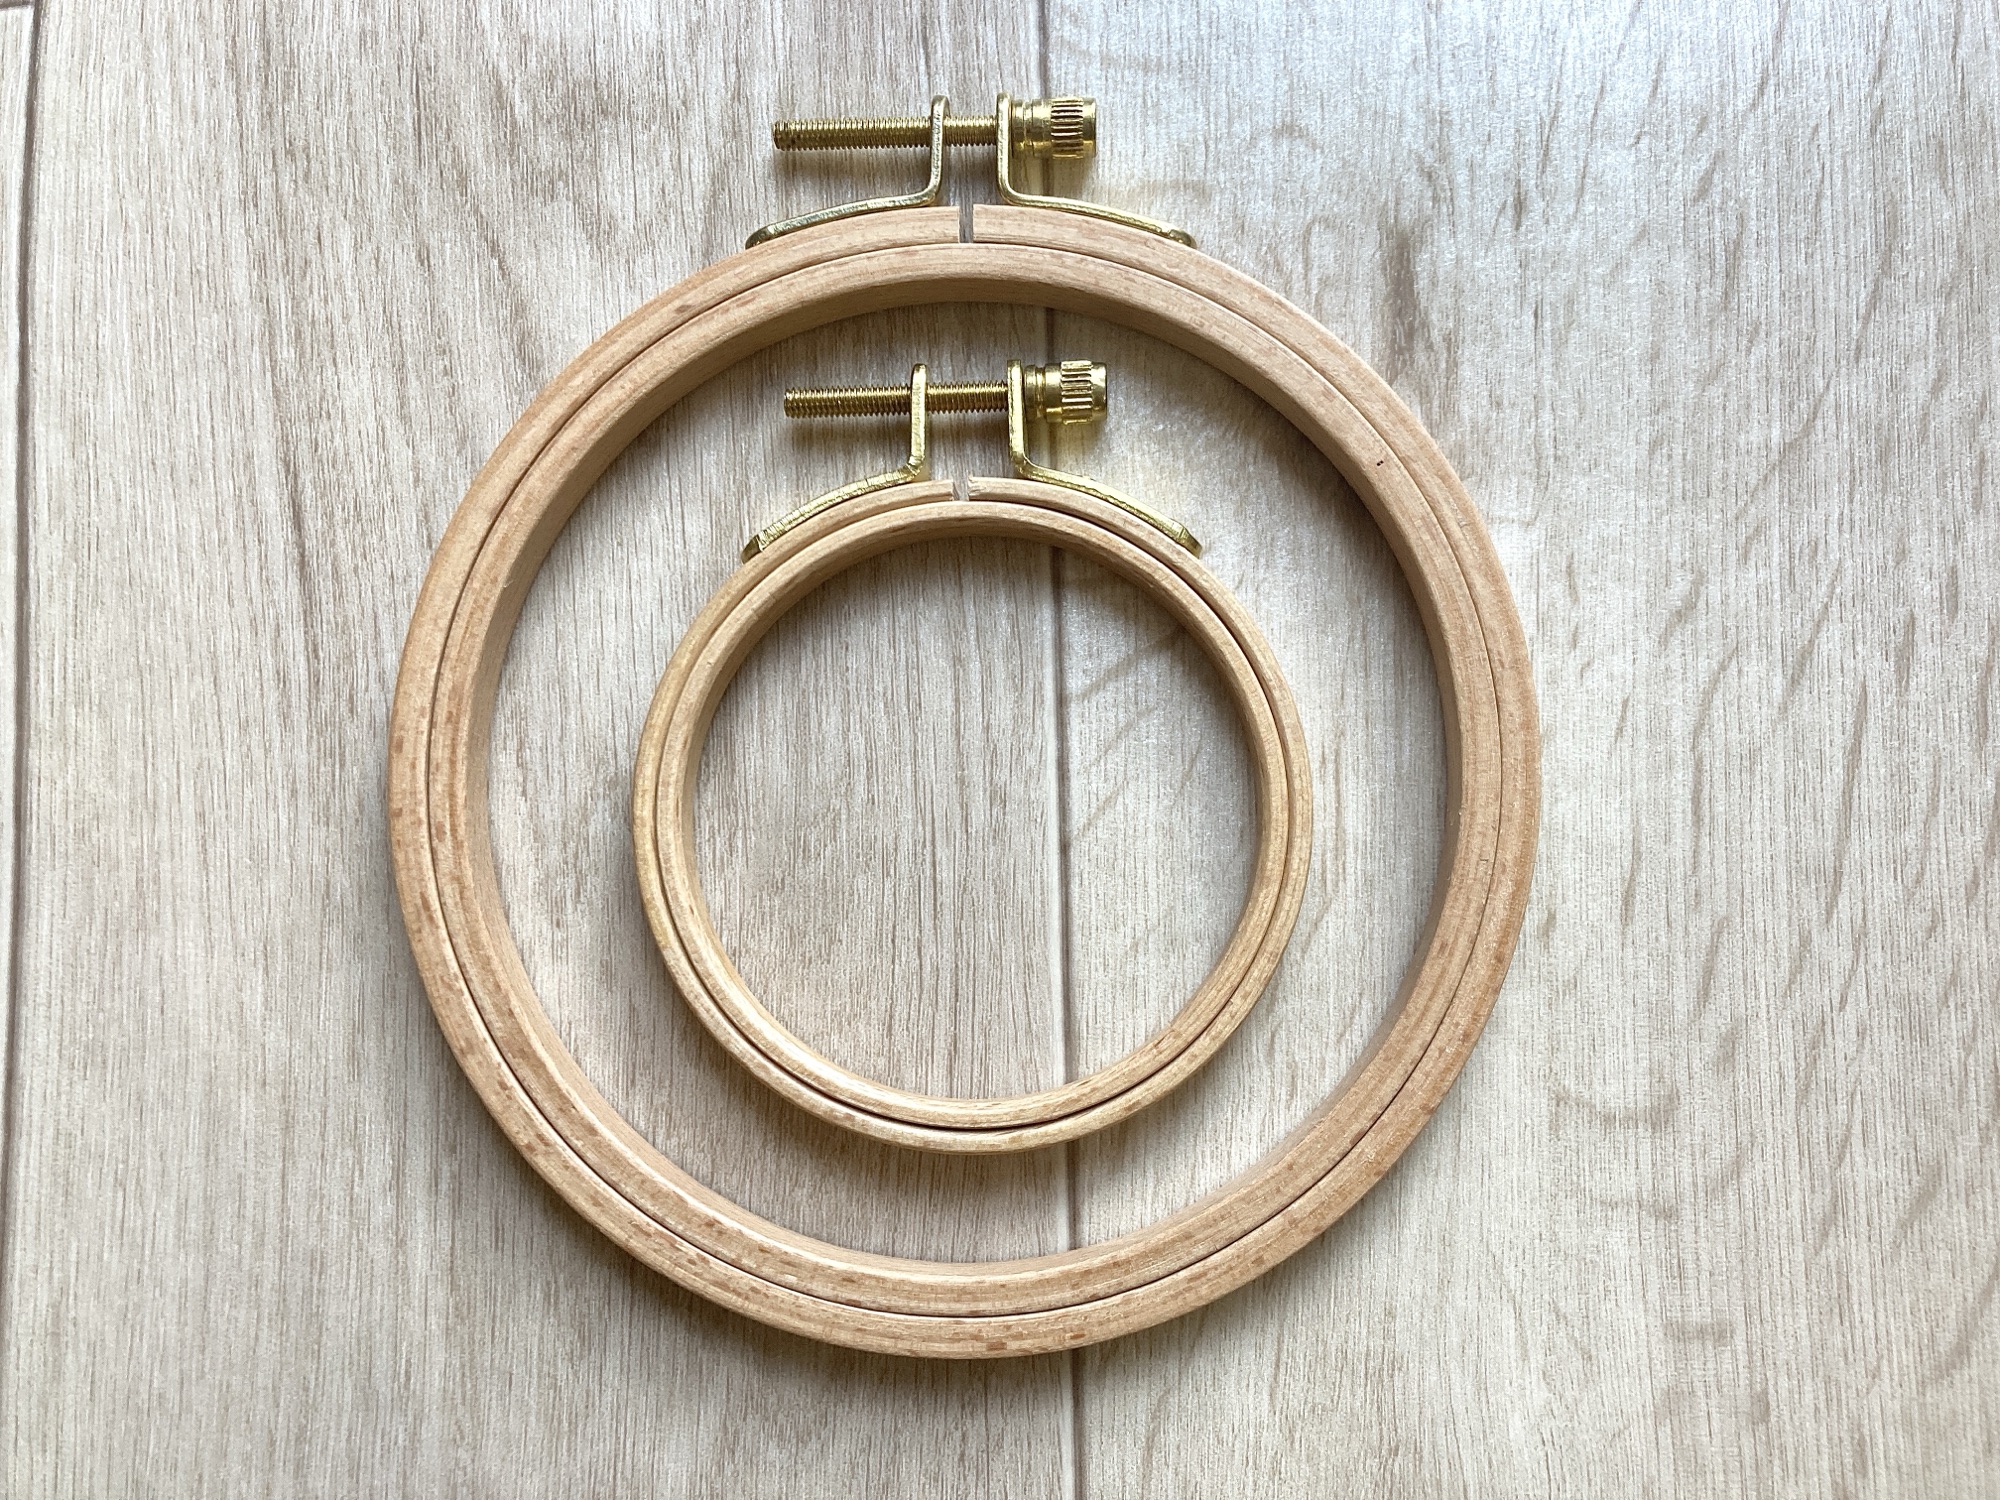
- Embroidery hoop 7.5cm
- Embroidery hoop 13cm
If the design fits, slight size differences are fine.
Tools for Bead Embroidery
Basic Tools

- Beading Thread
- Beading NeedleVery thin—handle with care. Please use a needle that passes through seed beads.
- ThreaderUse when threading the beading needle is difficult.
Bead Set A
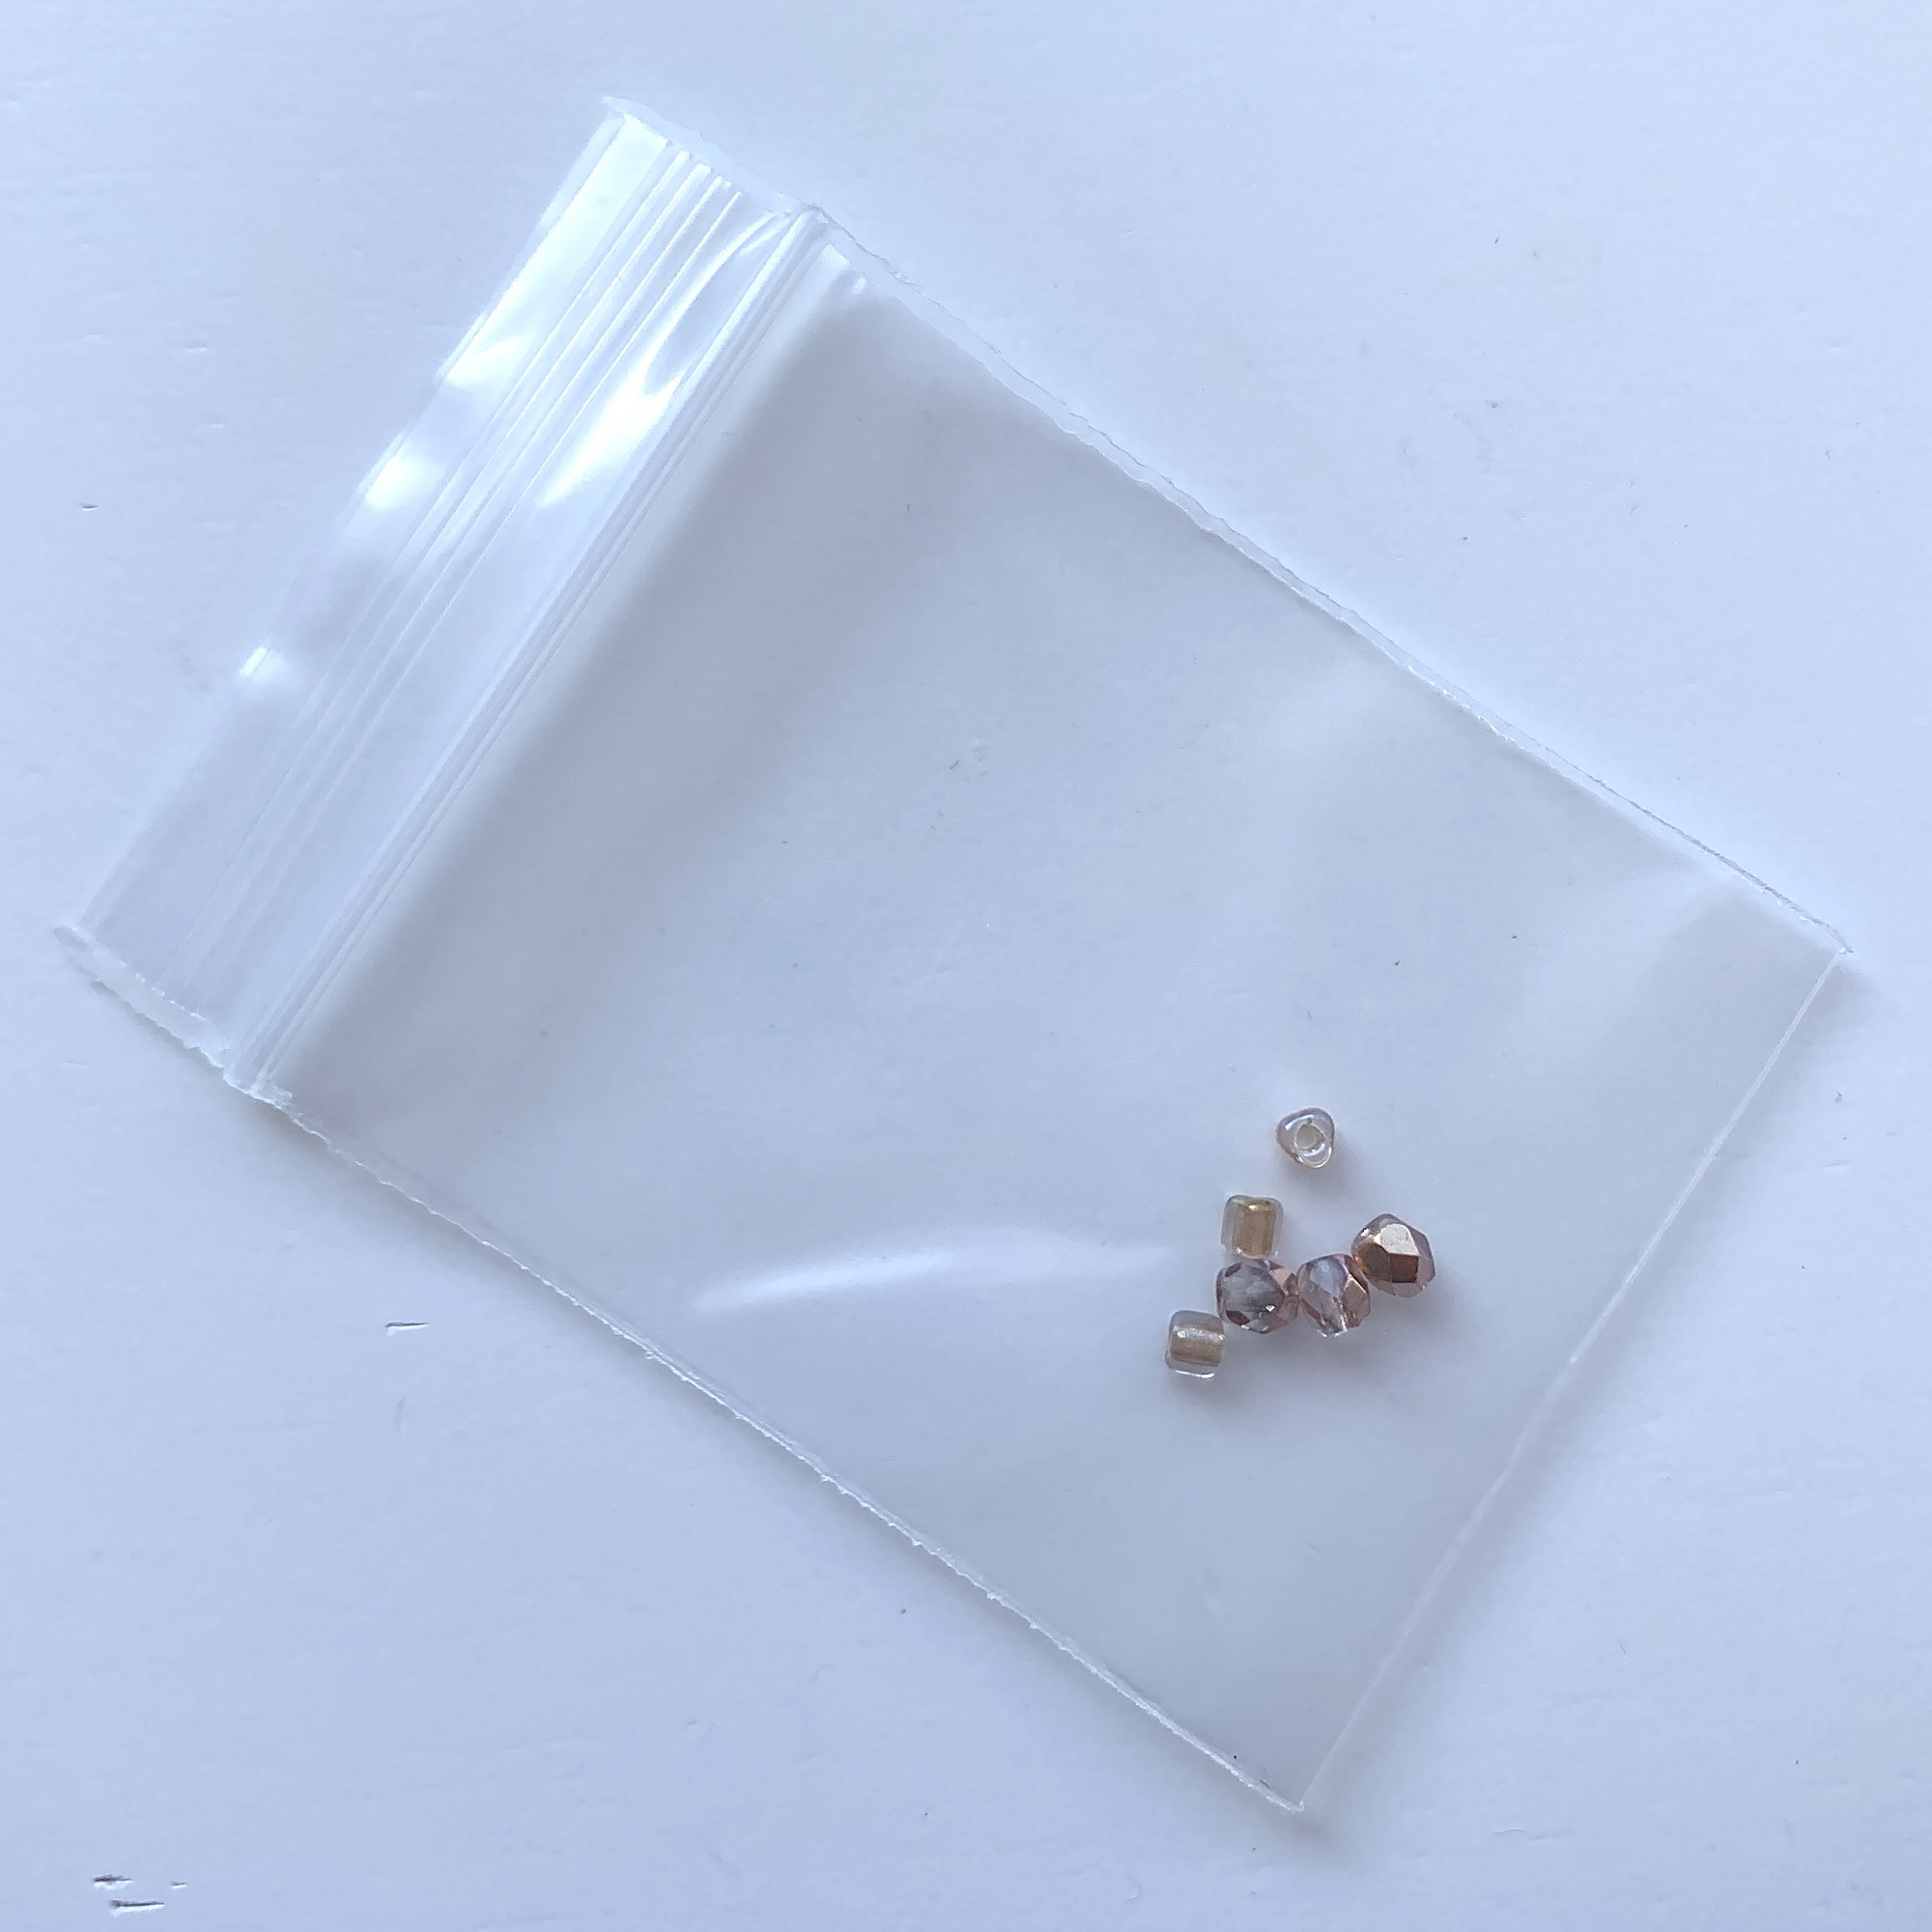
- Bead Set AUsed for making compact rabbit accessories.
Bead Set B
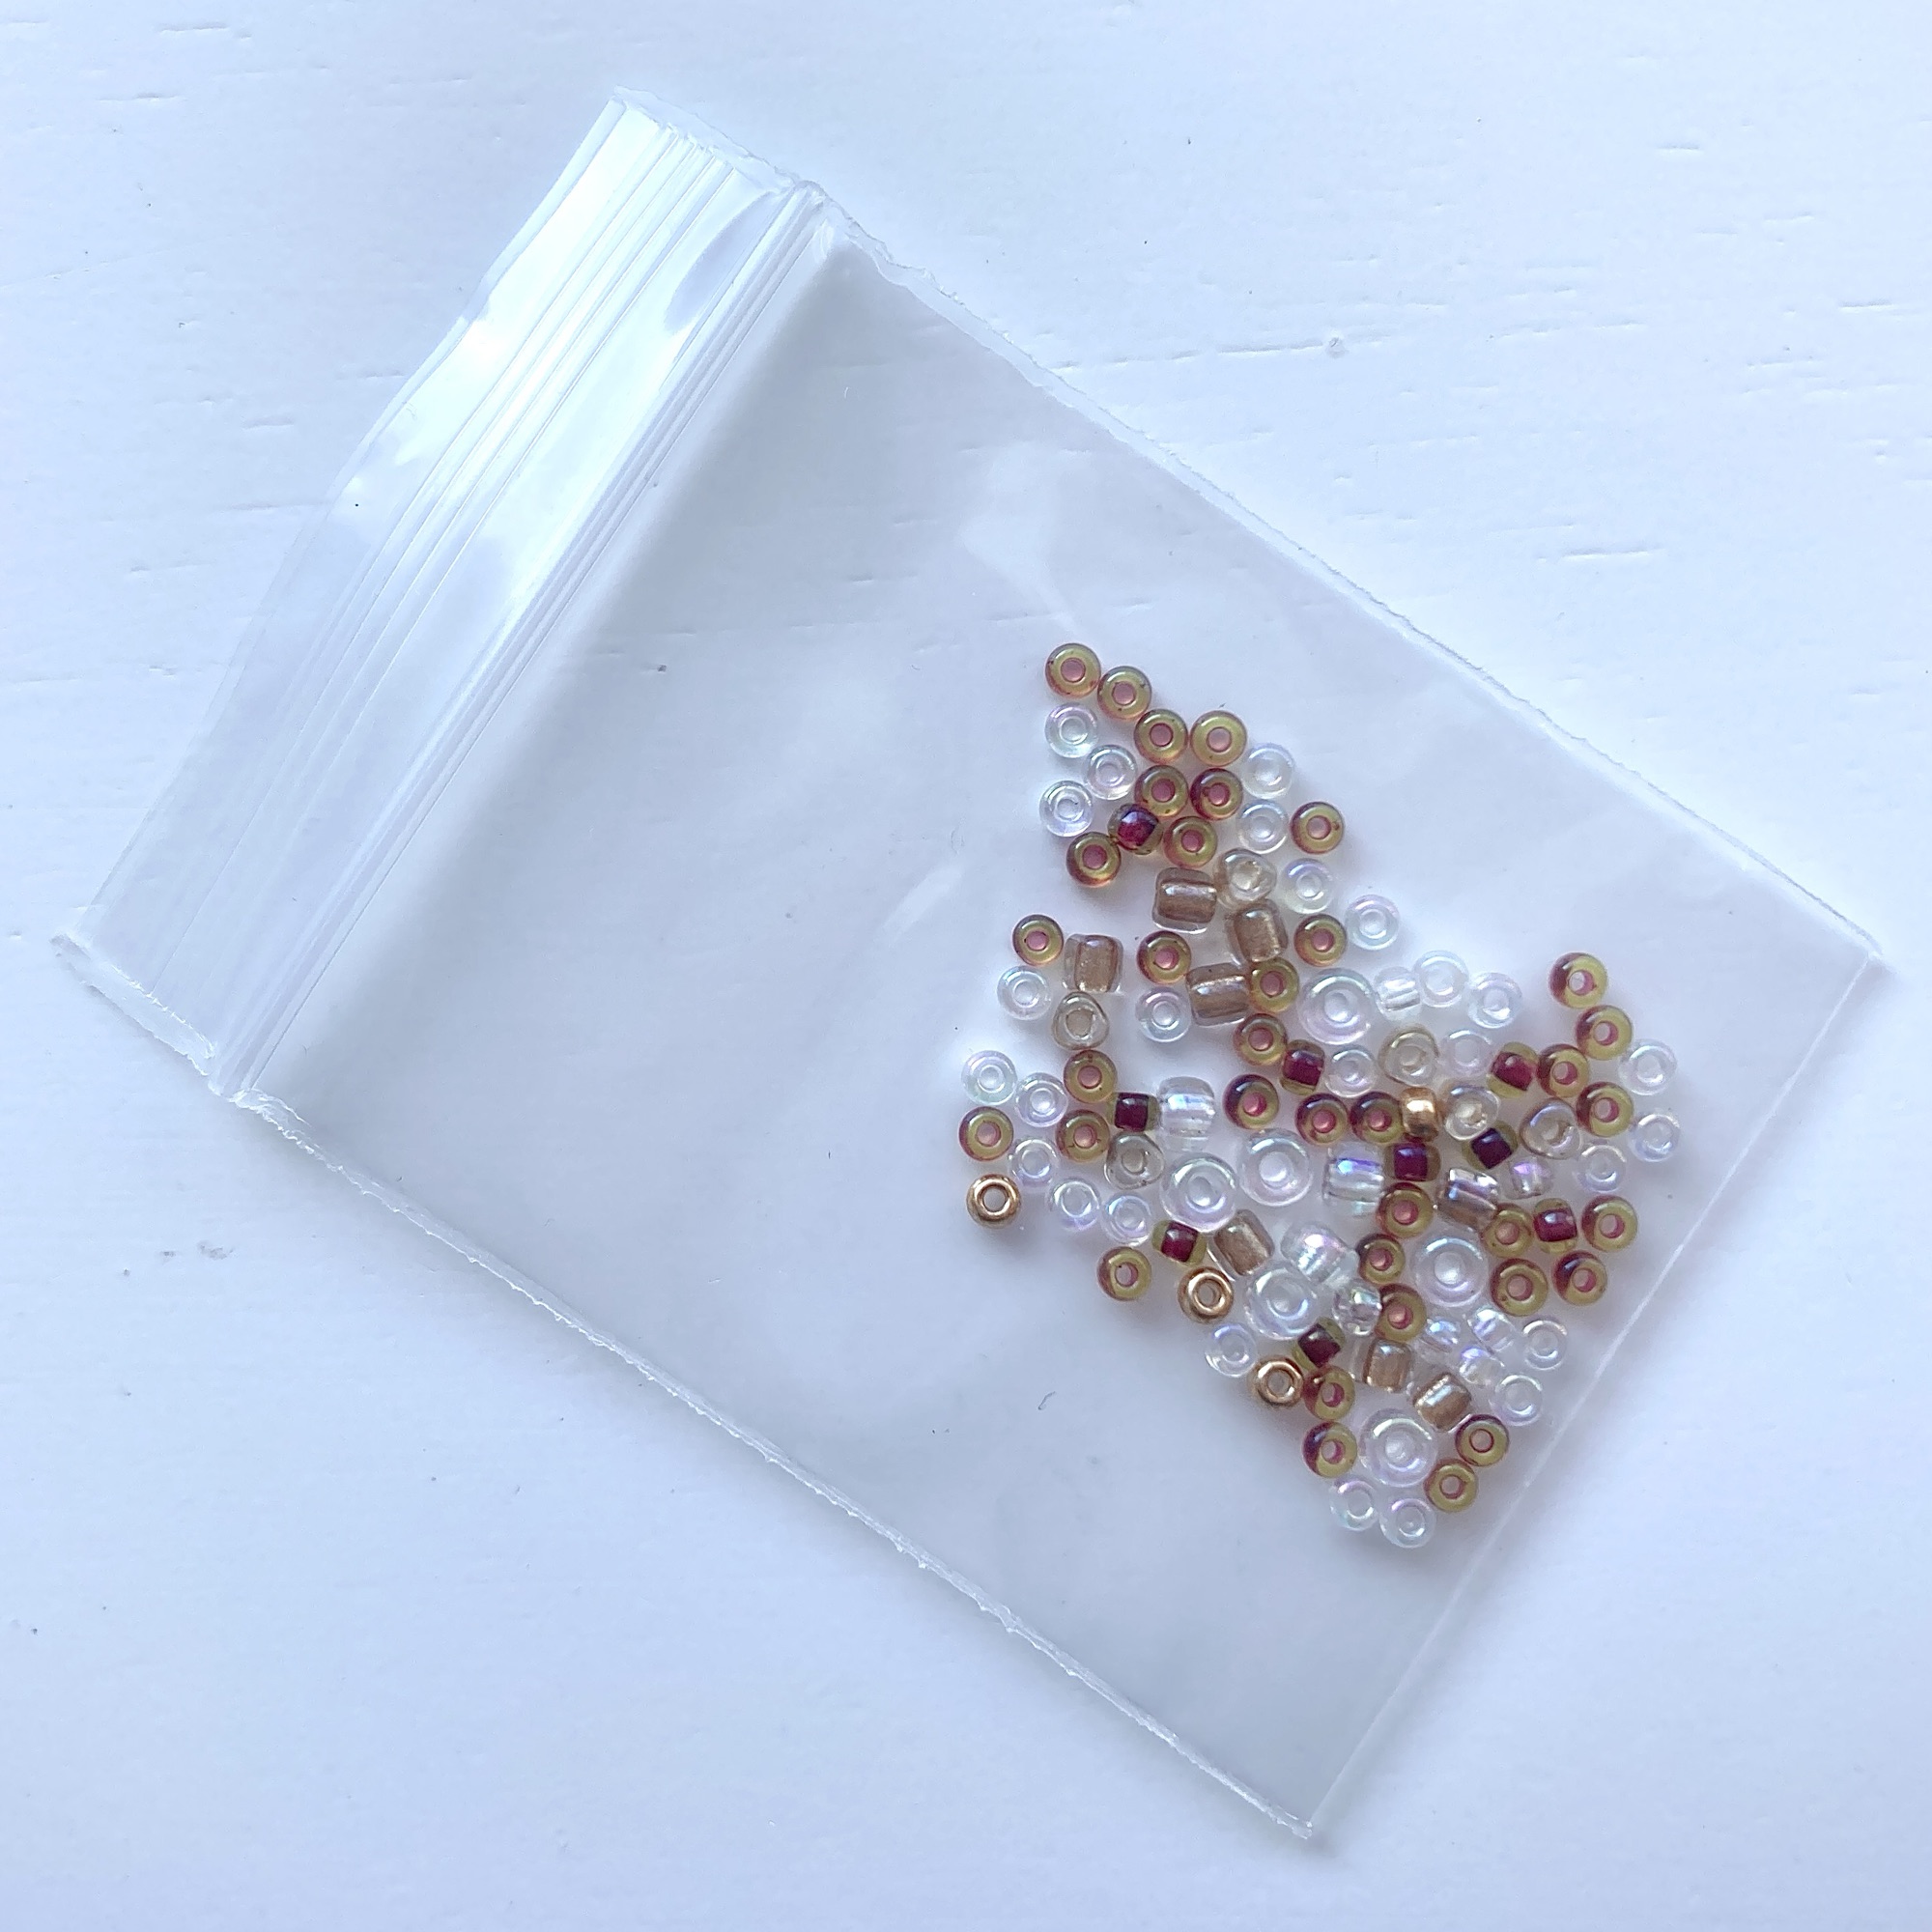
- Bead Set BUsed in each lesson of “Relaxed Animal Embroidery”.
Fabric
Printed fabric for stitch practice
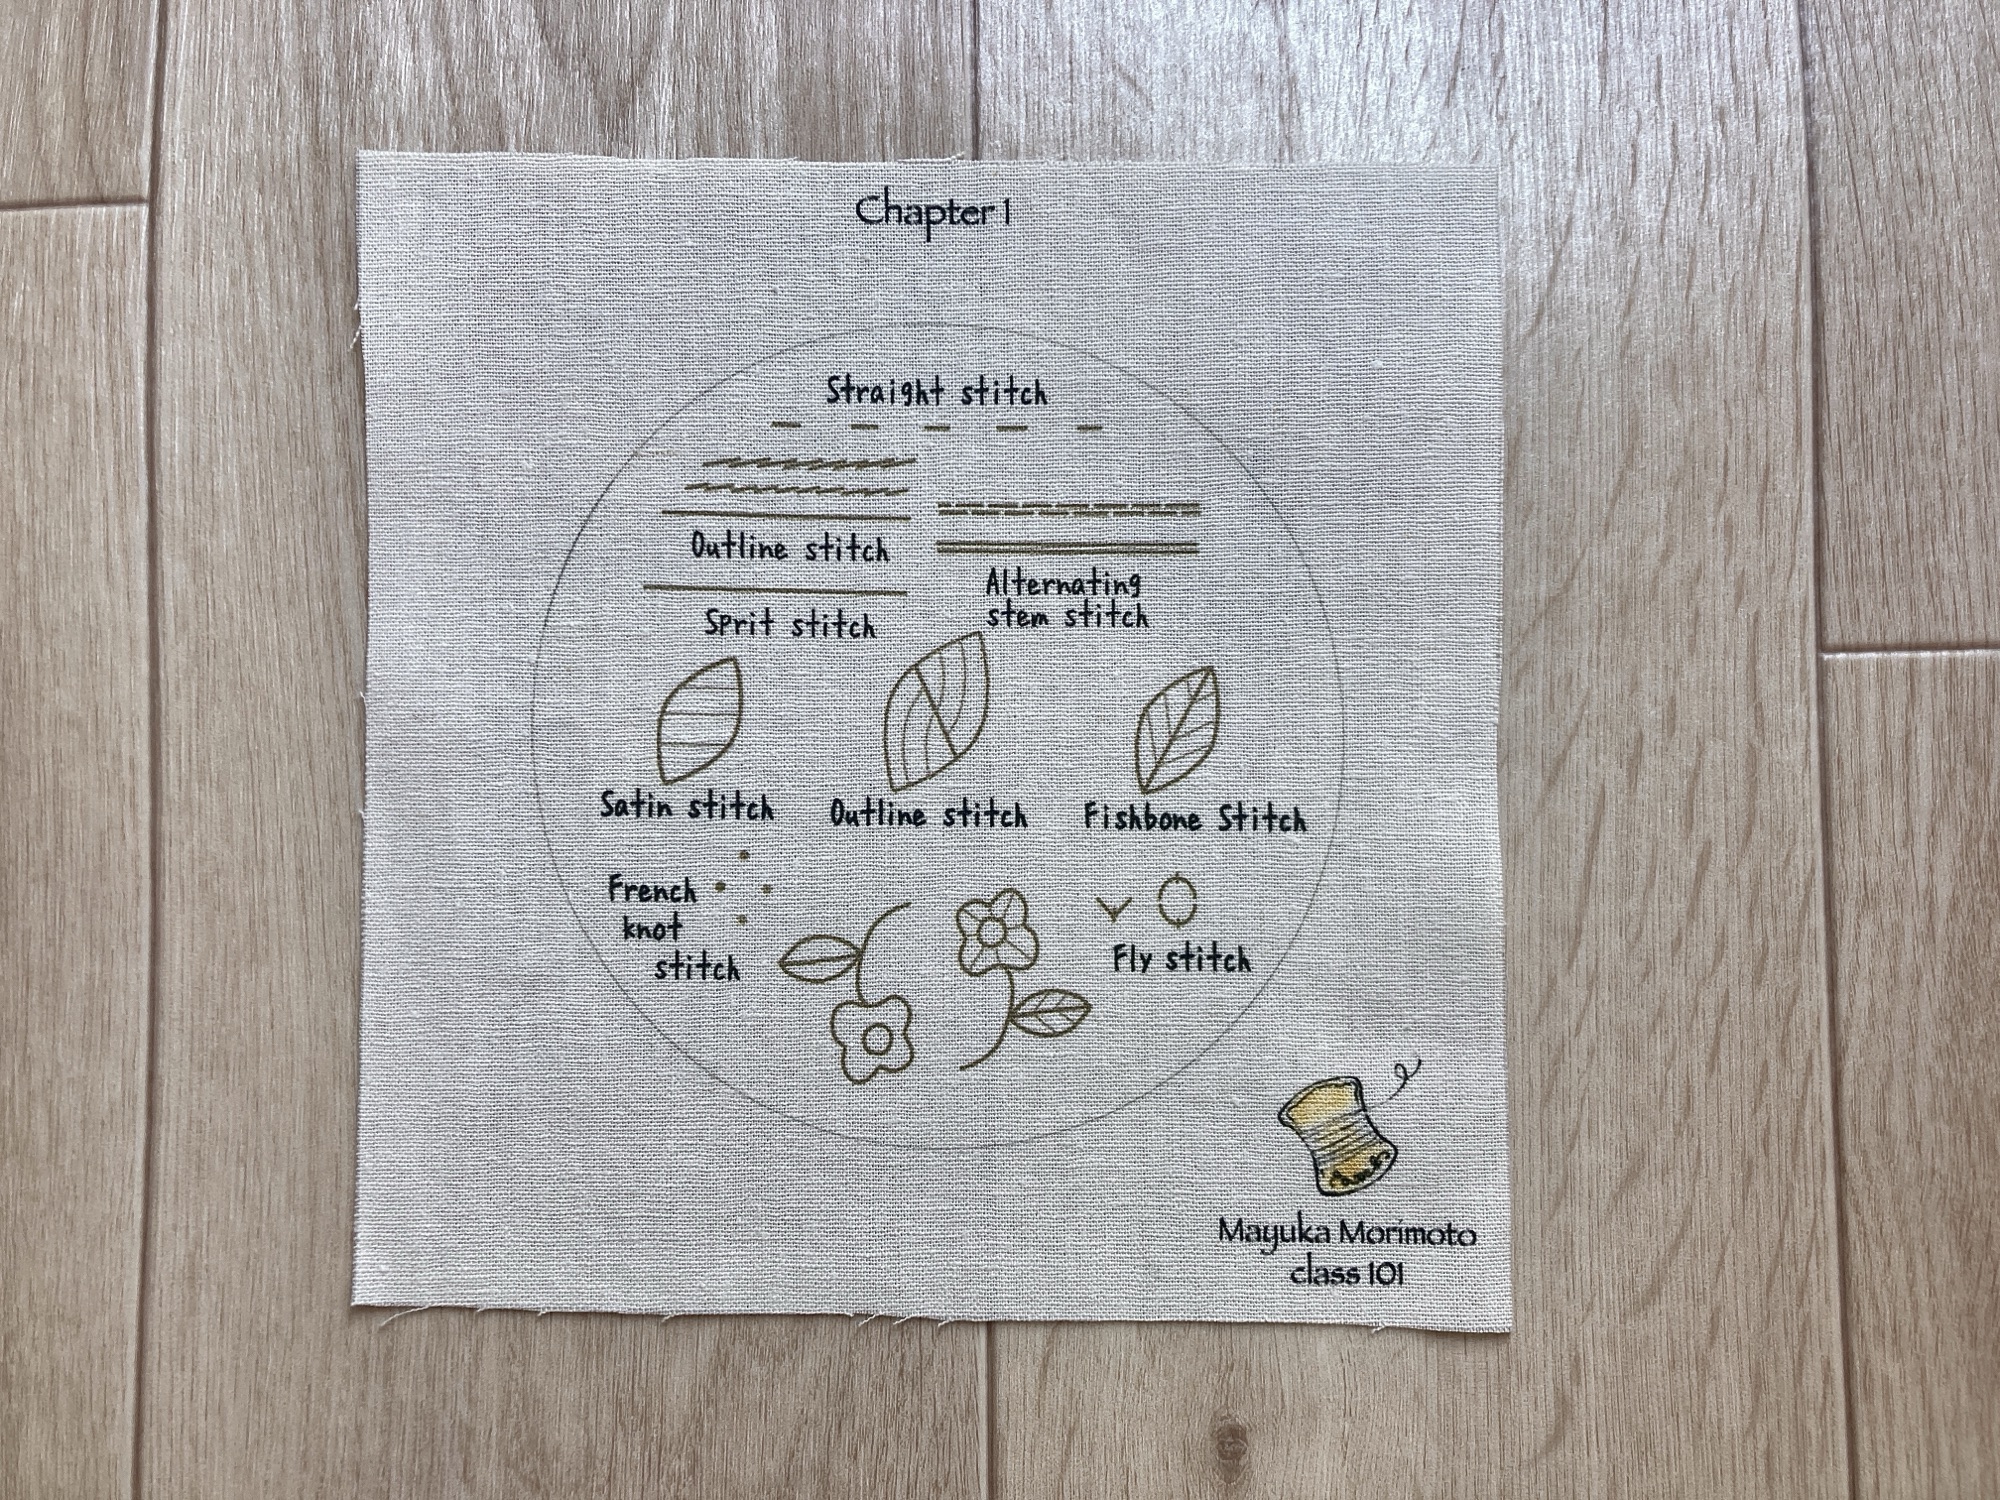
- Printed fabric for stitch practiceUsed in Beginner Chapter 1 – Stitch Practice.
Rabbit printed fabric
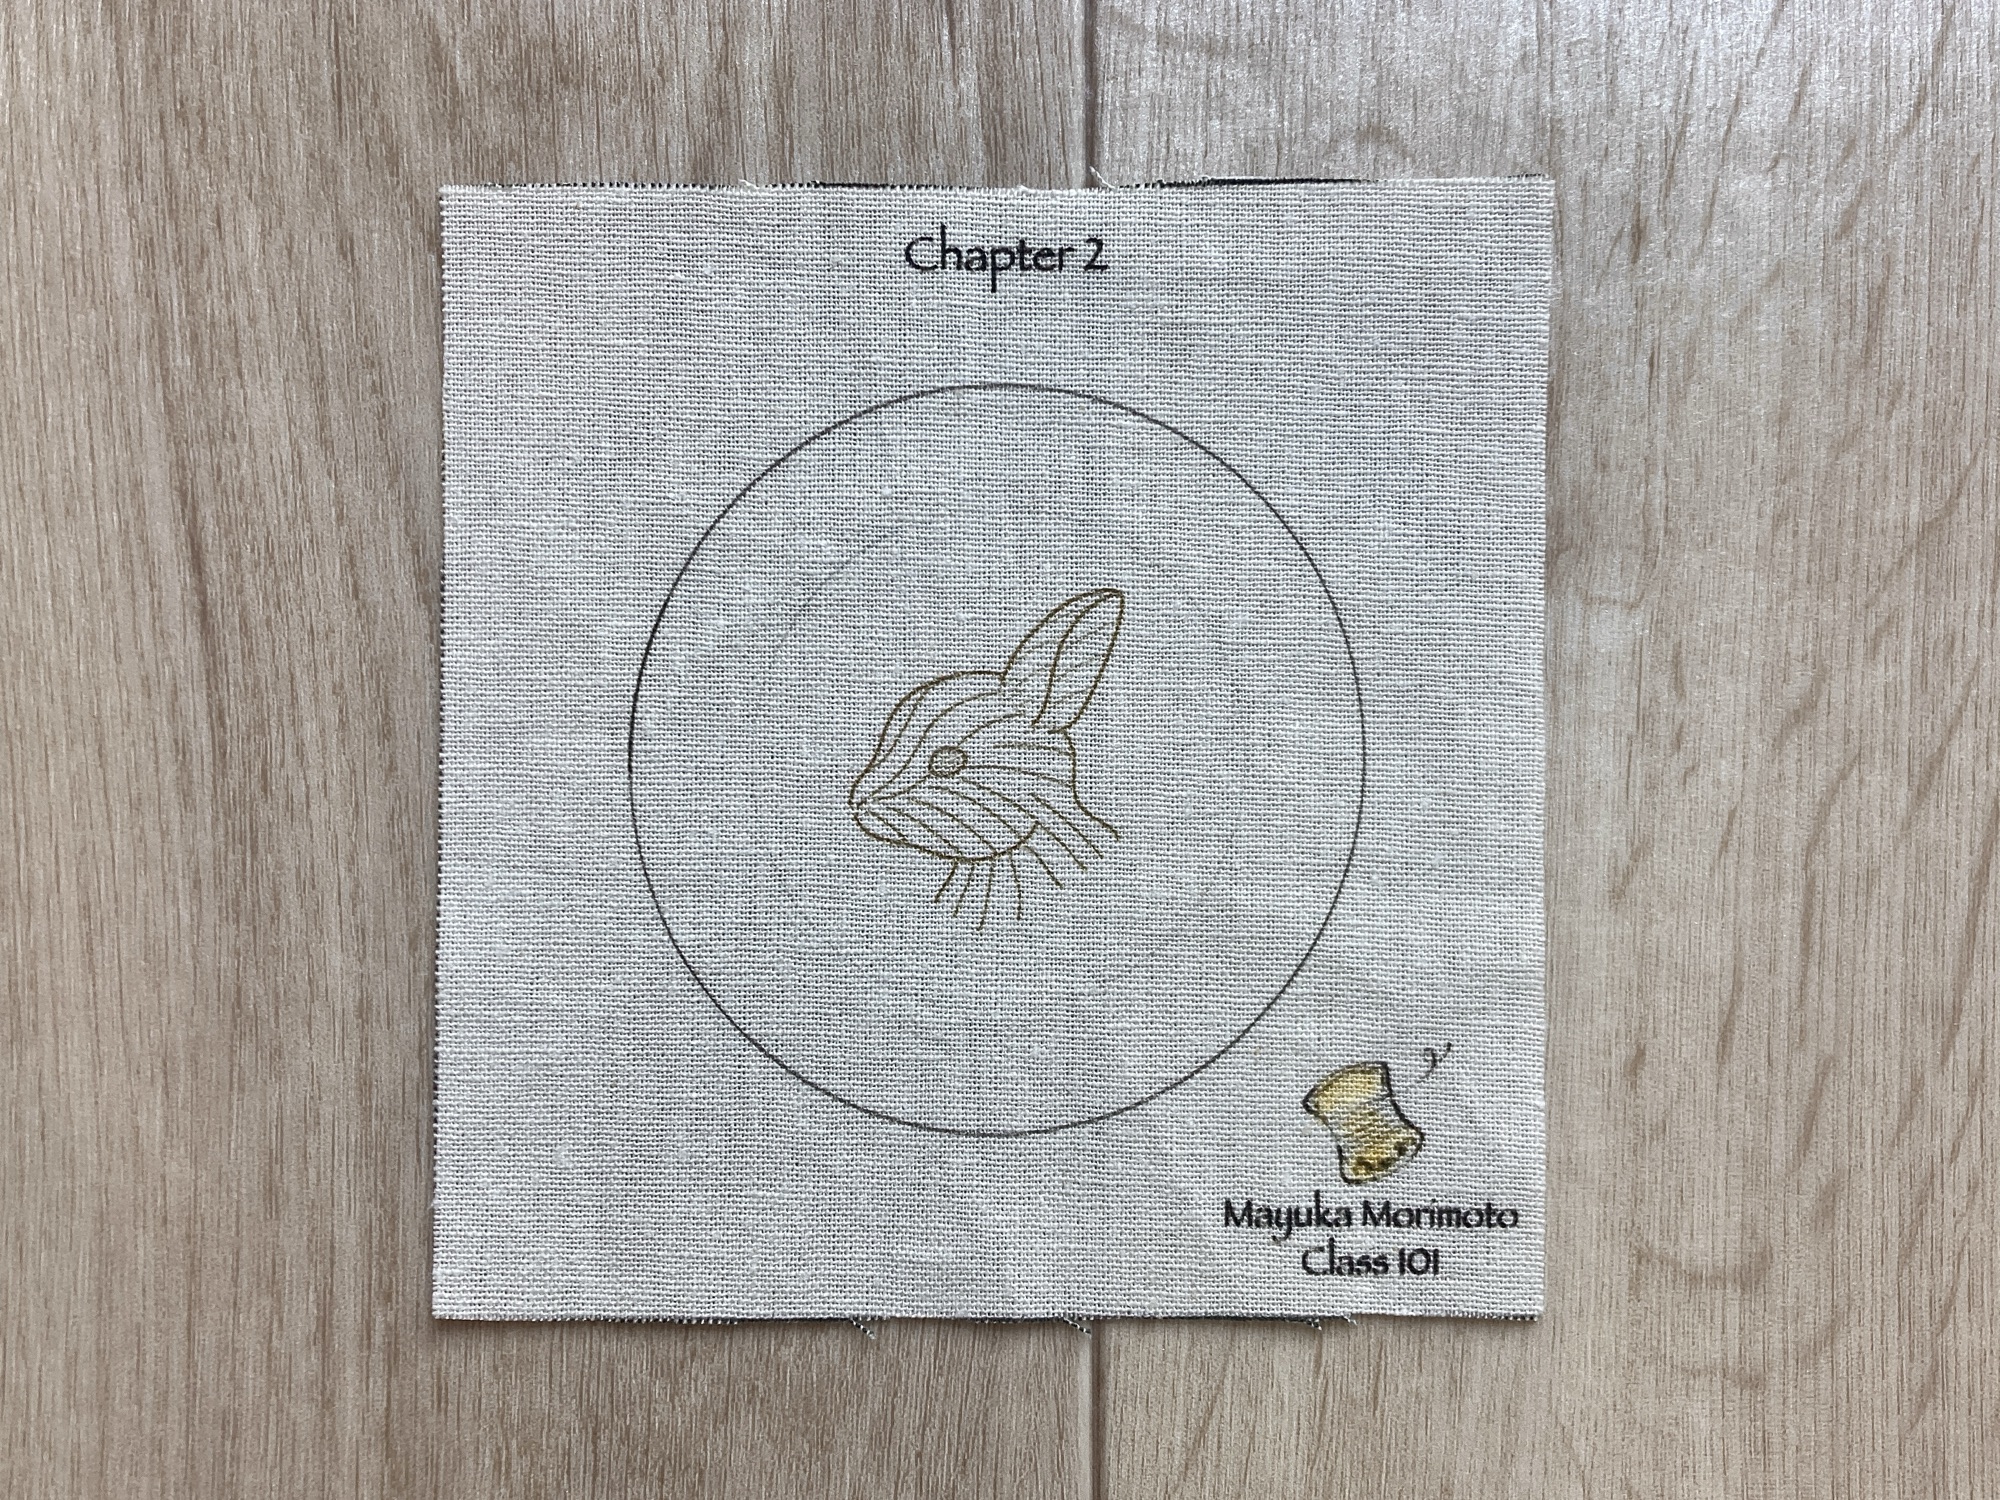
- Rabbit printed fabricUsed in Beginner Chapter 2 – Wild Rabbit Embroidered Item.
Unbleached linen fabric
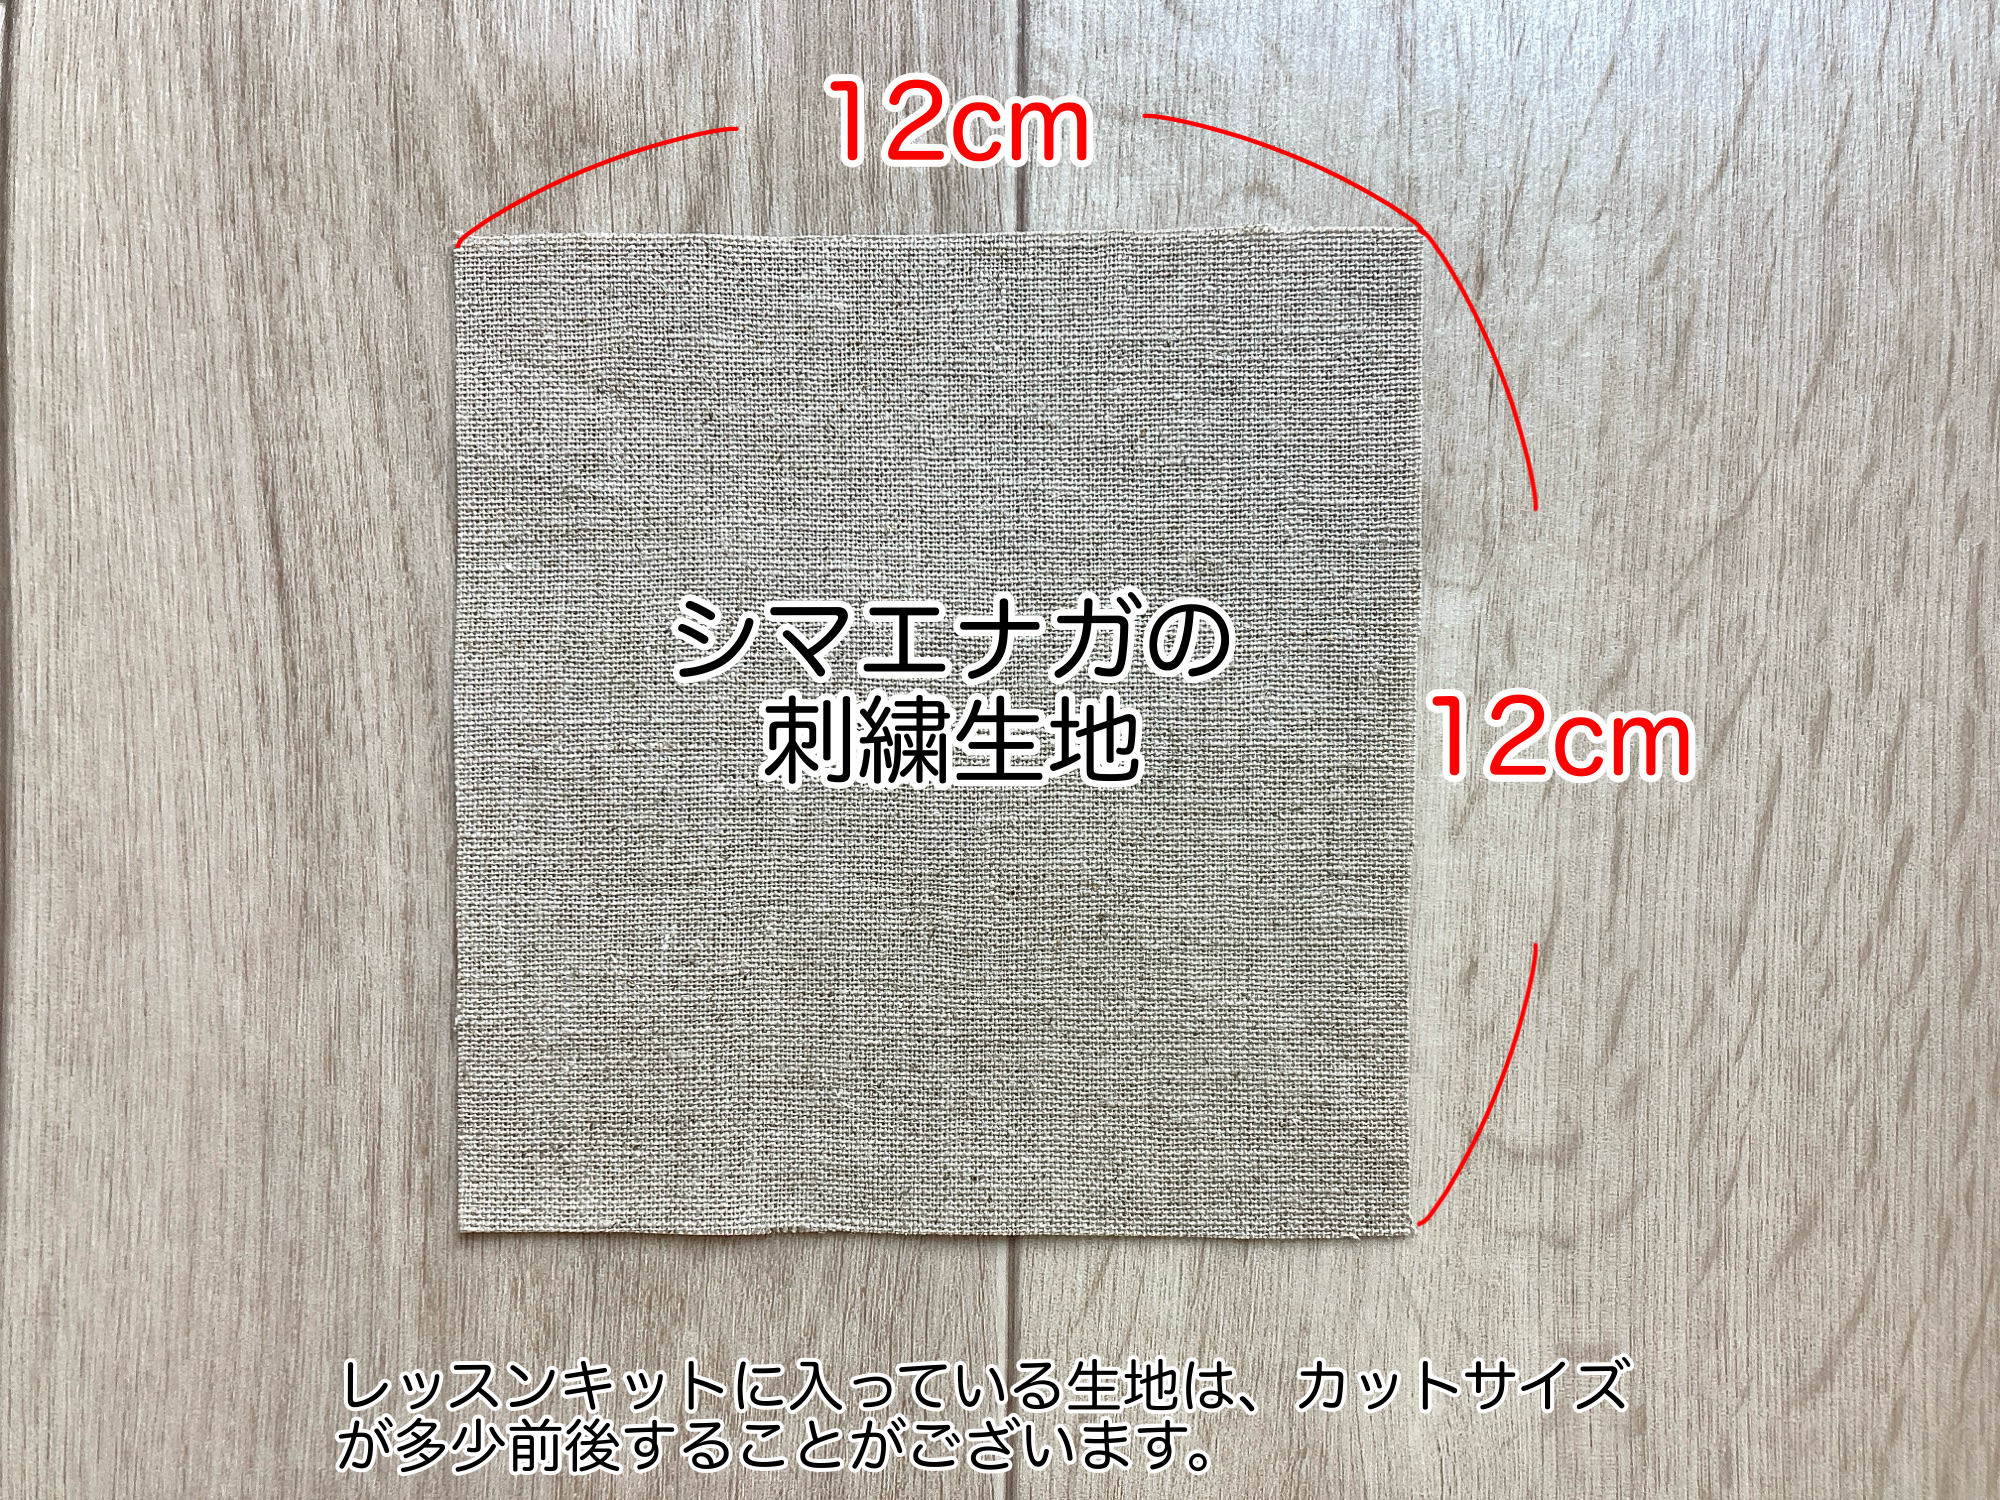
- Unbleached linen fabricUsed in Chapter 1 – Shimaenaga Brooch. Size: 12cm × 12cm.
Squirrel printed fabric
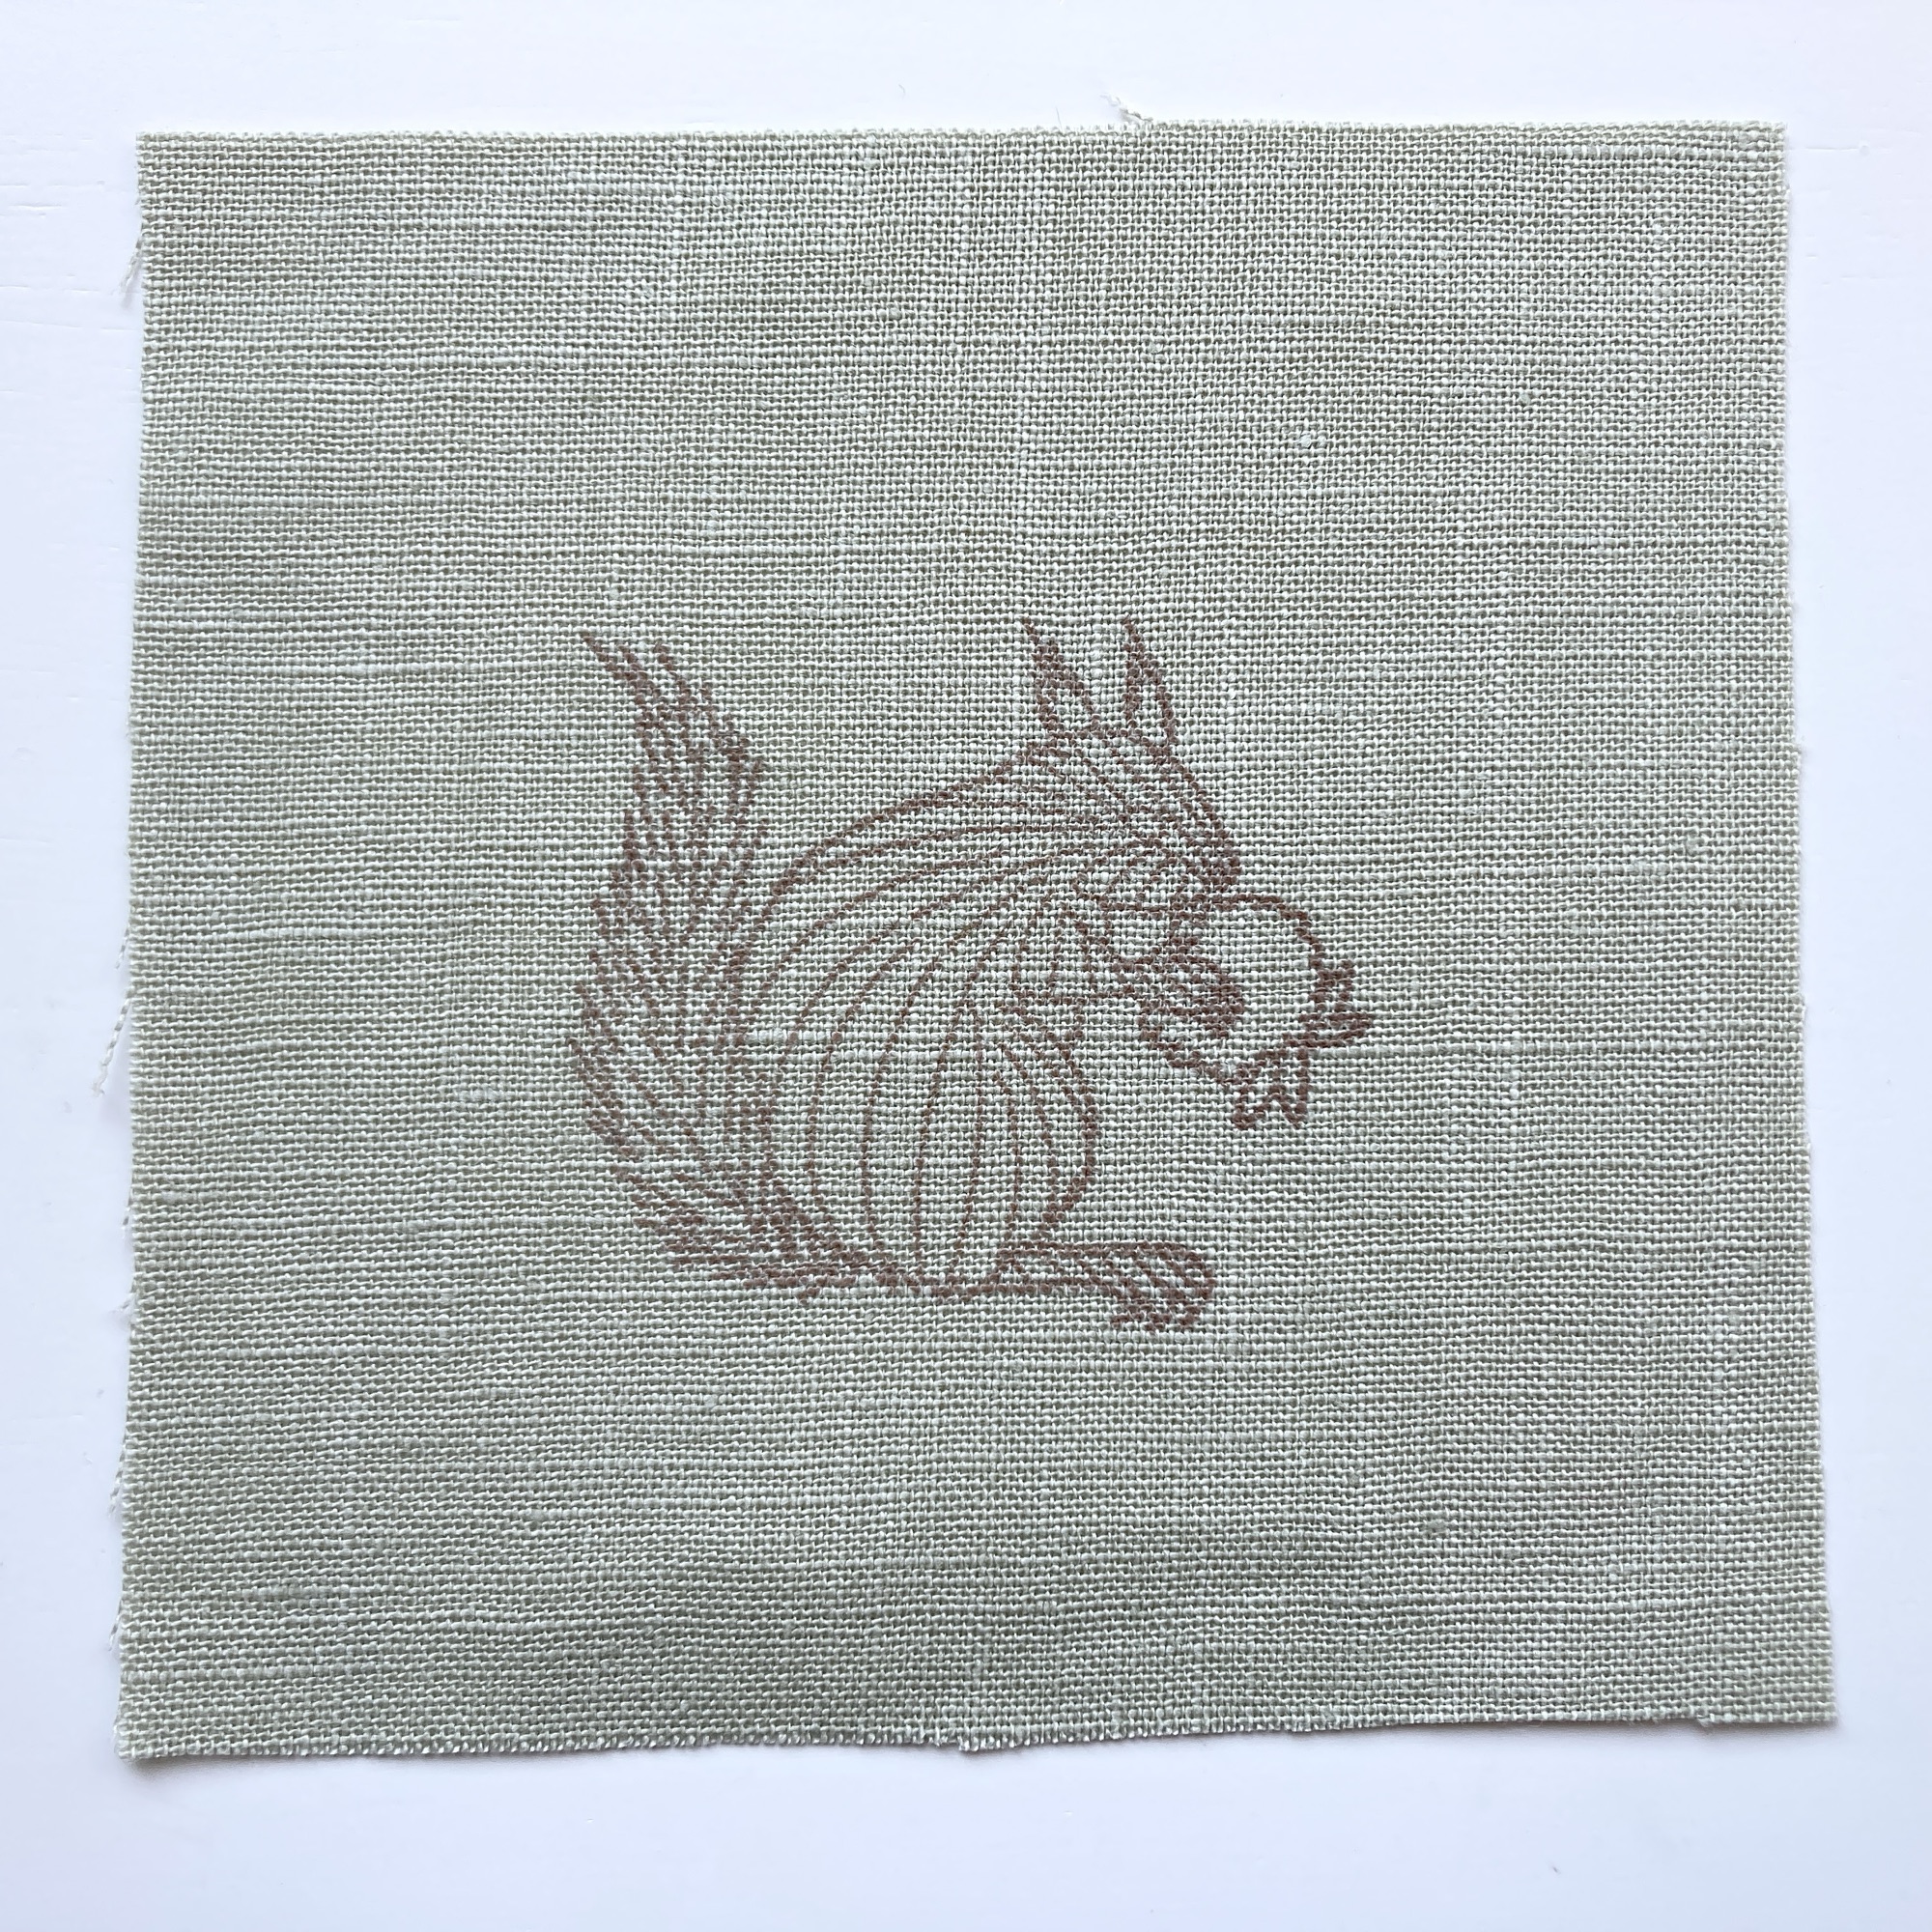
- Squirrel printed fabricUsed in Chapter 2 – Squirrel Charm. Size: 12cm × 12cm.
Linen fabric (natural)
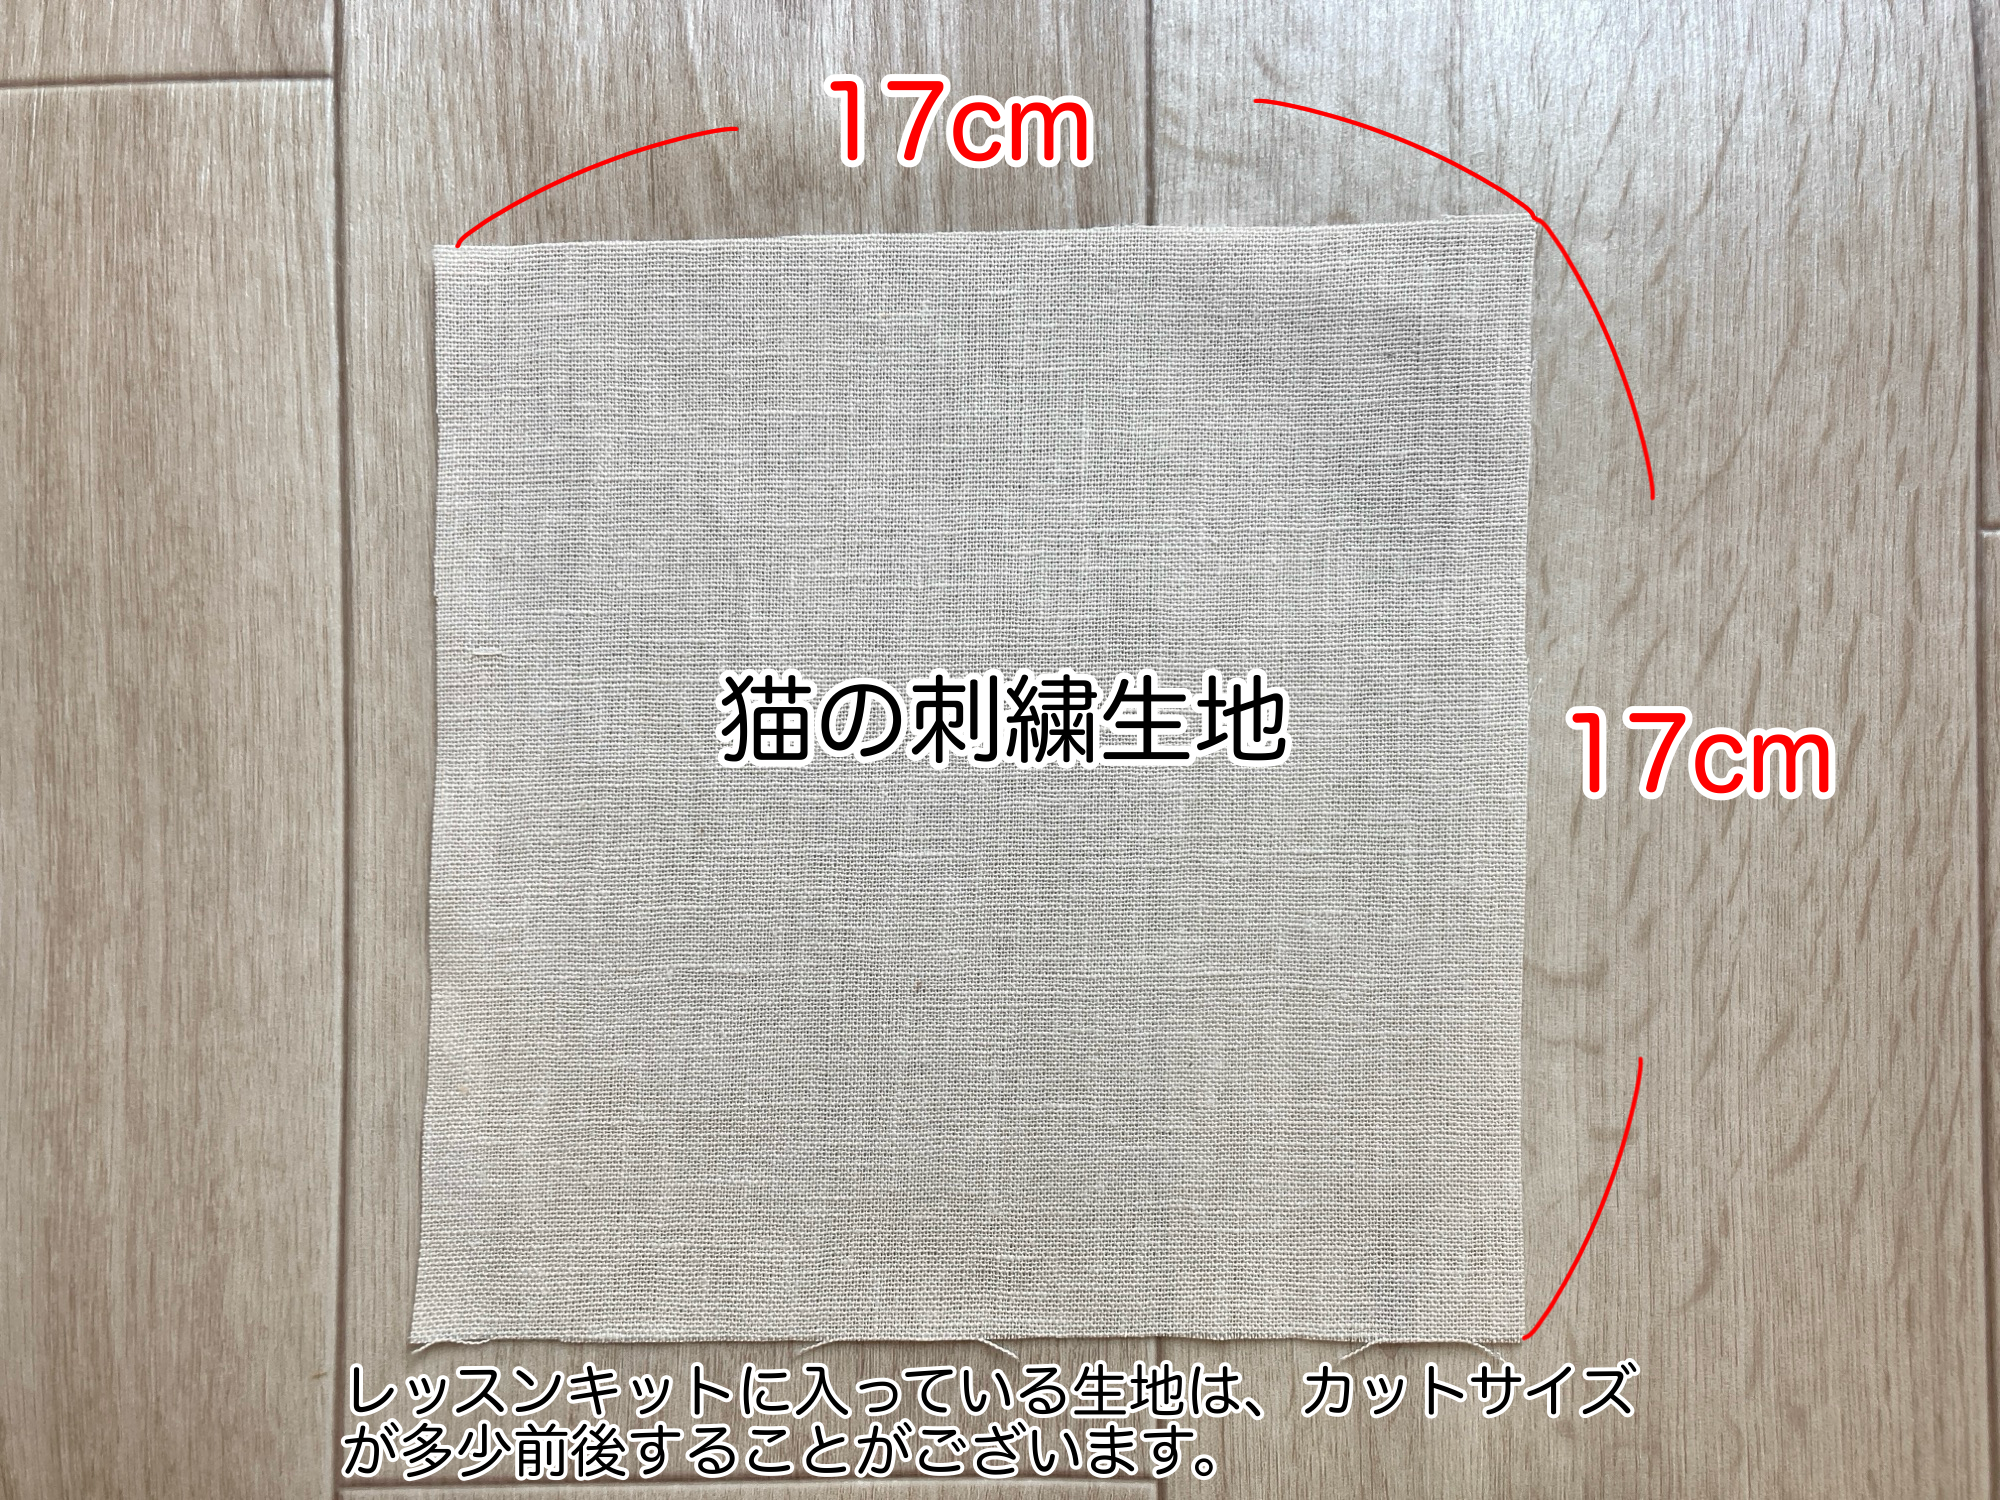
- Linen fabric (natural)Used in Chapter 3 – Cat Embroidery. Size: 17cm × 17cm.
Fabric set for Cat Pouch
- Outer fabric for pouch (cotton-linen, 1 piece)Used in Chapter 4 – Cat Pouch. Size: 28cm × 18cm.
- Lining fabric for pouch (twill, 2 pieces)Used in Chapter 4 – Cat Pouch. Larger piece: 23cm × 17cm, smaller piece: 15cm × 17cm.
Felt
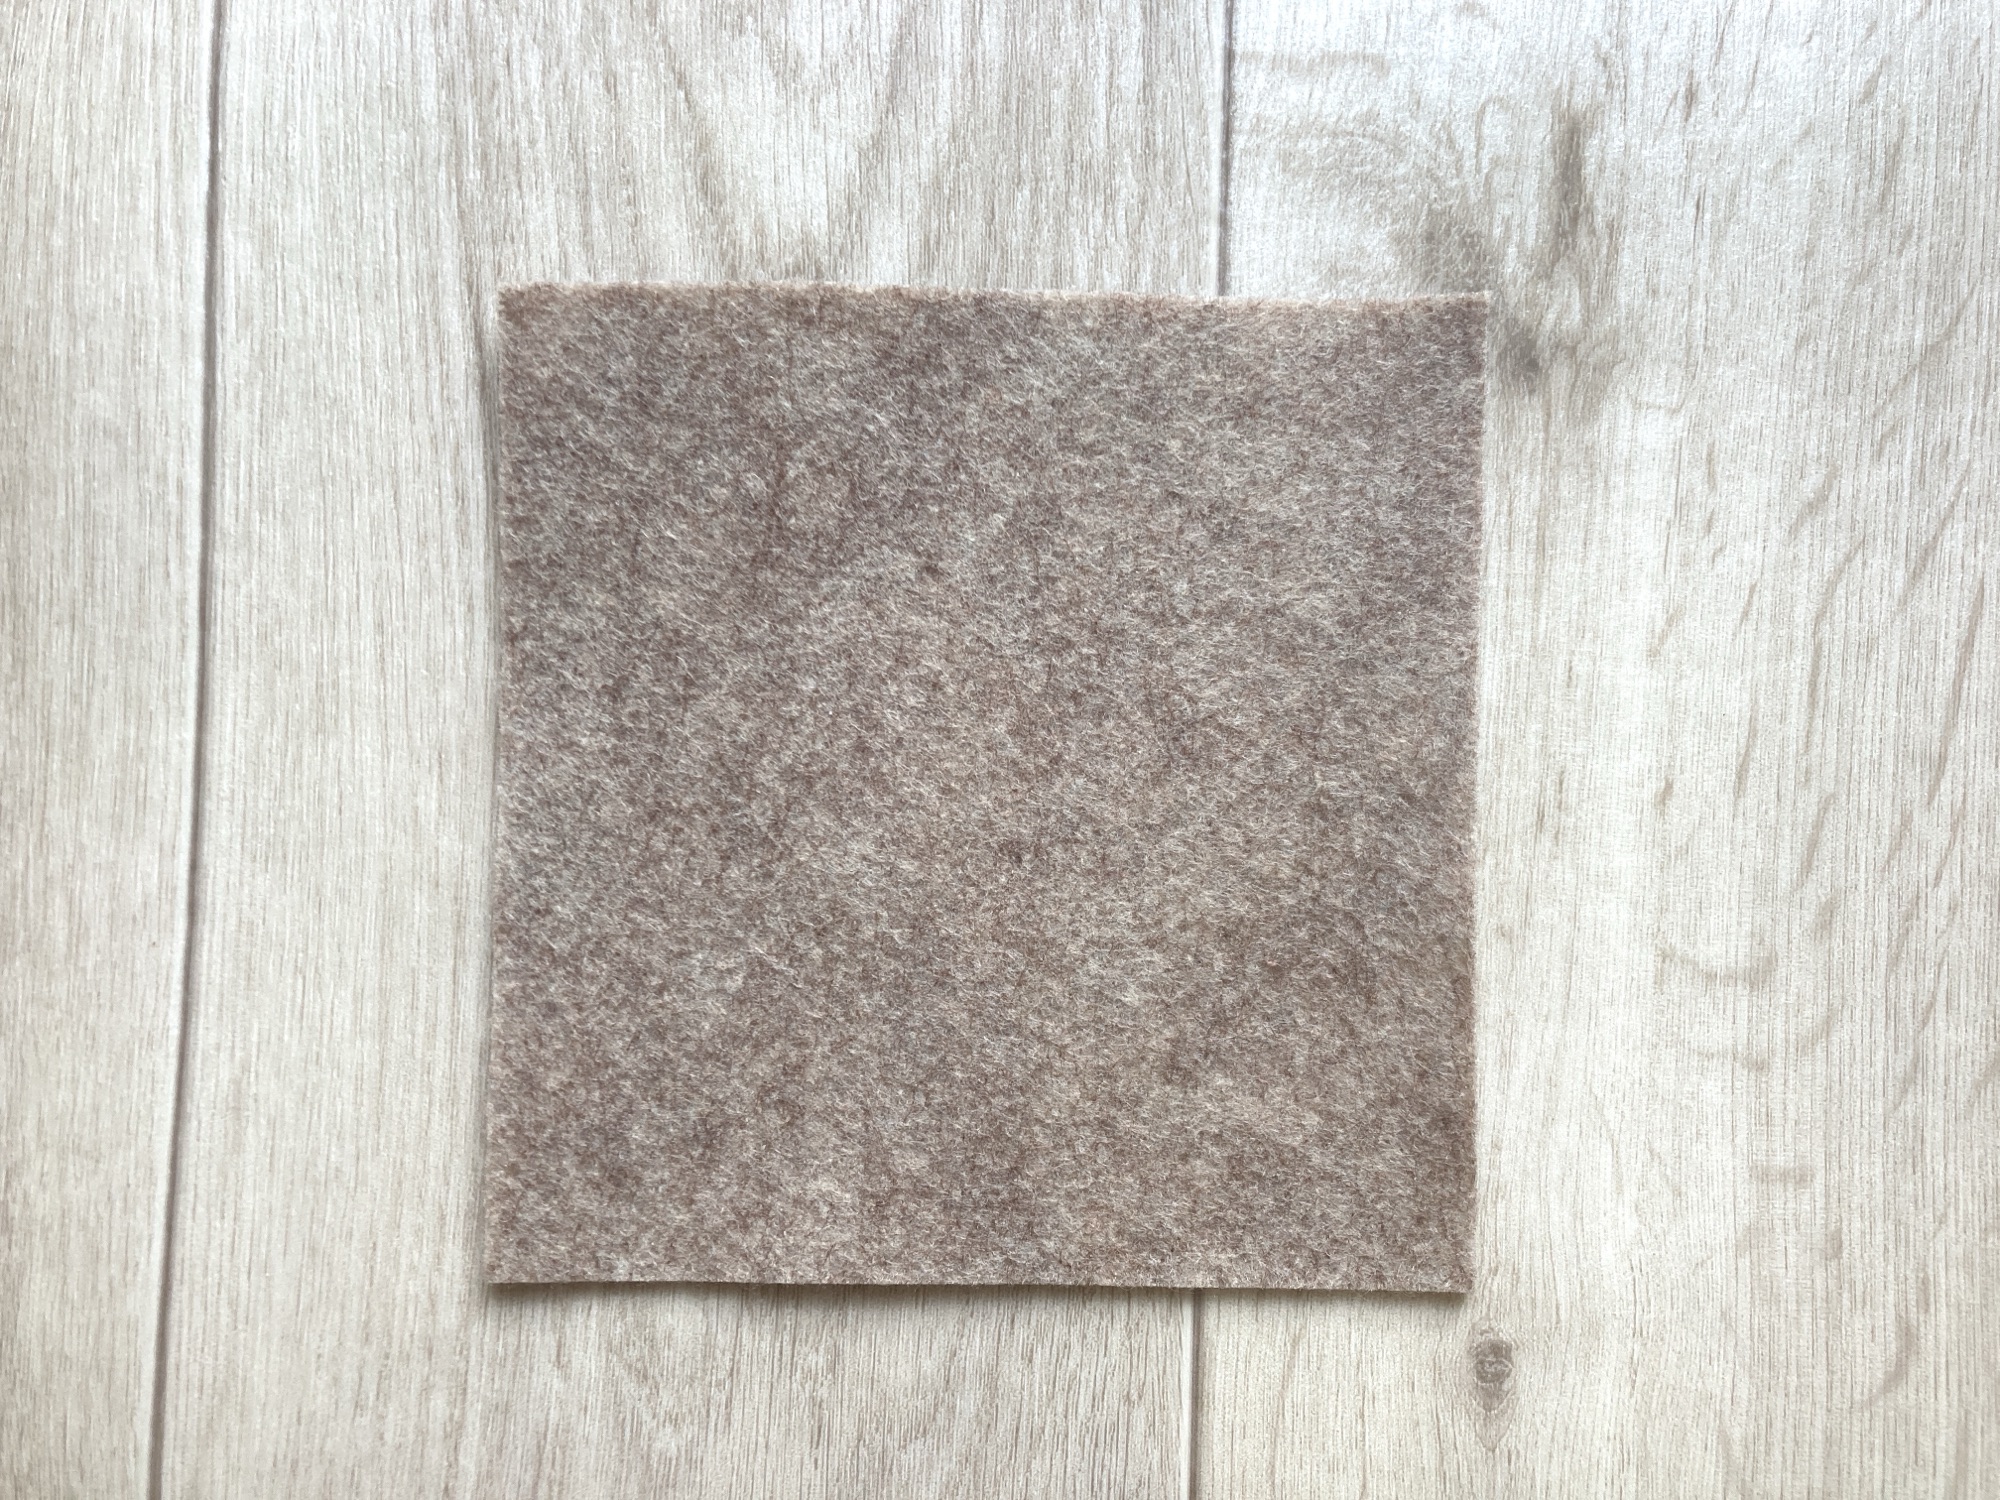
- FeltUsed in Chapter 1 – Shimaenaga Brooch and Chapter 2 – Squirrel Charm.
Materials
Beginner CH2: Wild Rabbit Embroidered Item – Materials
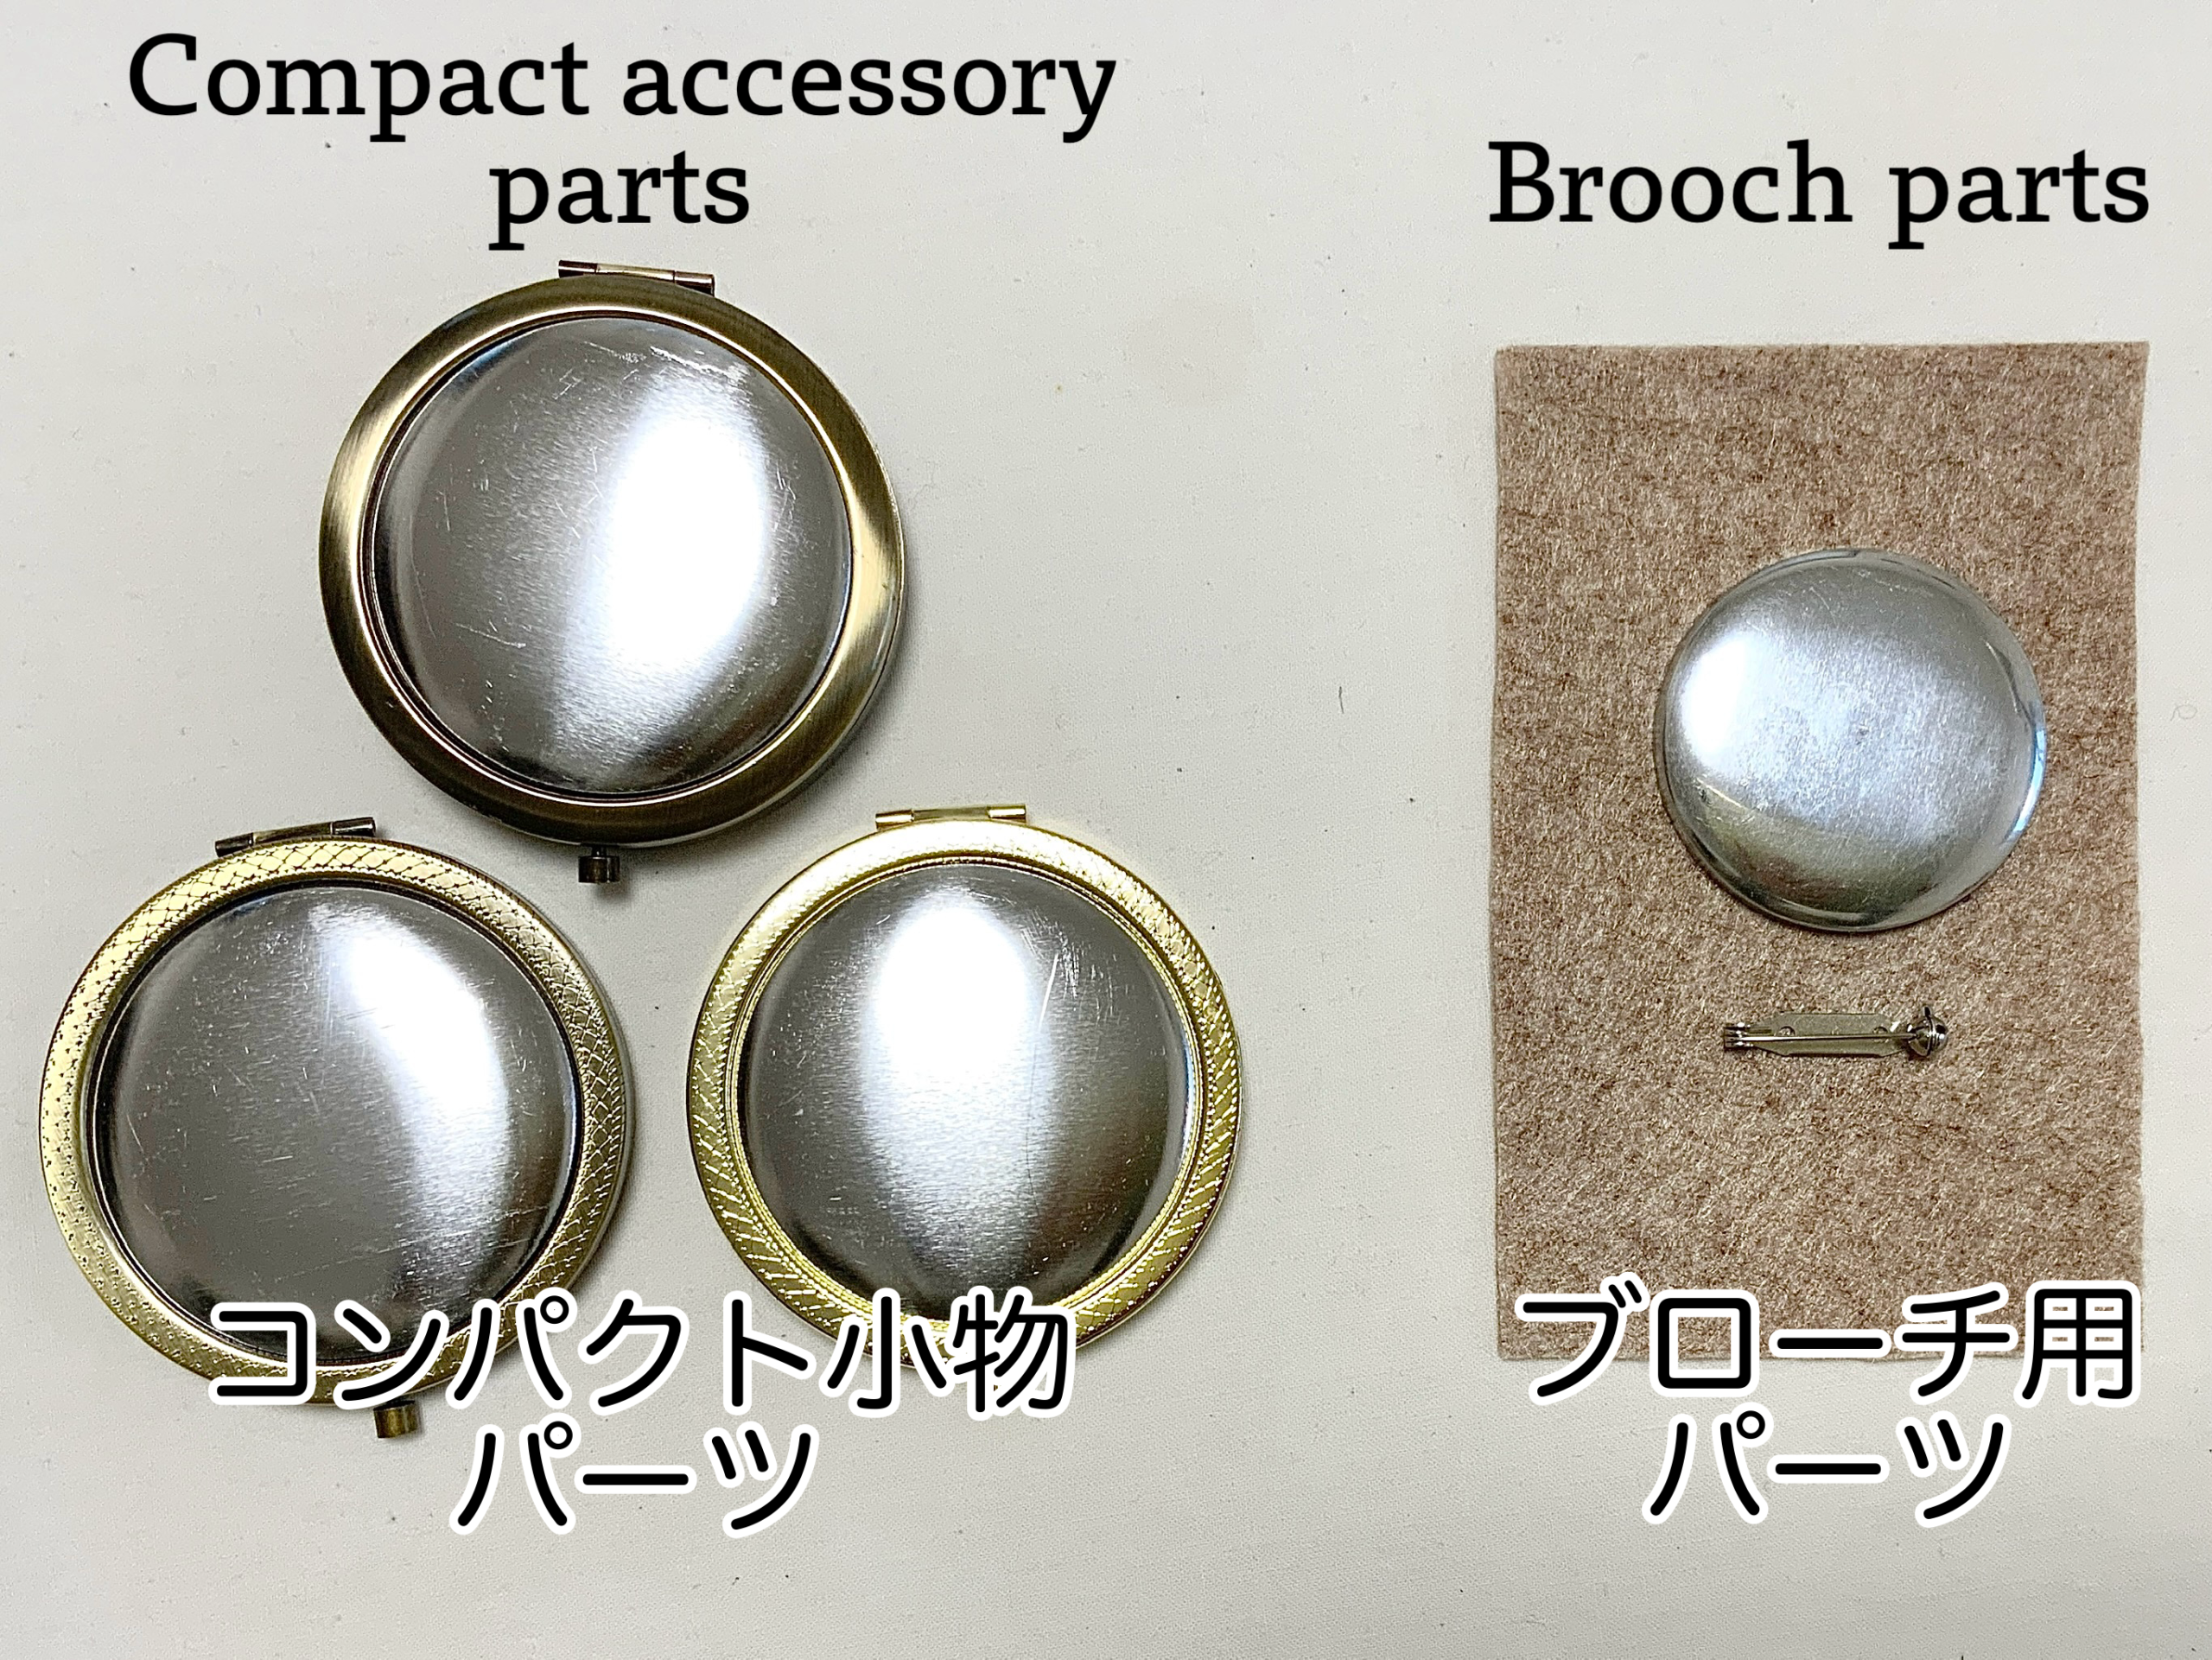
- Compact accessory partsWe use a set that includes both the embroidered piece and the base.
- Brooch partsPlease prepare brooch materials: a Brooch Base (5 cm diameter), a brooch pin, and felt.
Chapter 1: Shimaenaga Brooch – Materials
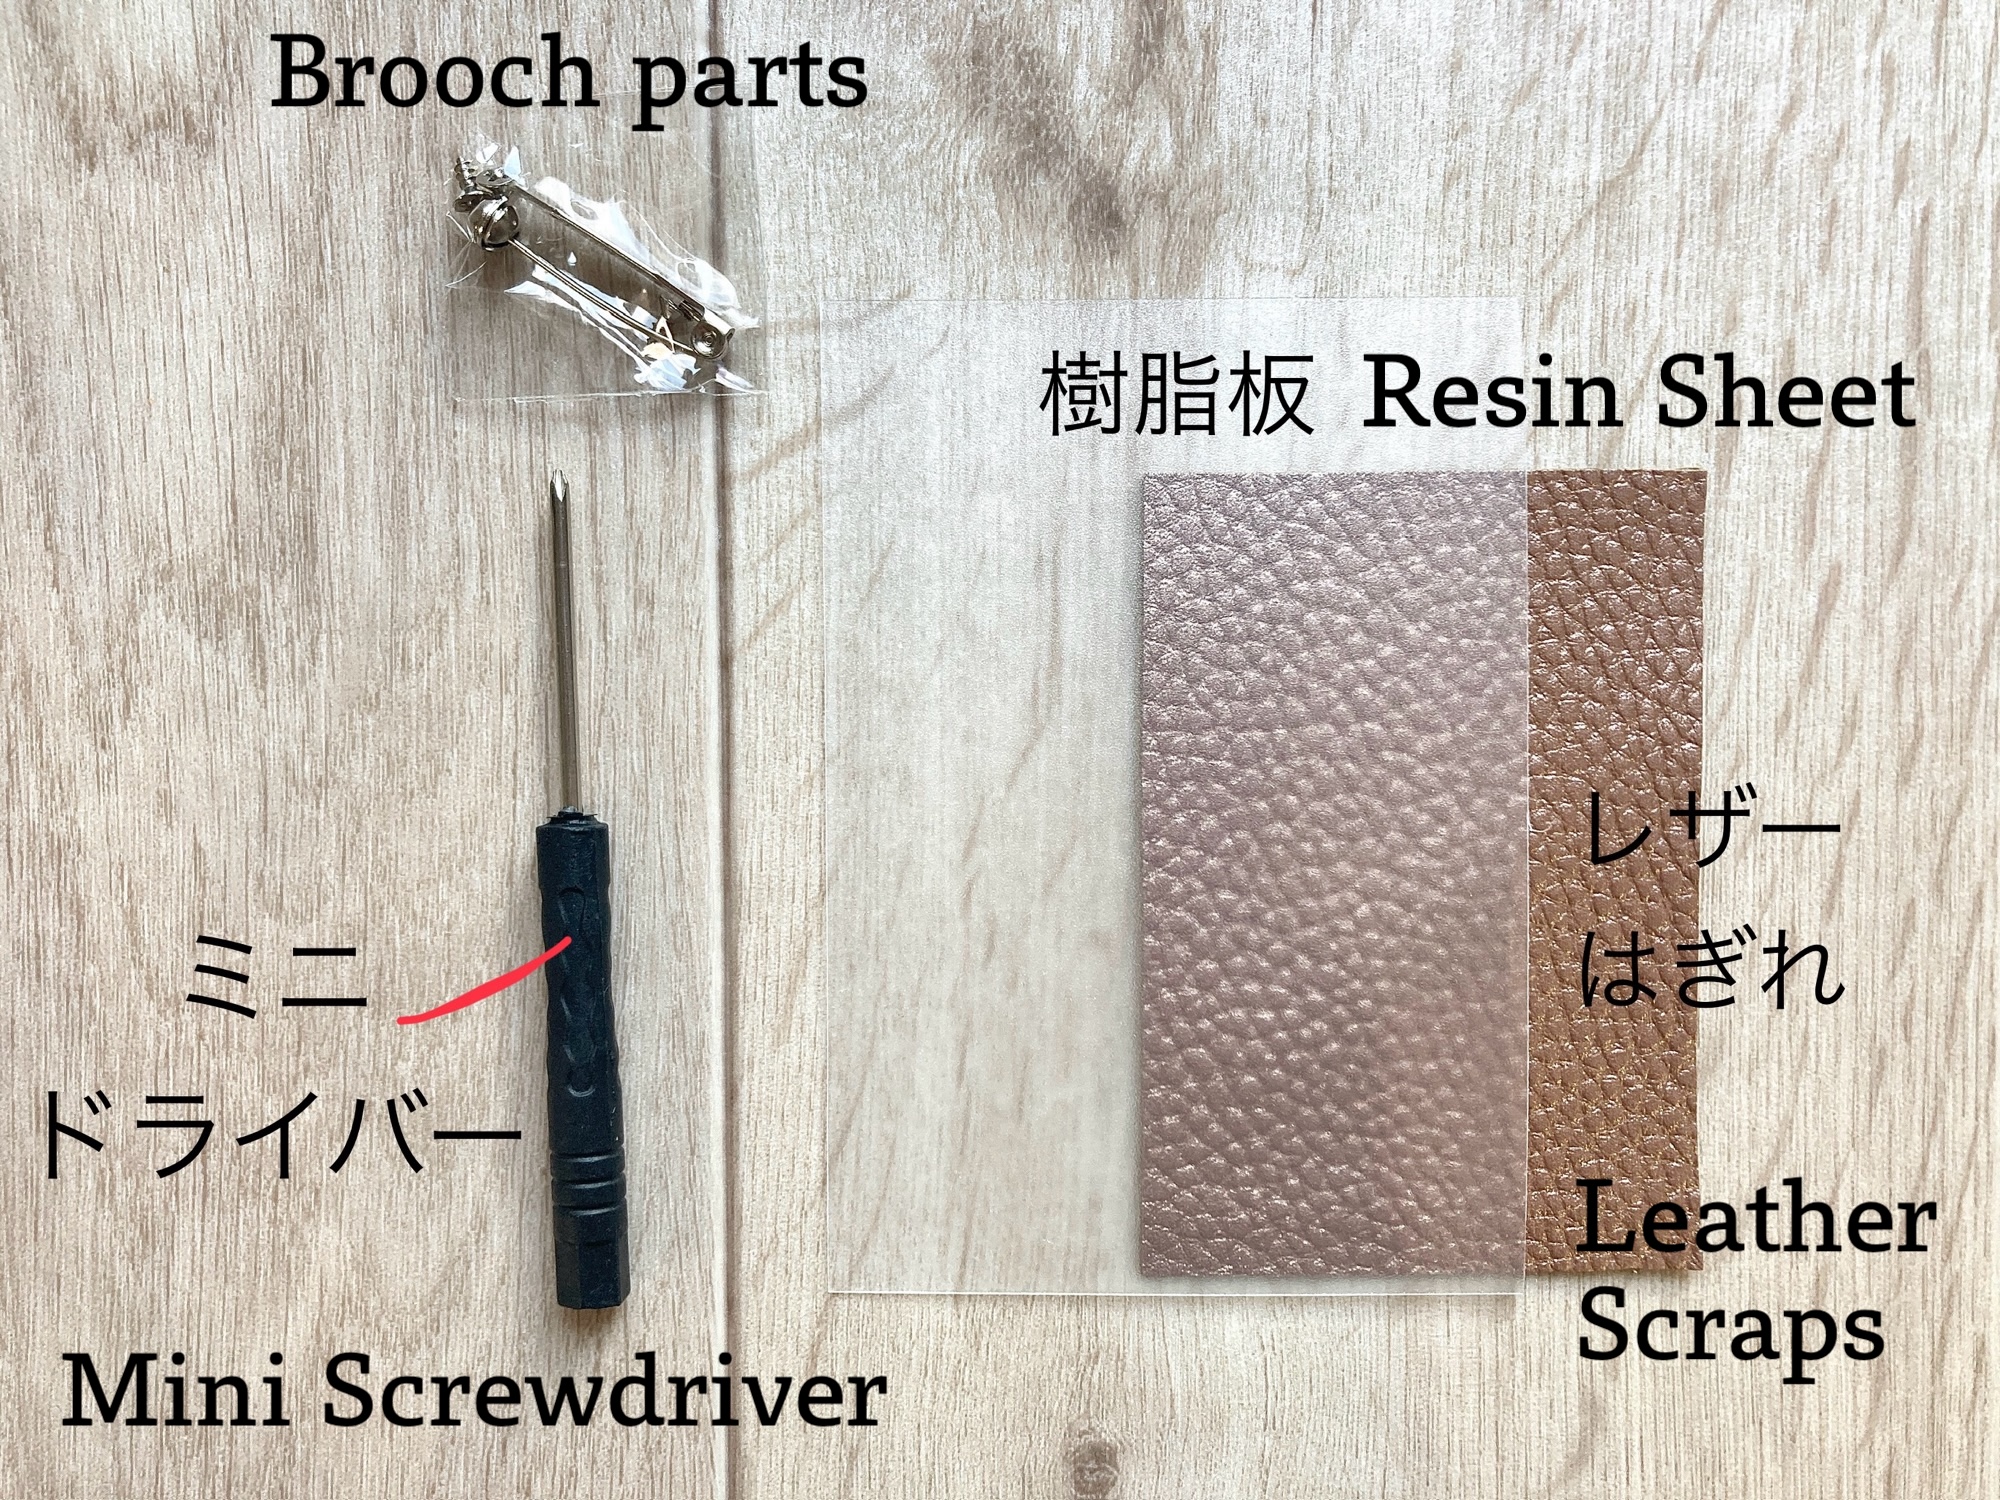
- Mini screwdriverUsed to tighten the screws on the brooch pin.
- Brooch parts (pin with screws)Brooch pin with screws.
- Leather scrapsUsed to finish the back side of the brooch.
- Resin sheet (plastic sheet also works)Choose a thickness that is easy to cut with scissors.
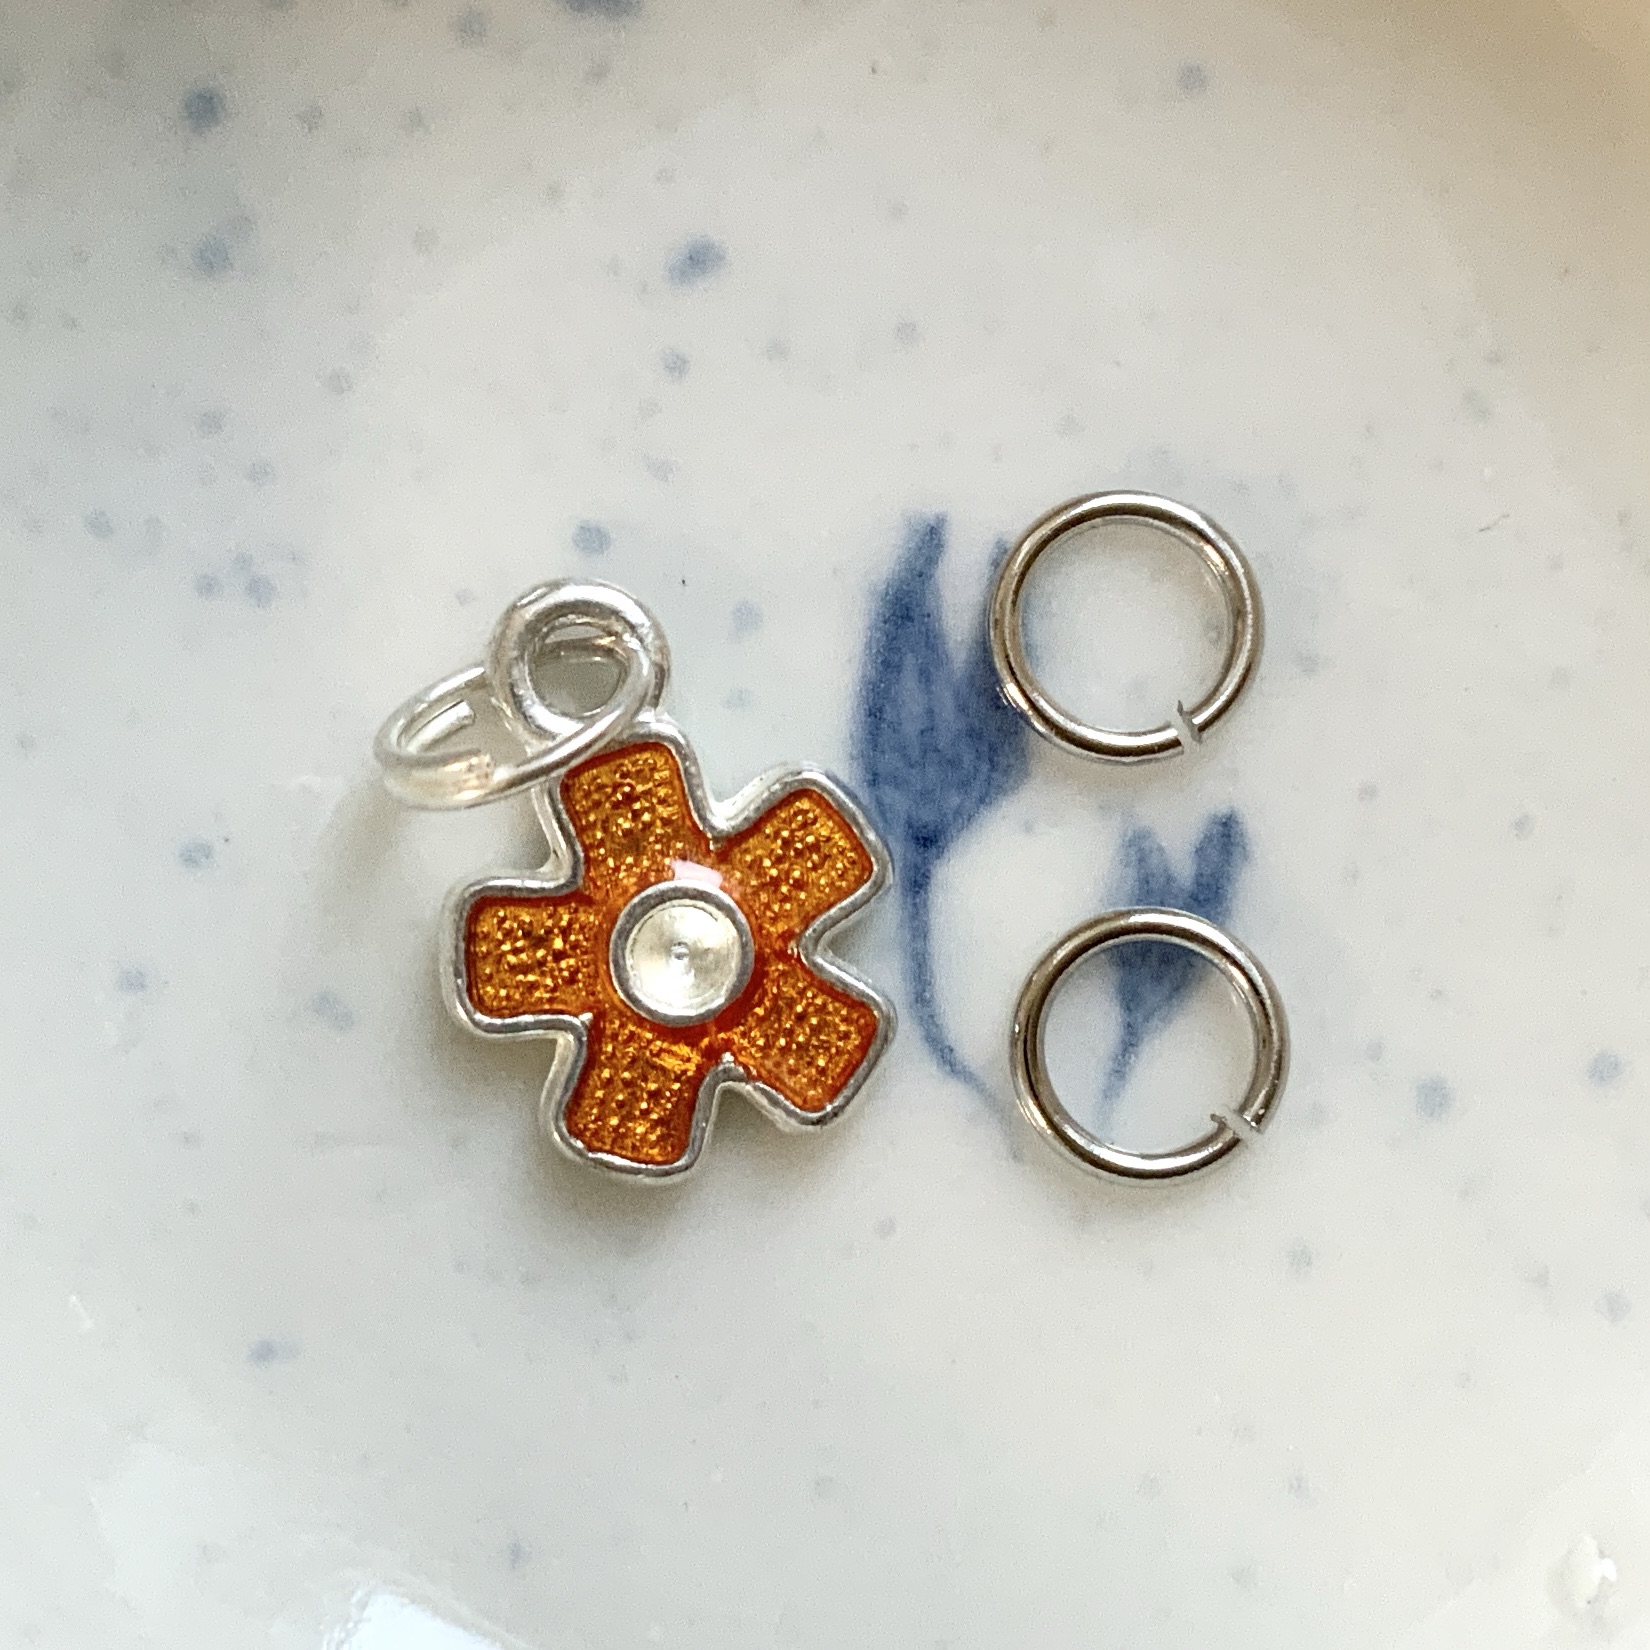
- Charm and jump ring (optional)Use as an optional decoration on the brooch.
Chapter 2: Squirrel Charm – Materials
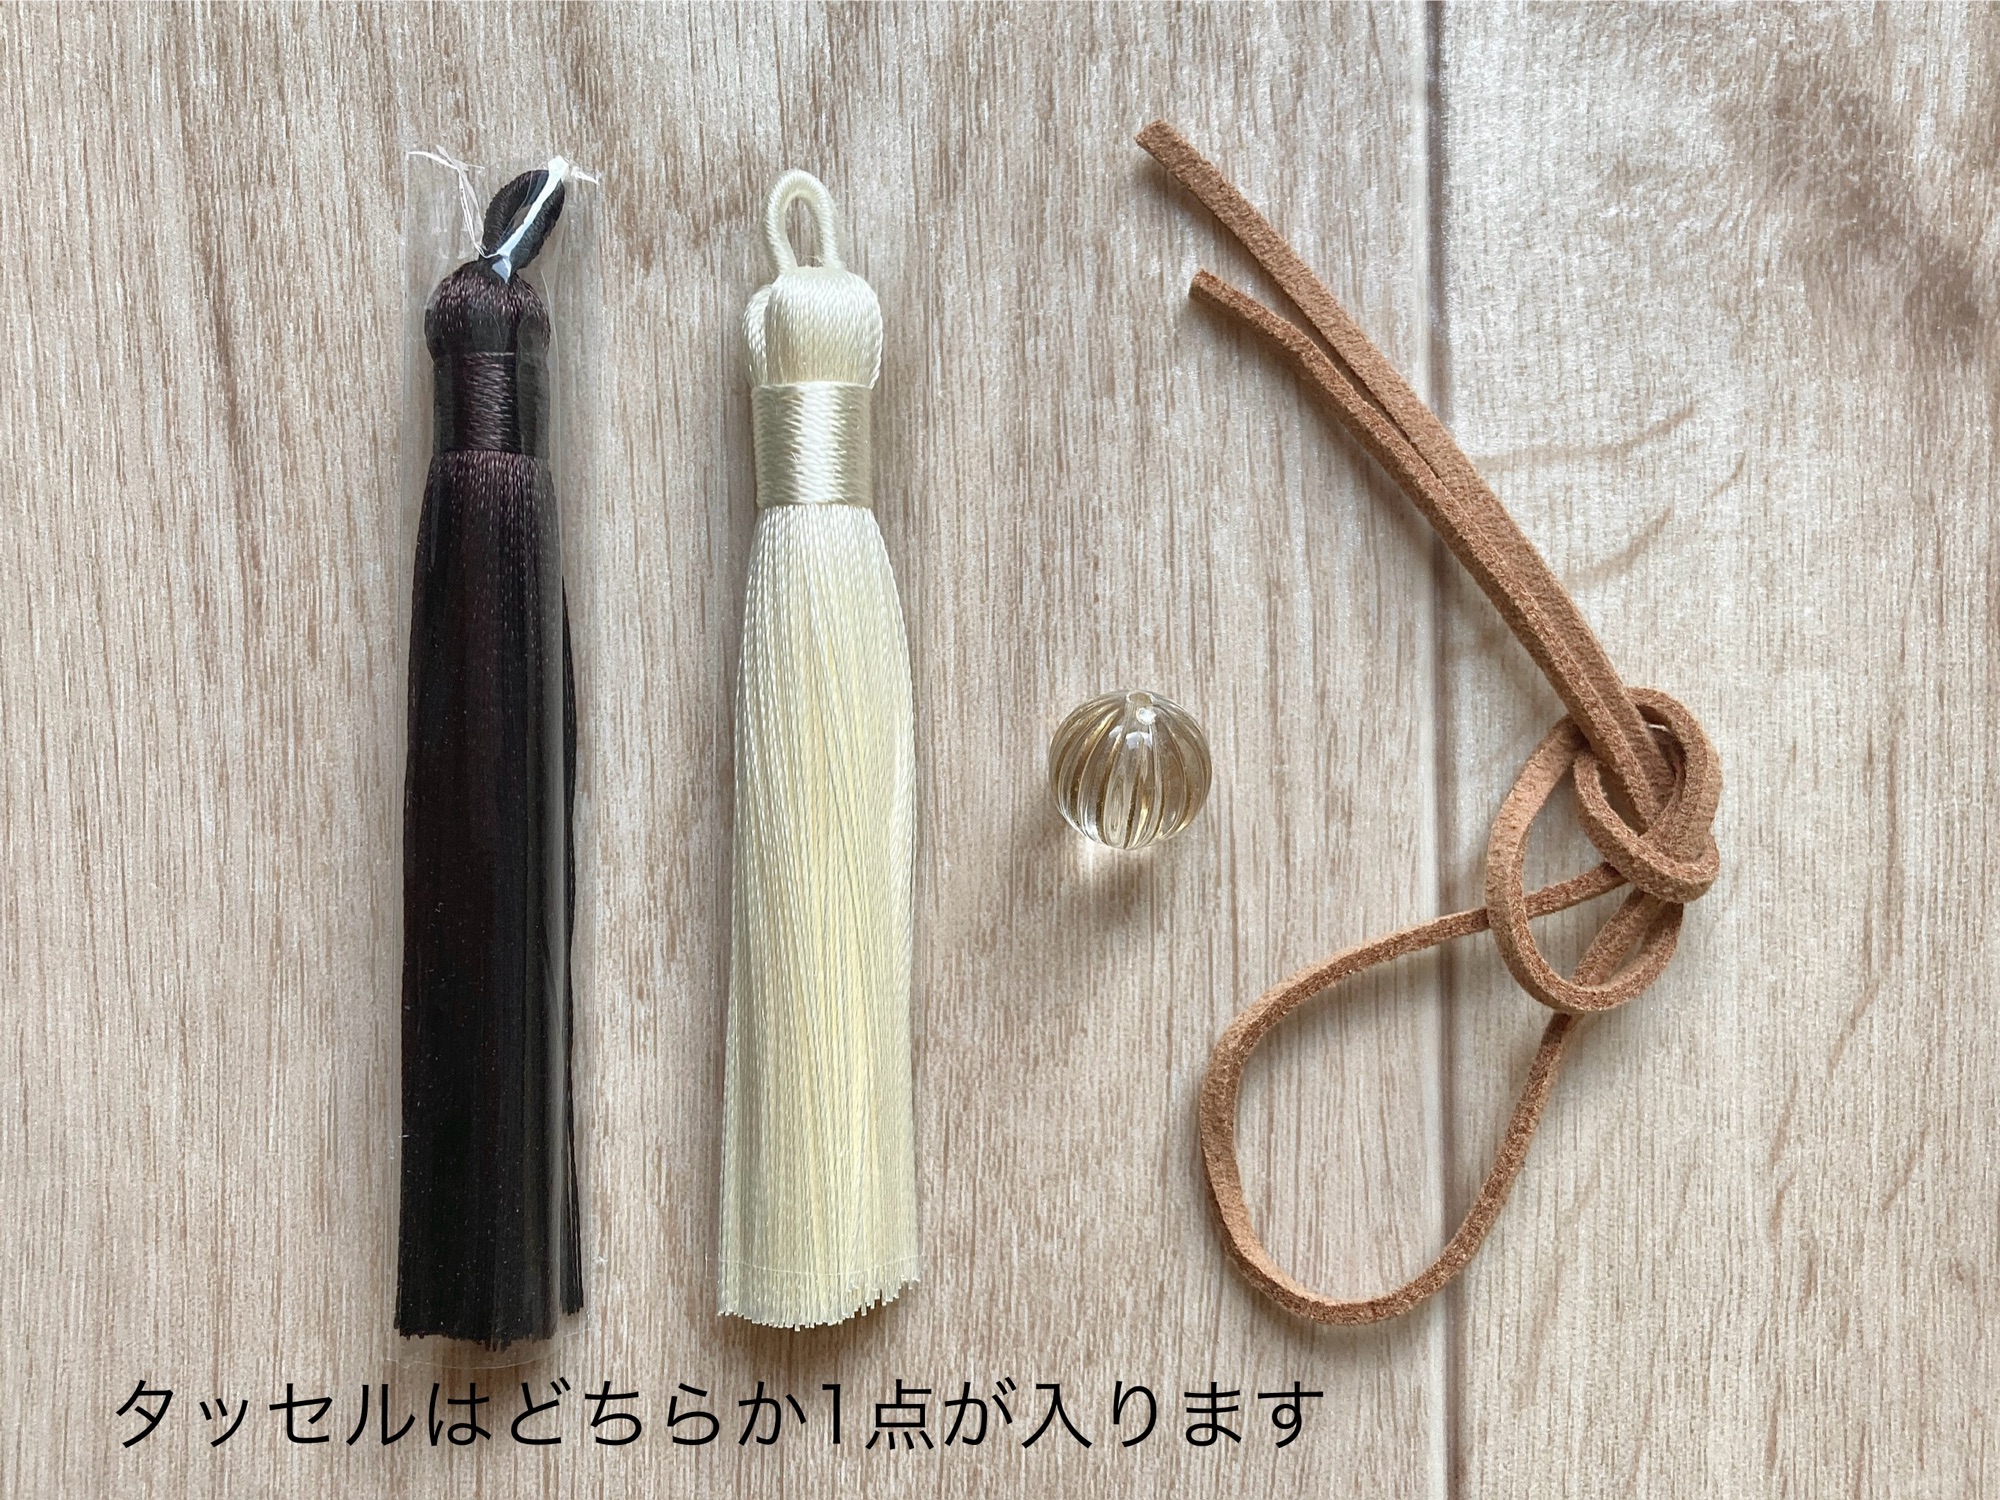
- Tassel
- Large bead
- CordUsed to attach and hang the squirrel charm.
Chapter 4: Cat Pouch – Materials
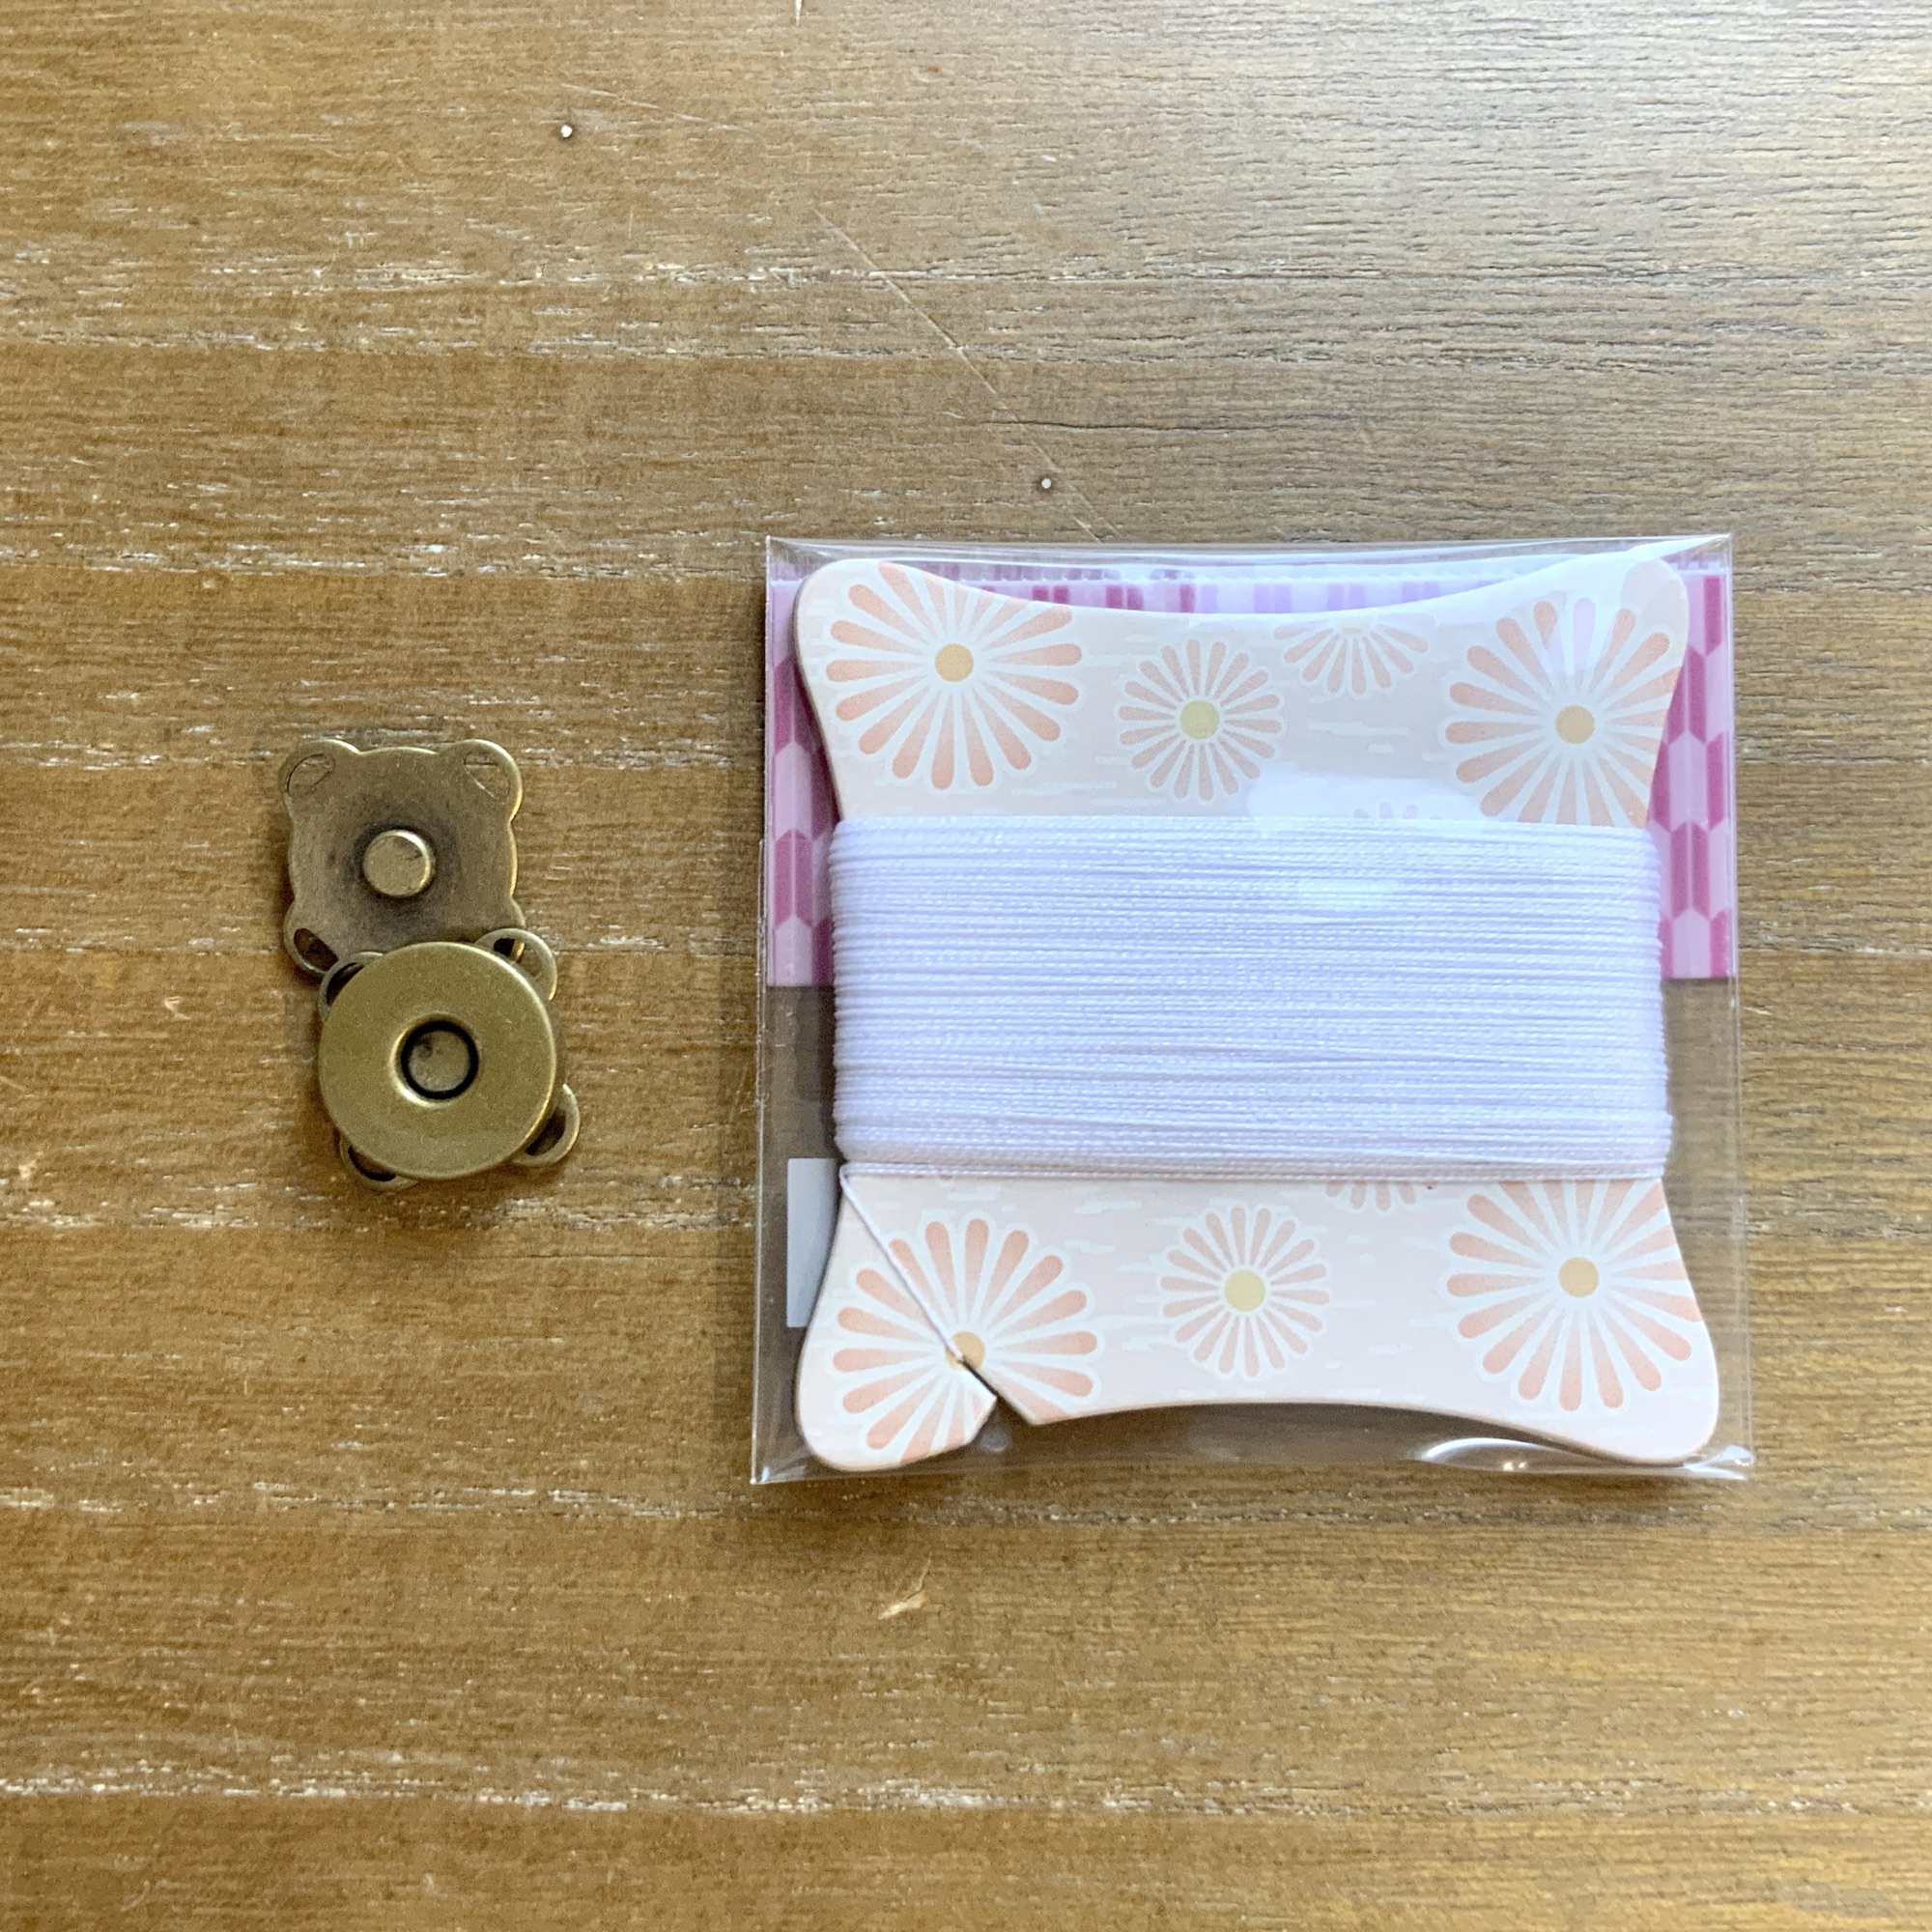
- Snap button (14mm)
- Thread for sewing the pouchPrepare a sewing thread slightly thicker than standard machine thread. You can also use machine thread or a single strand of embroidery thread, but a sturdy sewing thread is recommended.
Other Materials & Tools
Printed Patterns
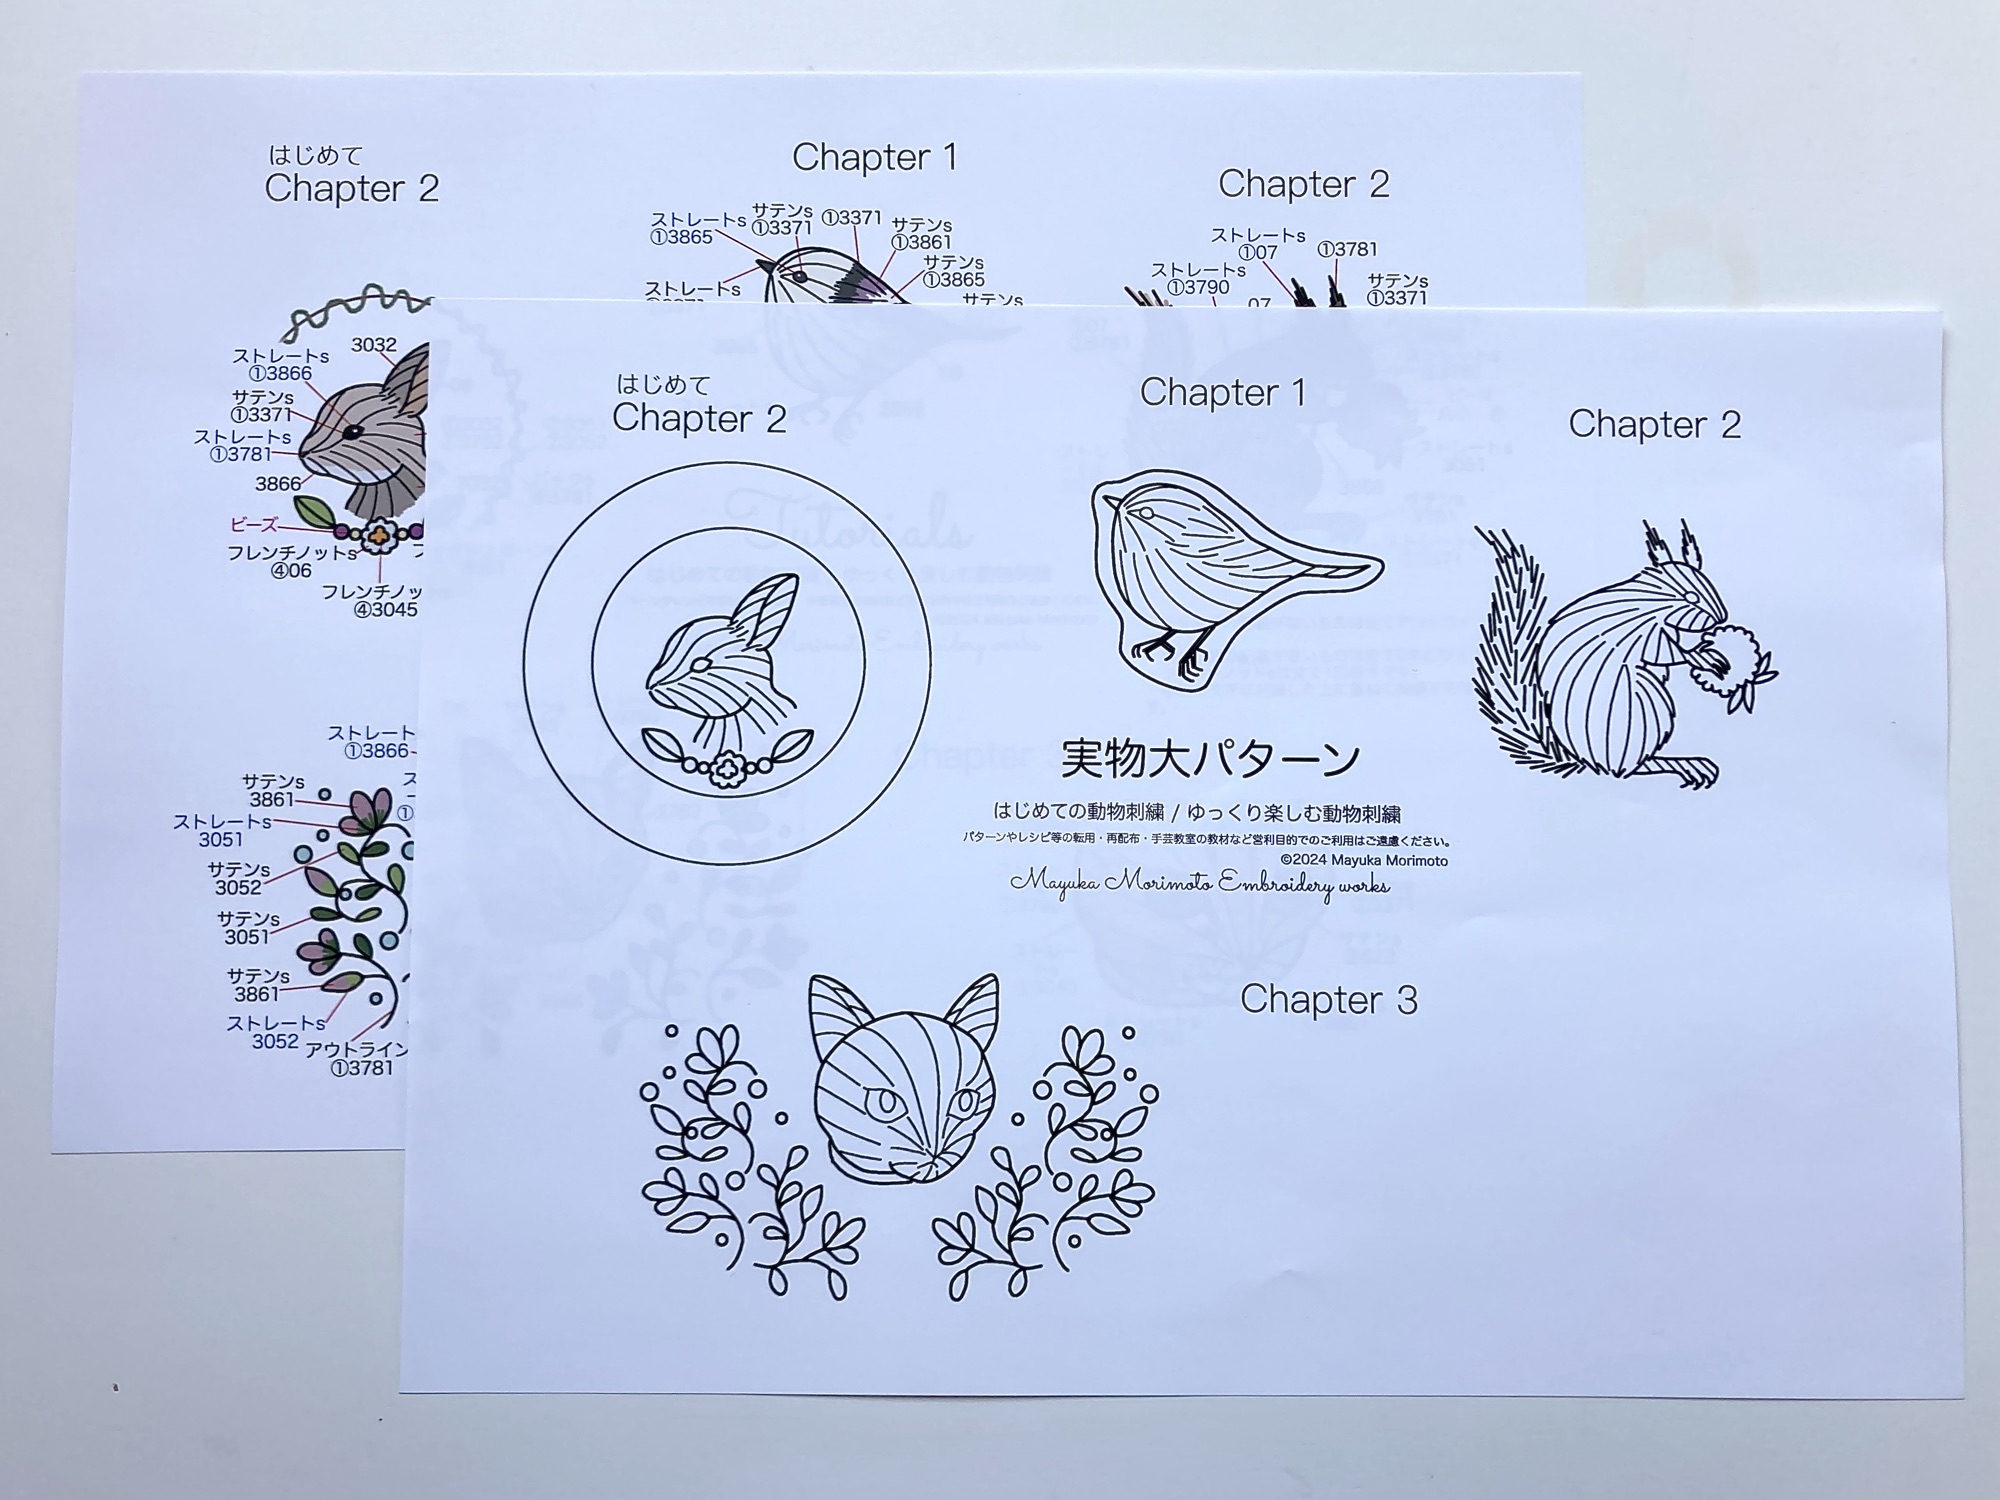
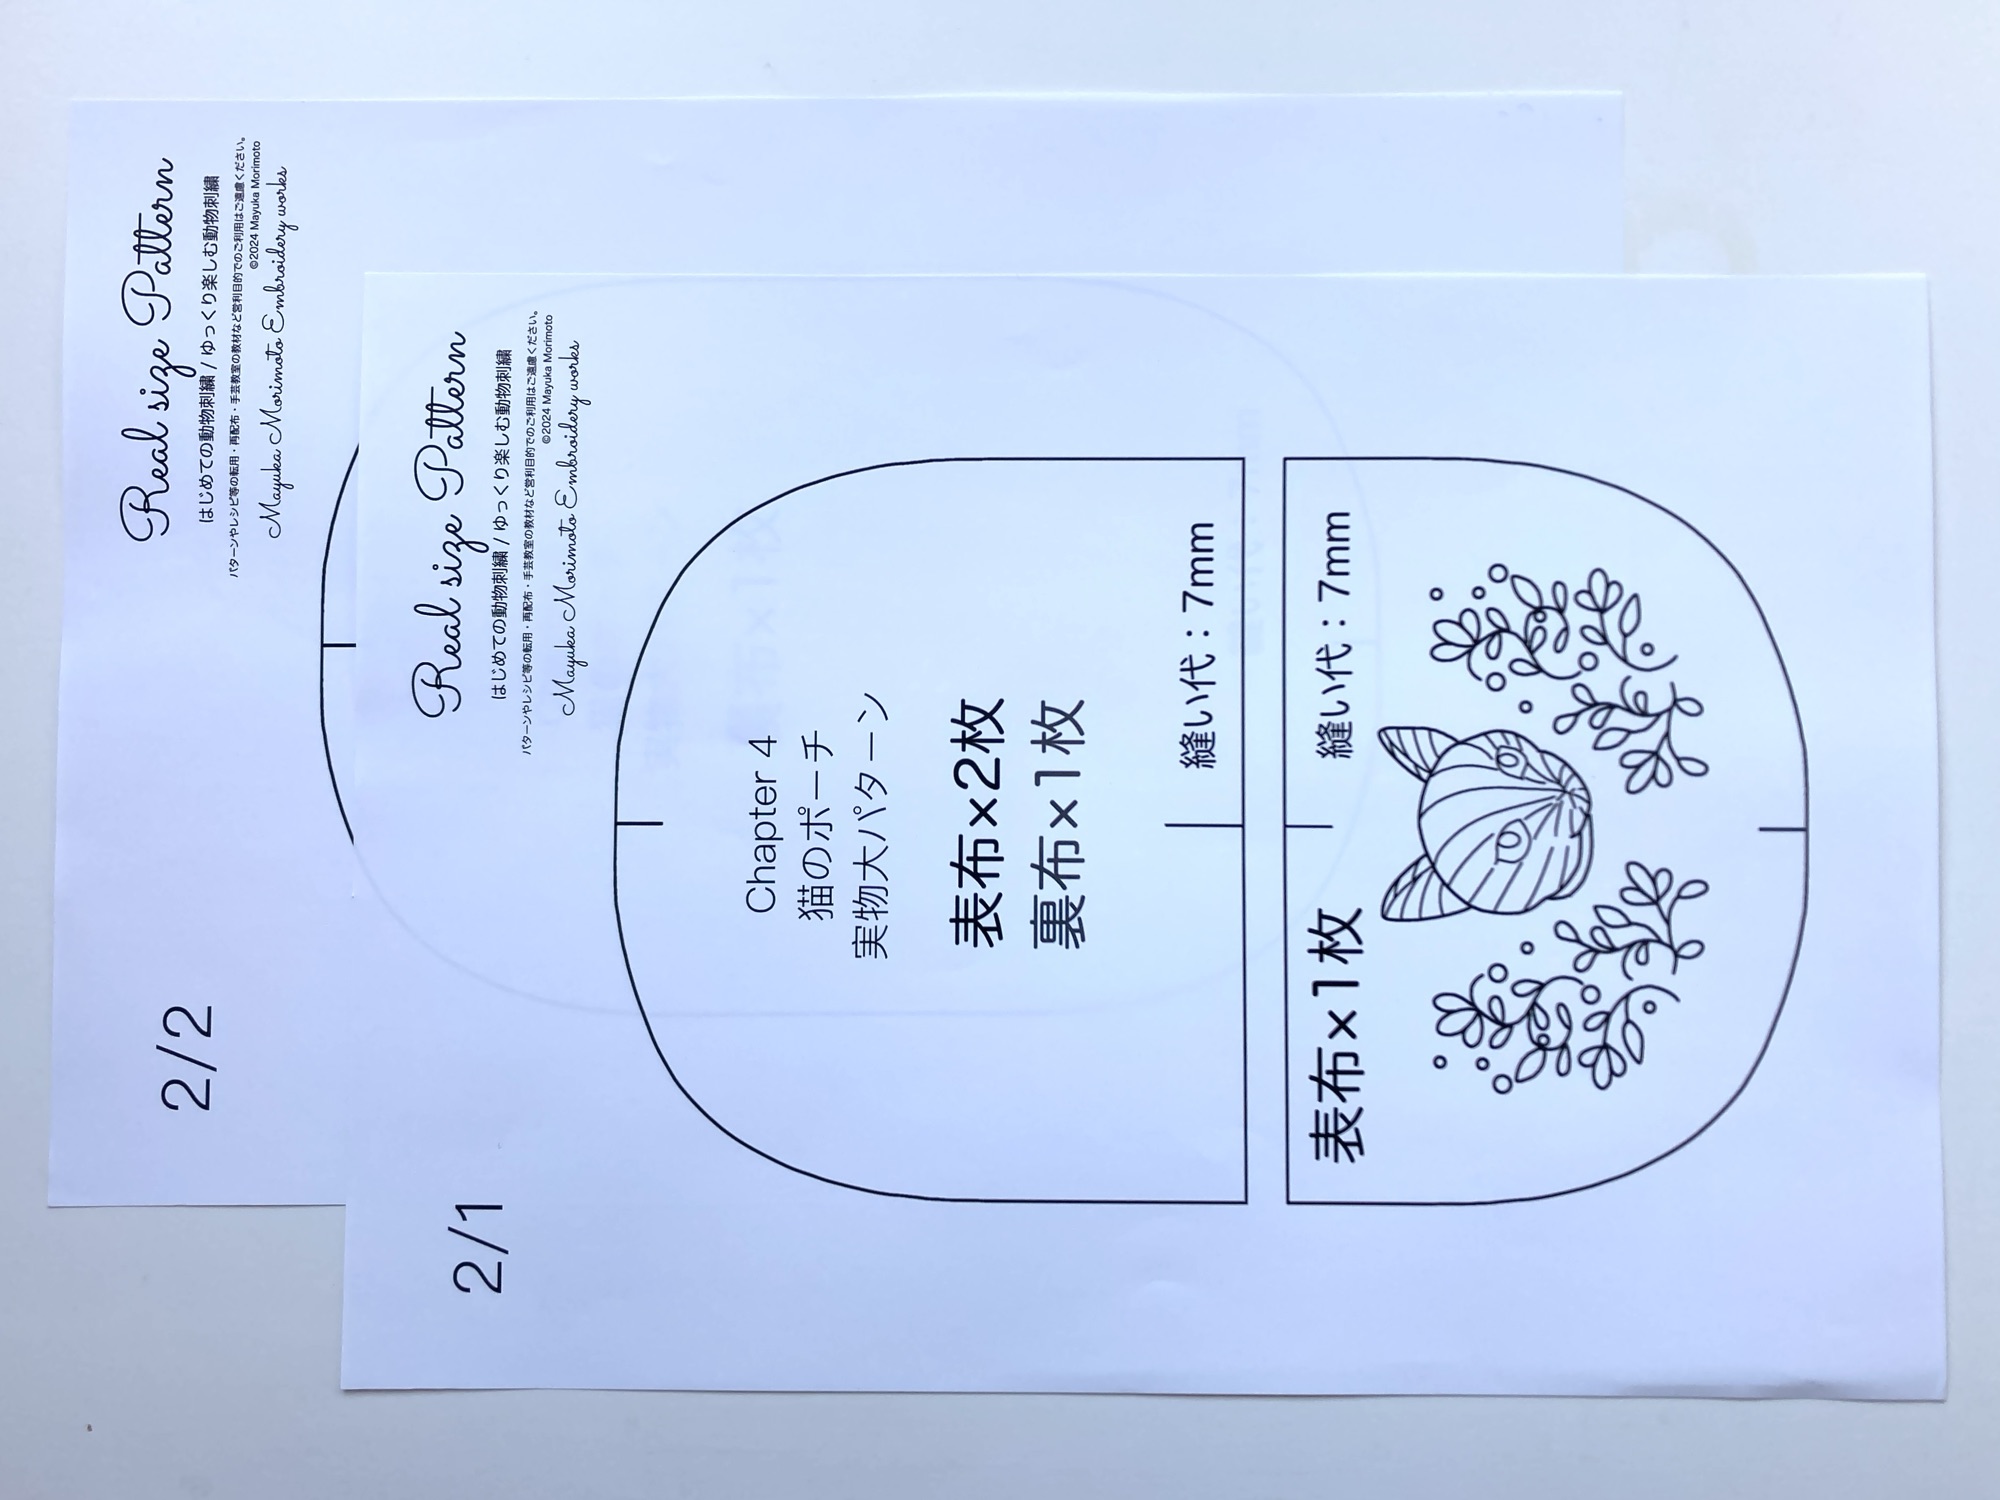
- Printed patterns (4 sheets total)Includes 2 sheets of embroidery patterns and 2 sheets of cat pouch patterns (4 in total).
Additional Materials & Tools
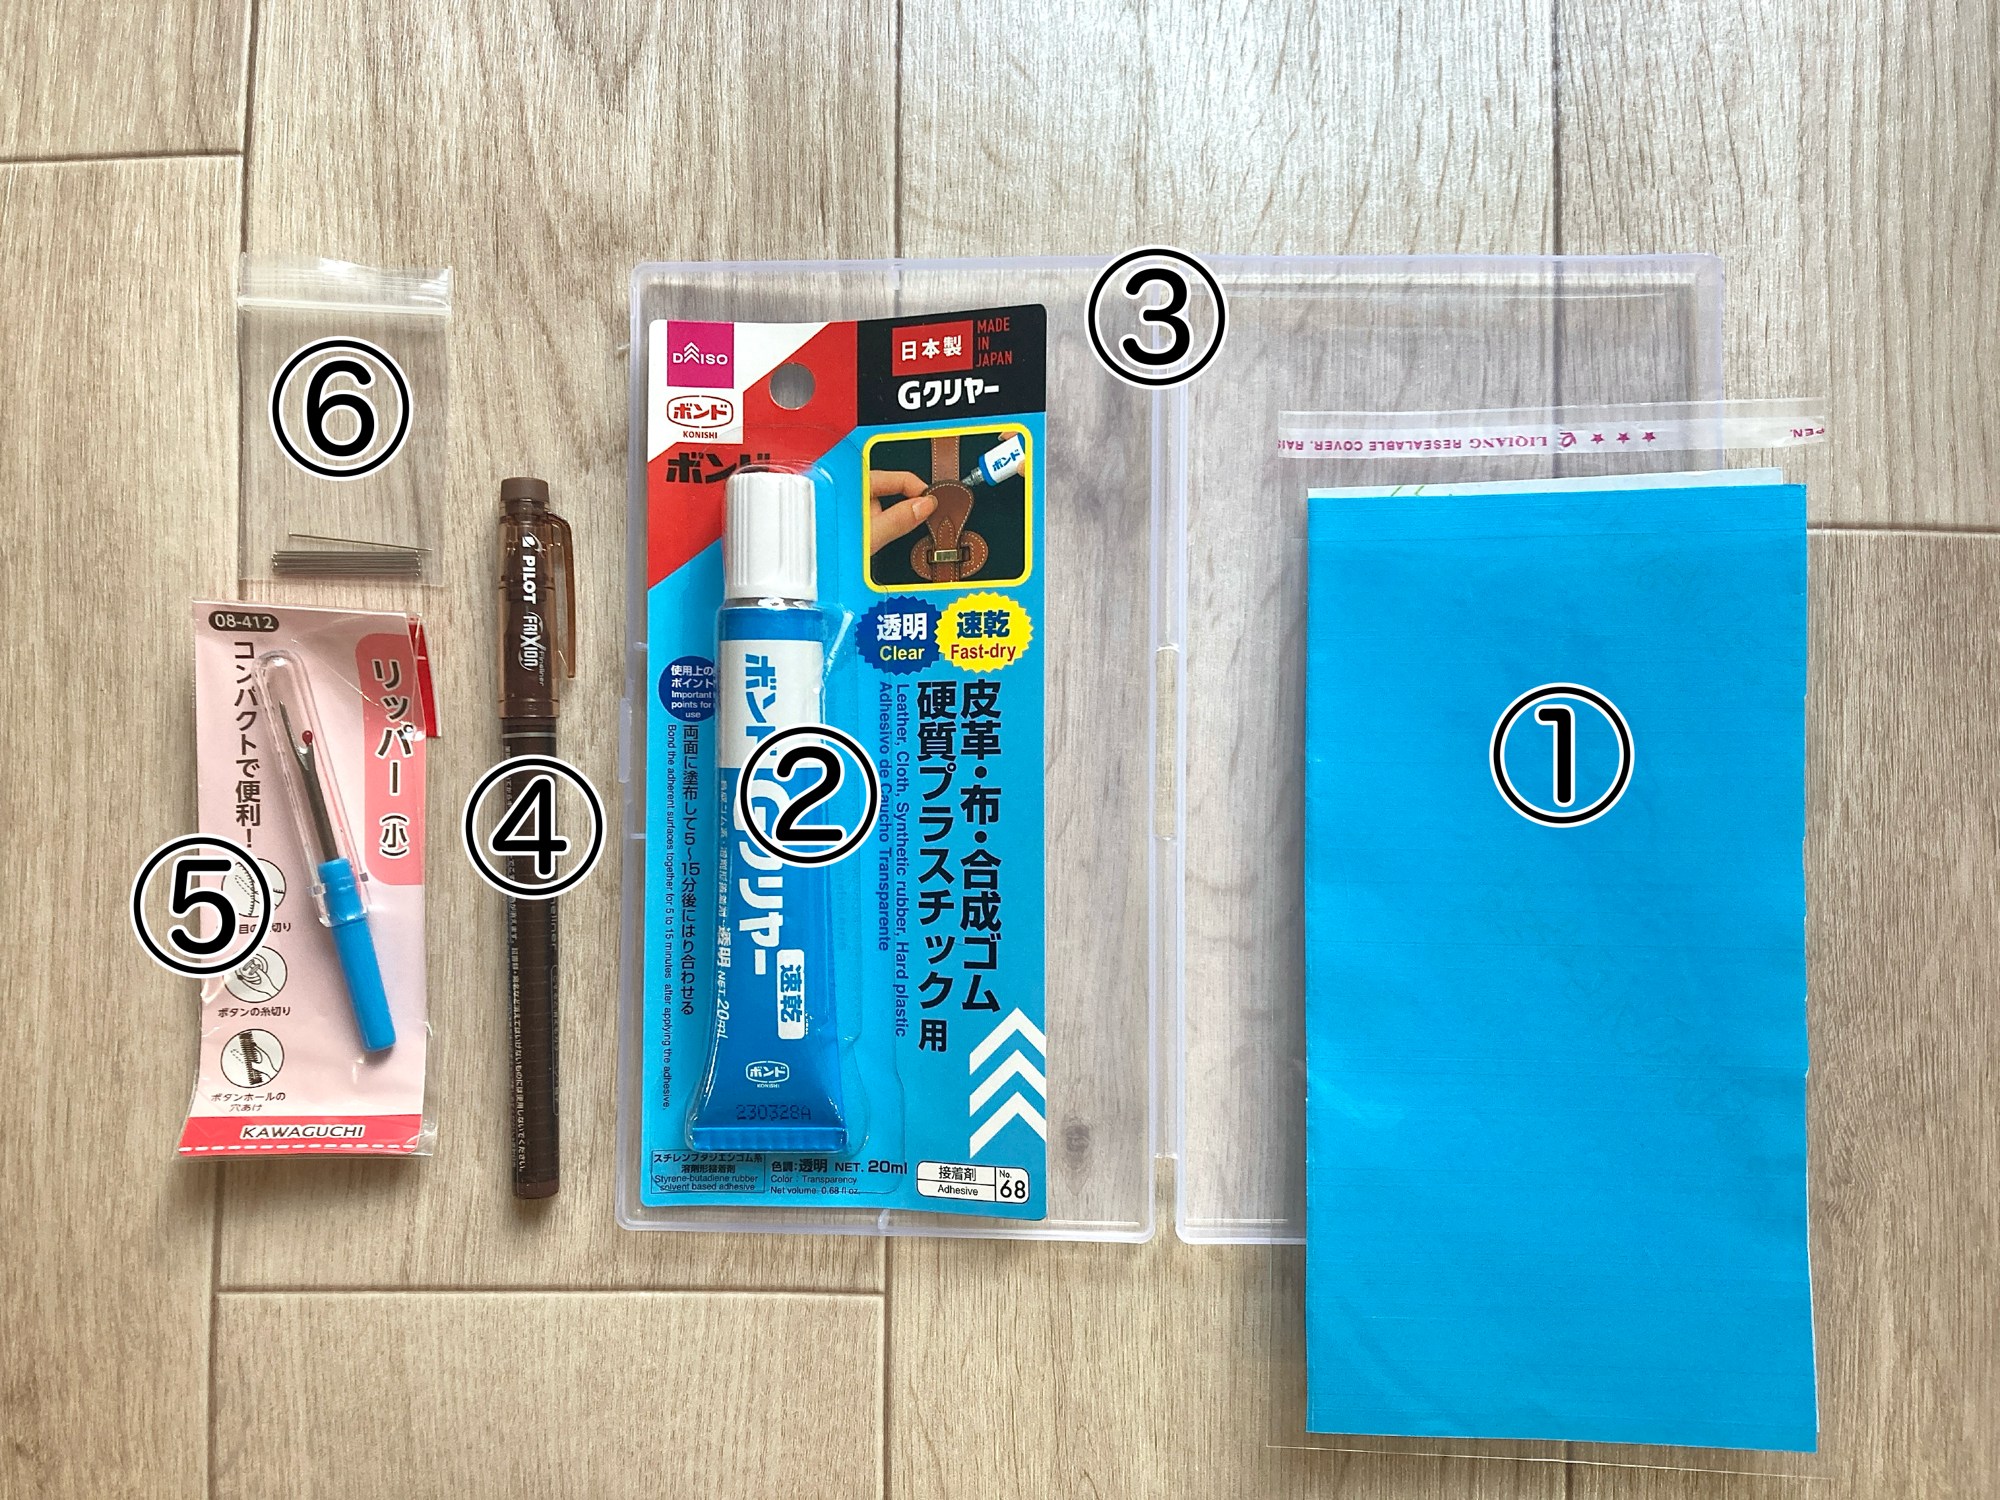
- ①Single-sided chalk paperUsed to transfer the design onto fabric. Please keep the clear OPP bag that the chalk paper comes in, as it will be used in the lesson.
- ②GluePrepare G-Clear glue or a similar type of adhesive.
- ③Plastic caseUsed for tracing the design. If you use a light box or tablet device instead, the plastic case is not necessary.
- ④Frixion (heat-erasable) penUsed for sketching guidelines on the fabric. Please prepare a “Frixion Fine Liner” pen.
- ⑤Seam ripperUseful for removing stitches when you need to undo sewing or embroidery.
- ⑥Silk pins (sewing pins are also fine)Used to hold layers of fabric in place. Ordinary sewing pins can be used instead.
If you find any item in the kit that feels unclear, confusing, difficult to identify, please let me know. I will update the text to improve clarity.

Tools Used in the Lessons
Items not included in the lesson kit need to be prepared on your side. Please use this list as a simple guide when gathering the tools you need.

About Scissors
Scissors
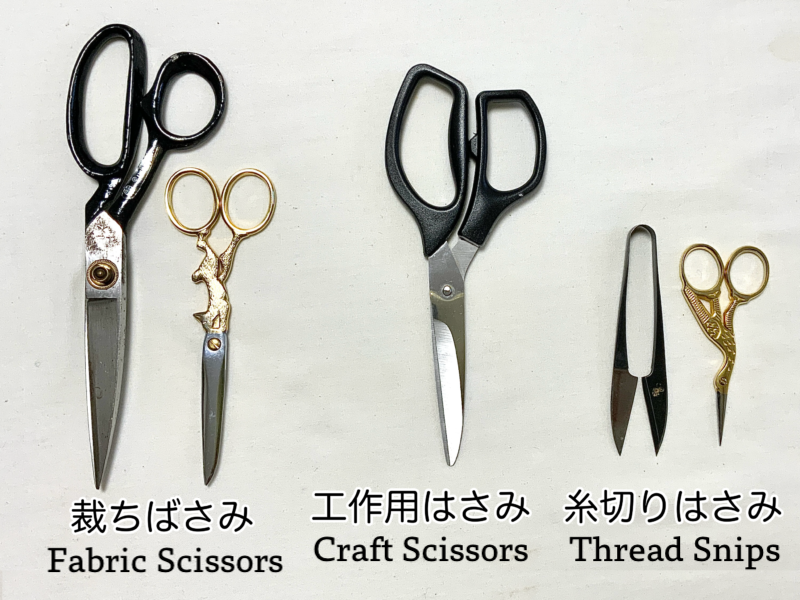
- Thread scissorsAny thread scissors you normally use are fine, but it is recommended to keep one pair for embroidery only.
- Craft scissorsUsed for cutting paper and plastic sheets. They dull easily, so it is recommended to prepare a new pair just for these lessons.
- Fabric scissorsIf your craft scissors are sharp enough to cut fabric cleanly, you can follow the lessons without separate fabric shears.
About ironing tools
Iron set & white towel
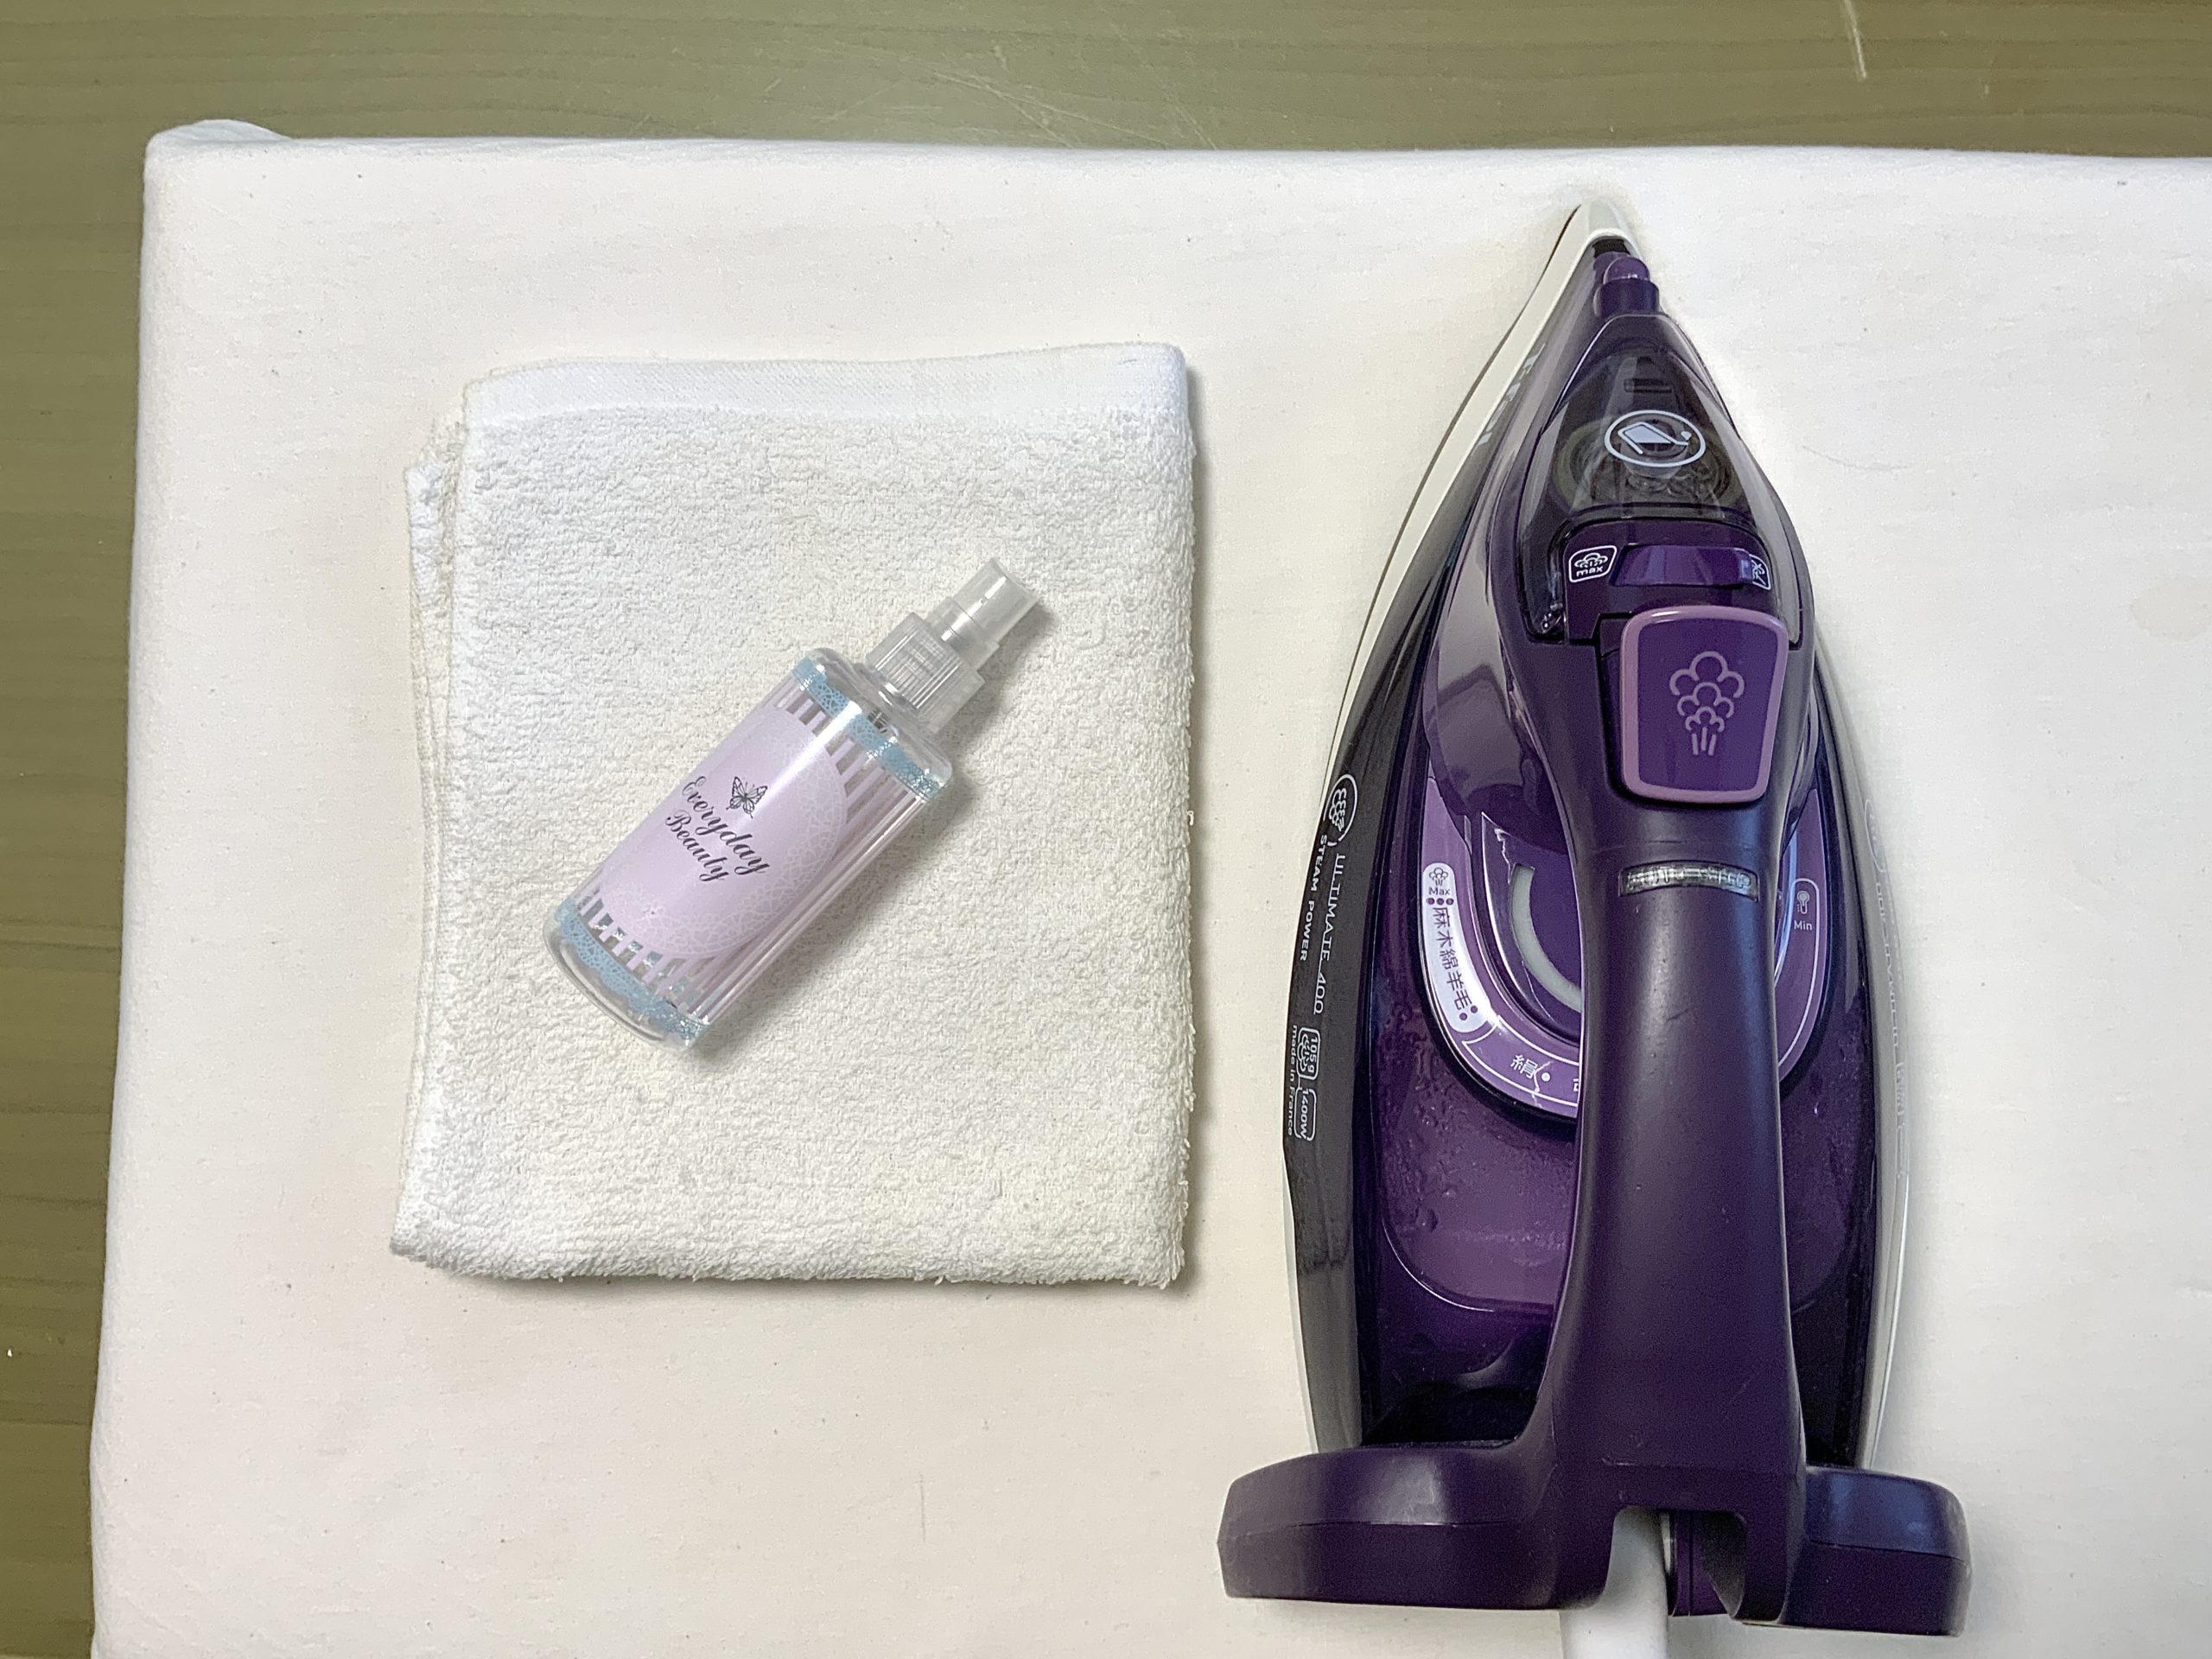
- Home iron, ironing board, spray bottle, pressing cloth, etc.Prepare your usual ironing tools.
- White towelNeeded to safely press bead-embellished pieces.
Tools for Tracing Patterns

- Ballpoint pen or tracerA ballpoint pen also works, but a tracer makes transferring easier.
- Small dish, water, scrap fabricUsed for cleaning if the fabric gets stained by the transfer paper.
Prepare one of A–C below. The light box is the easiest option for tracing.
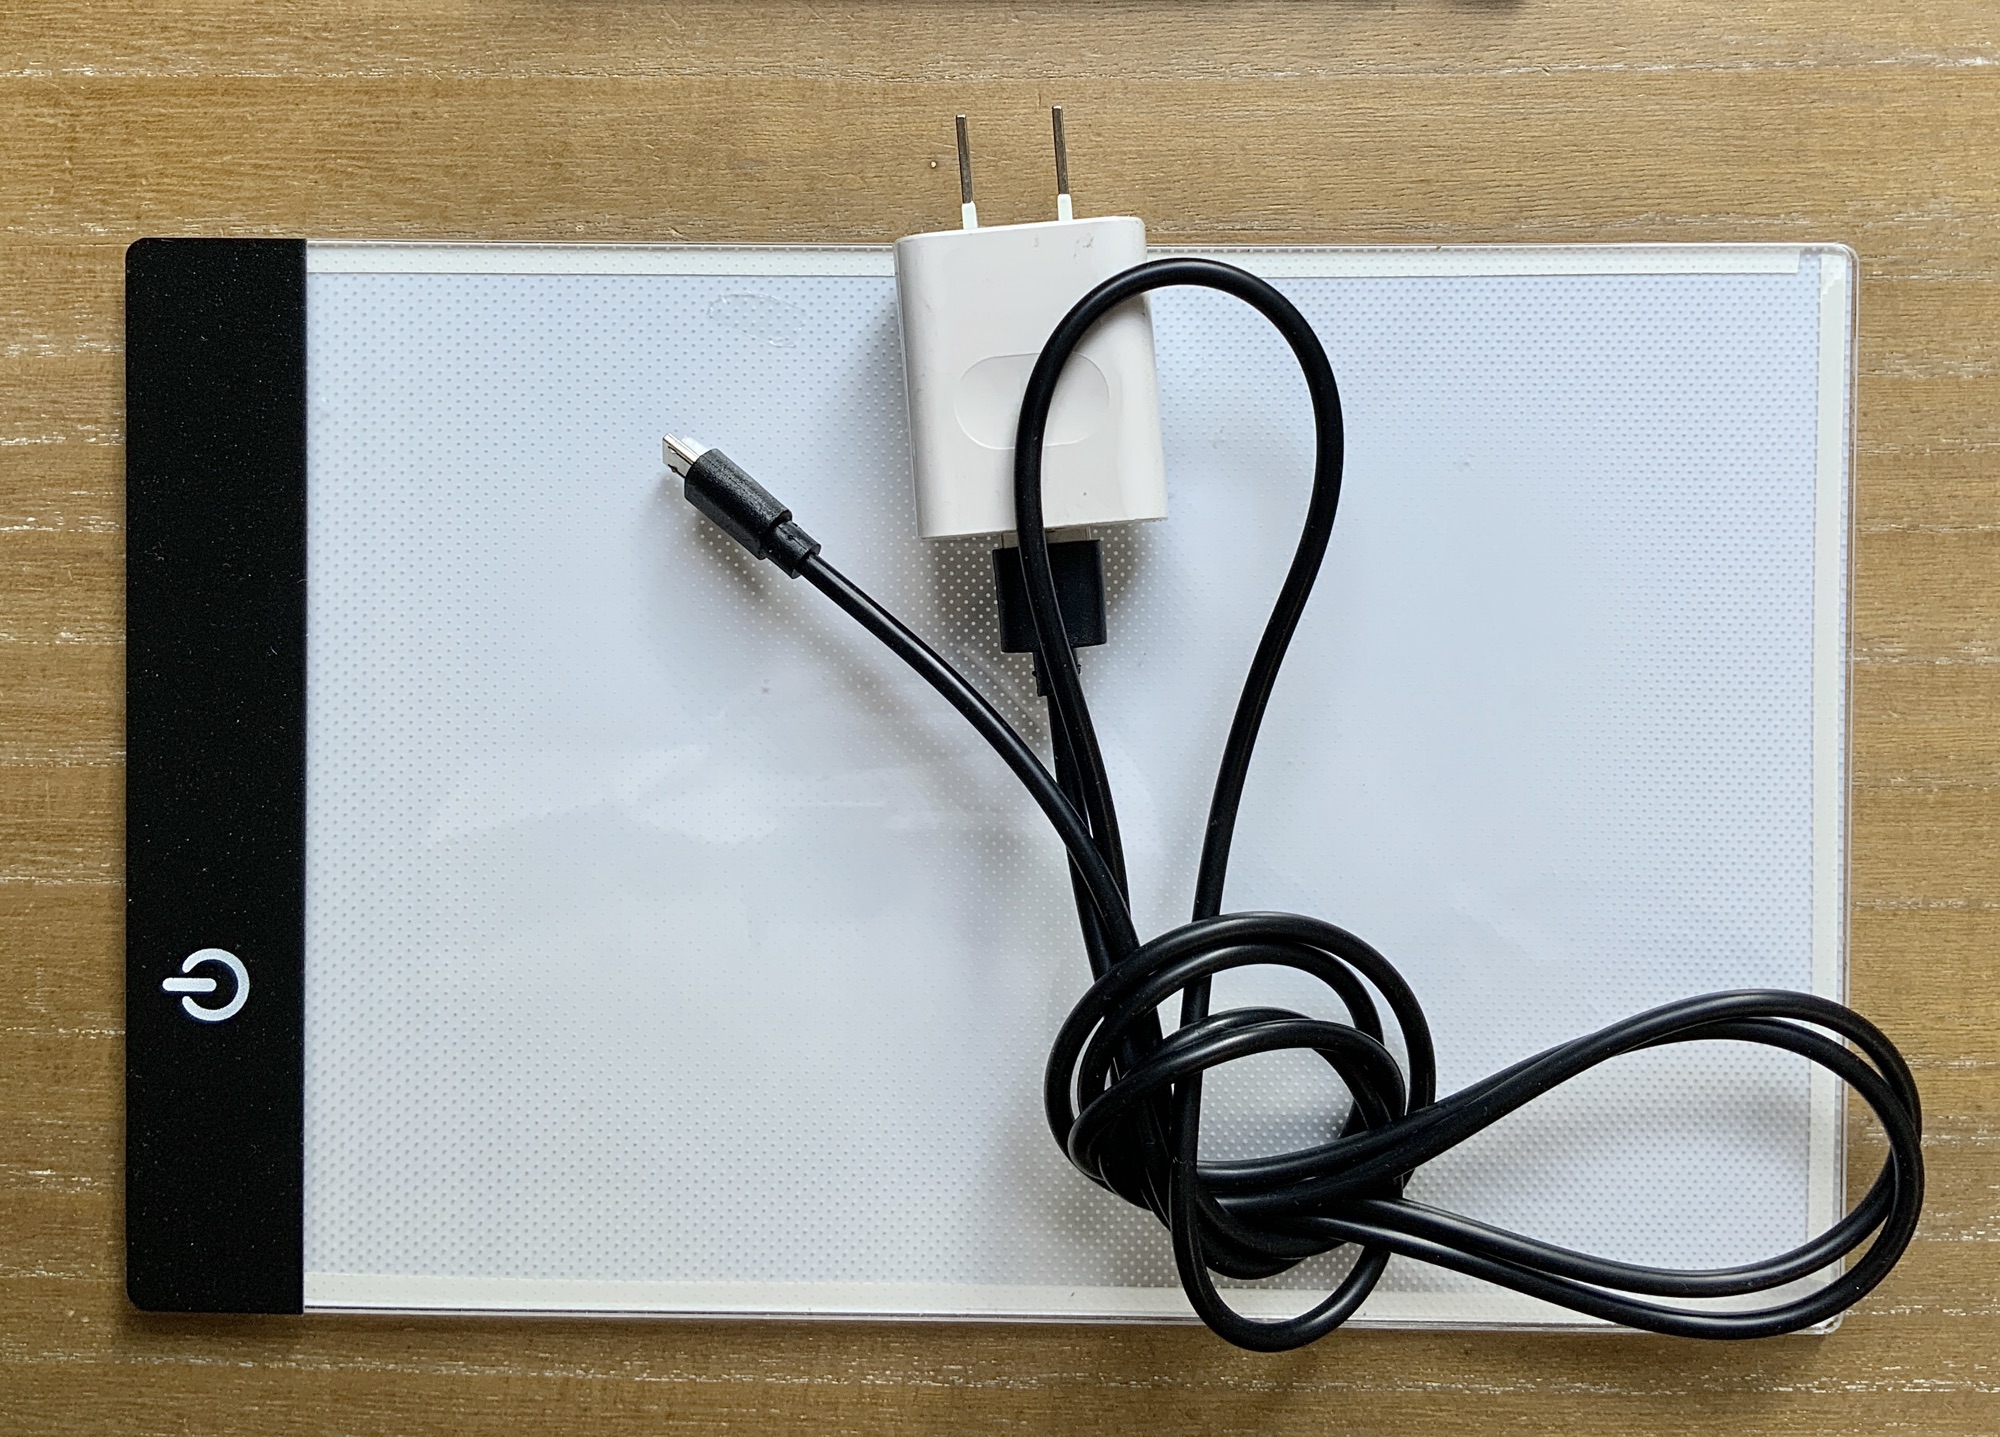
- A. Light boxThe easiest option for tracing.
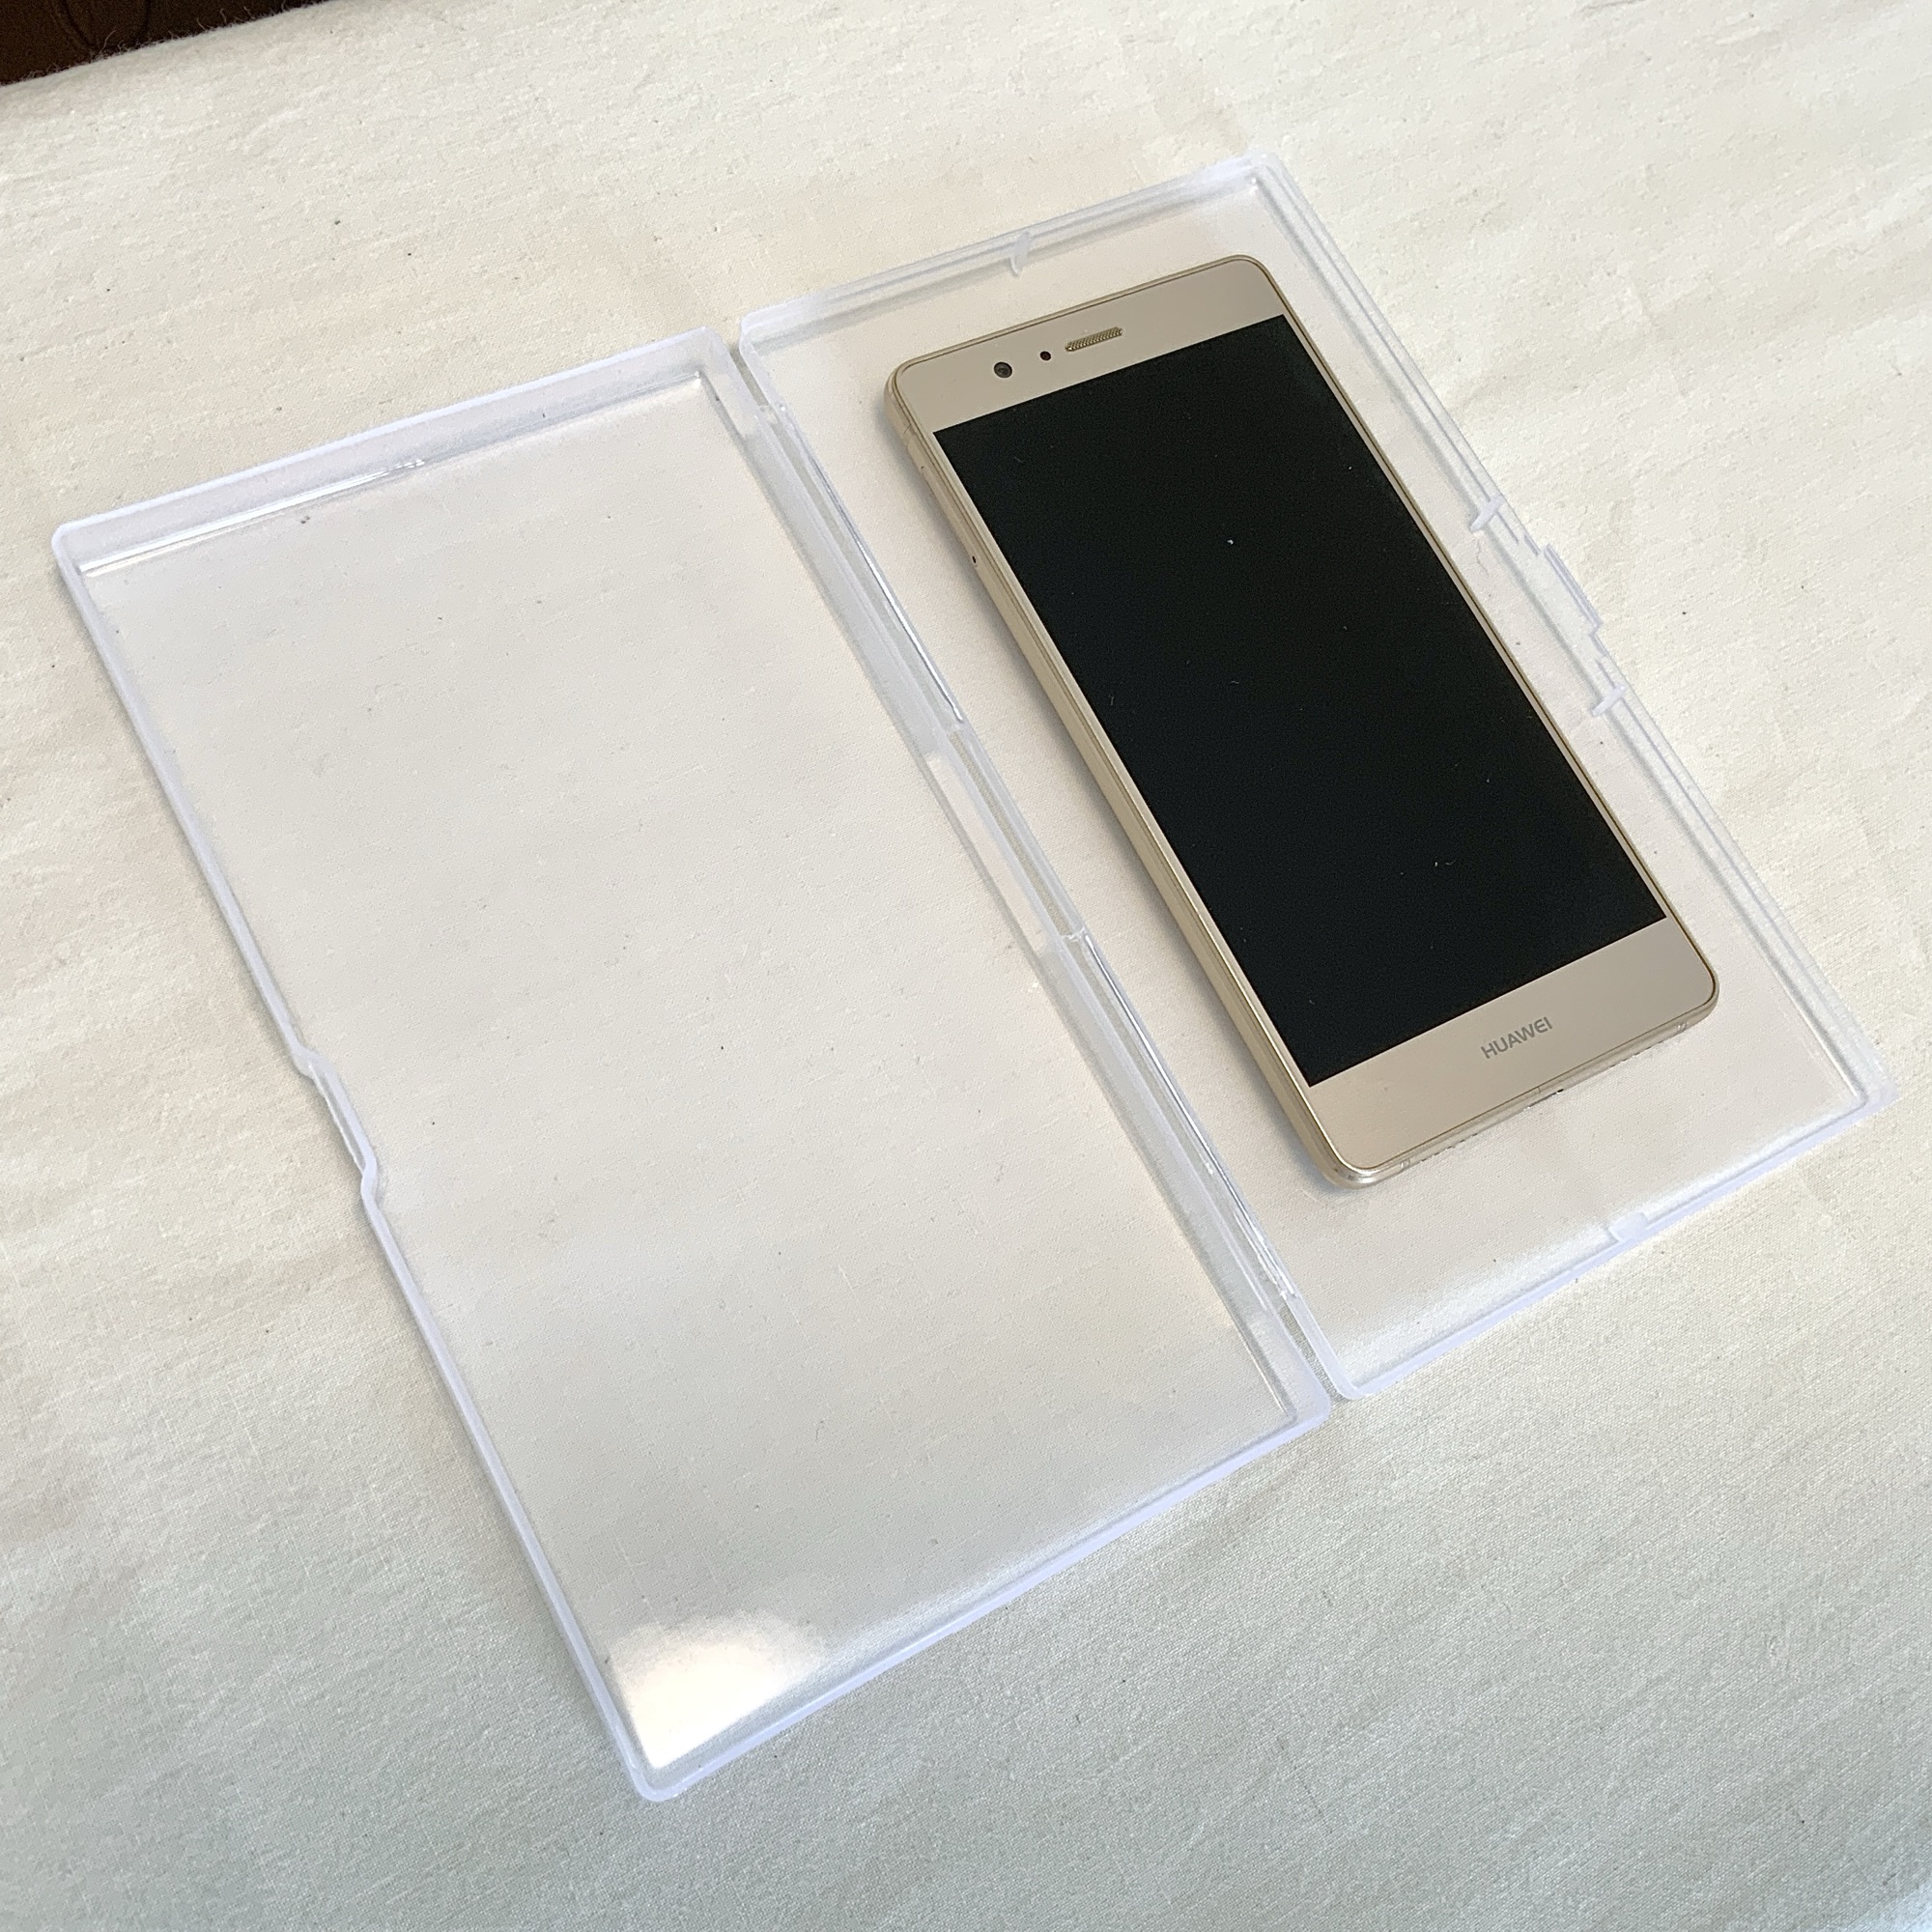
- B. Smartphone & plastic casePrepare a thin case big enough for your smartphone.
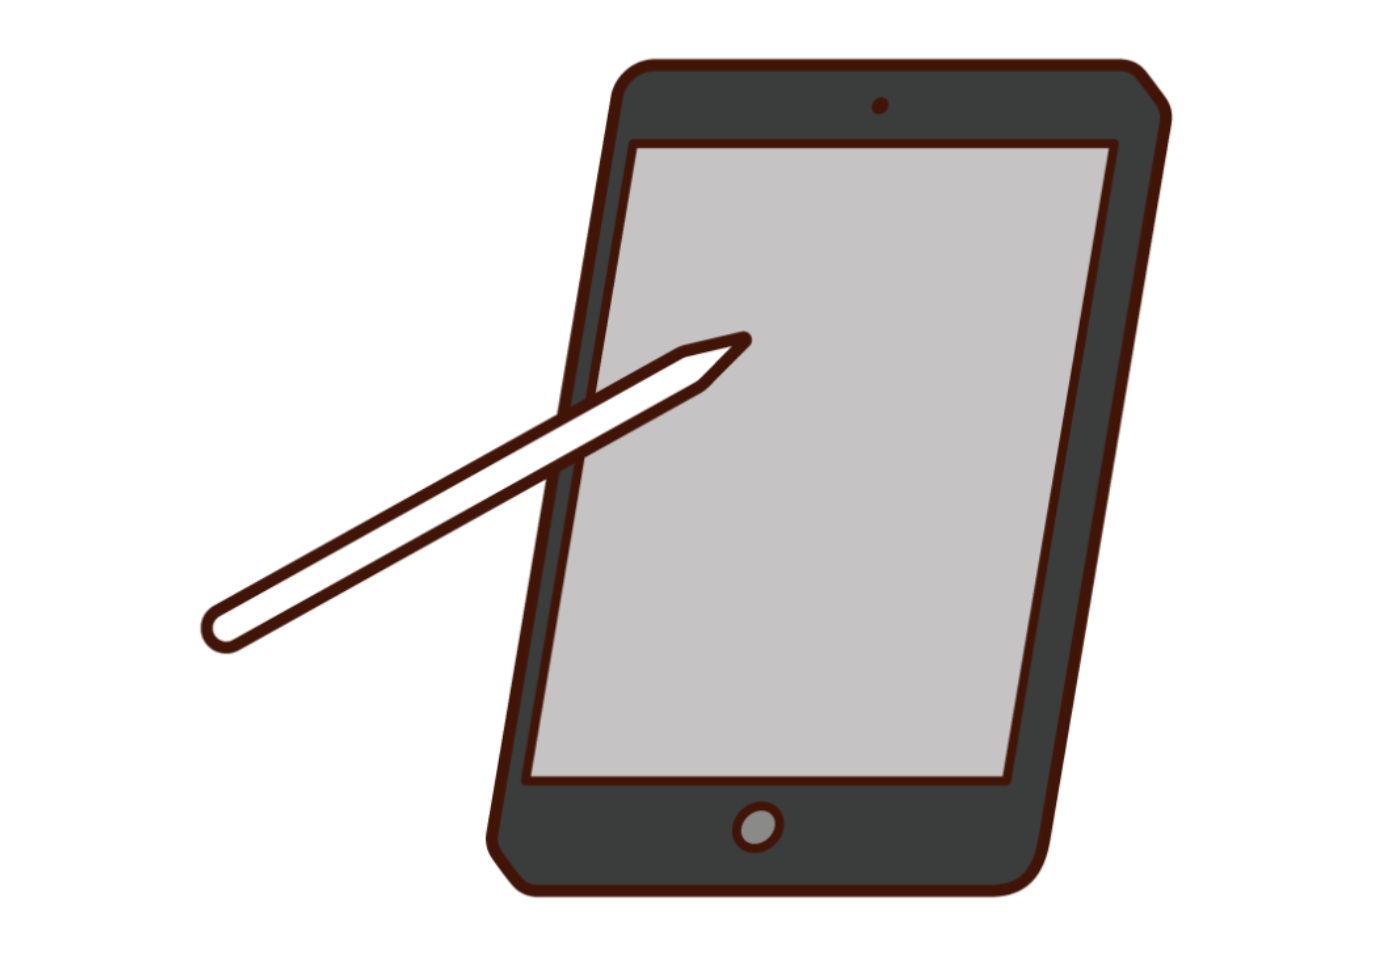
- C. Tablet device
Other Tools
Other tools
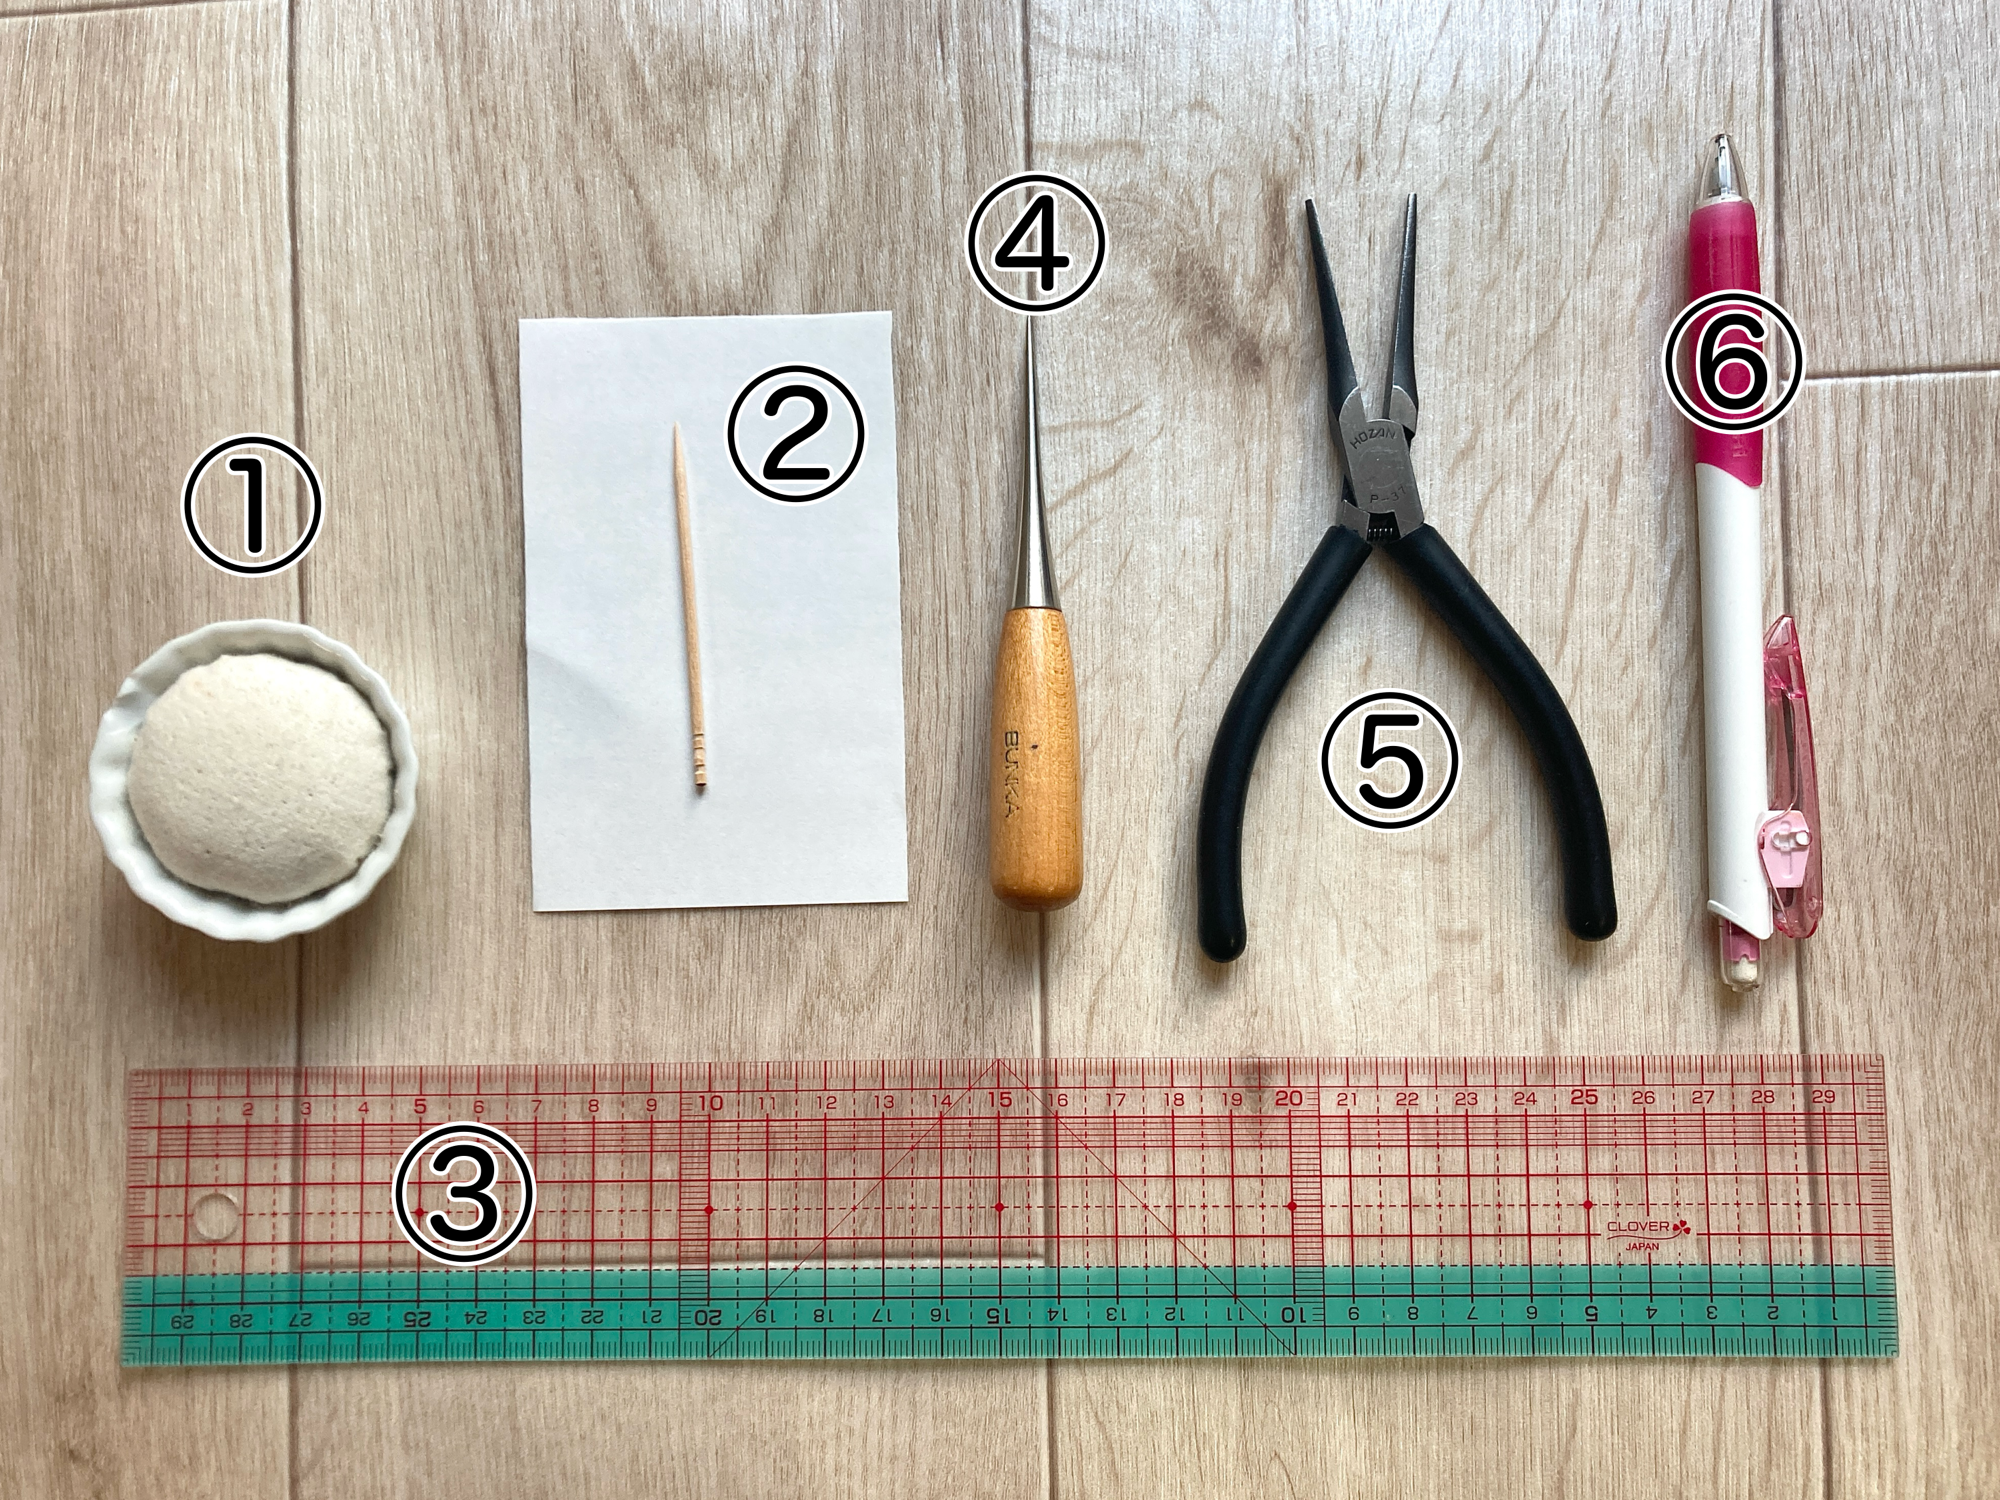
- ① PincushionUse any pincushion you normally use.
- ② Paper & toothpickUsed for handling small amounts of glue.
- ③ RulerA short ruler is fine.
- ④ AwlUsed for detailed finishing work.
- ⑤ Bead-craft pliersUsed in CH1 Shima-enaga brooch. Fingers can substitute, but pliers are convenient.
- ⑥ Mechanical pencil