Easy Yet Professional:
How to Make a Flap Pouch

Today, I’d like to share an easy tutorial for making a flap pouch.
This recipe is beginner-friendly and simple to follow, while also including tips to help you achieve a clean, professional finish.
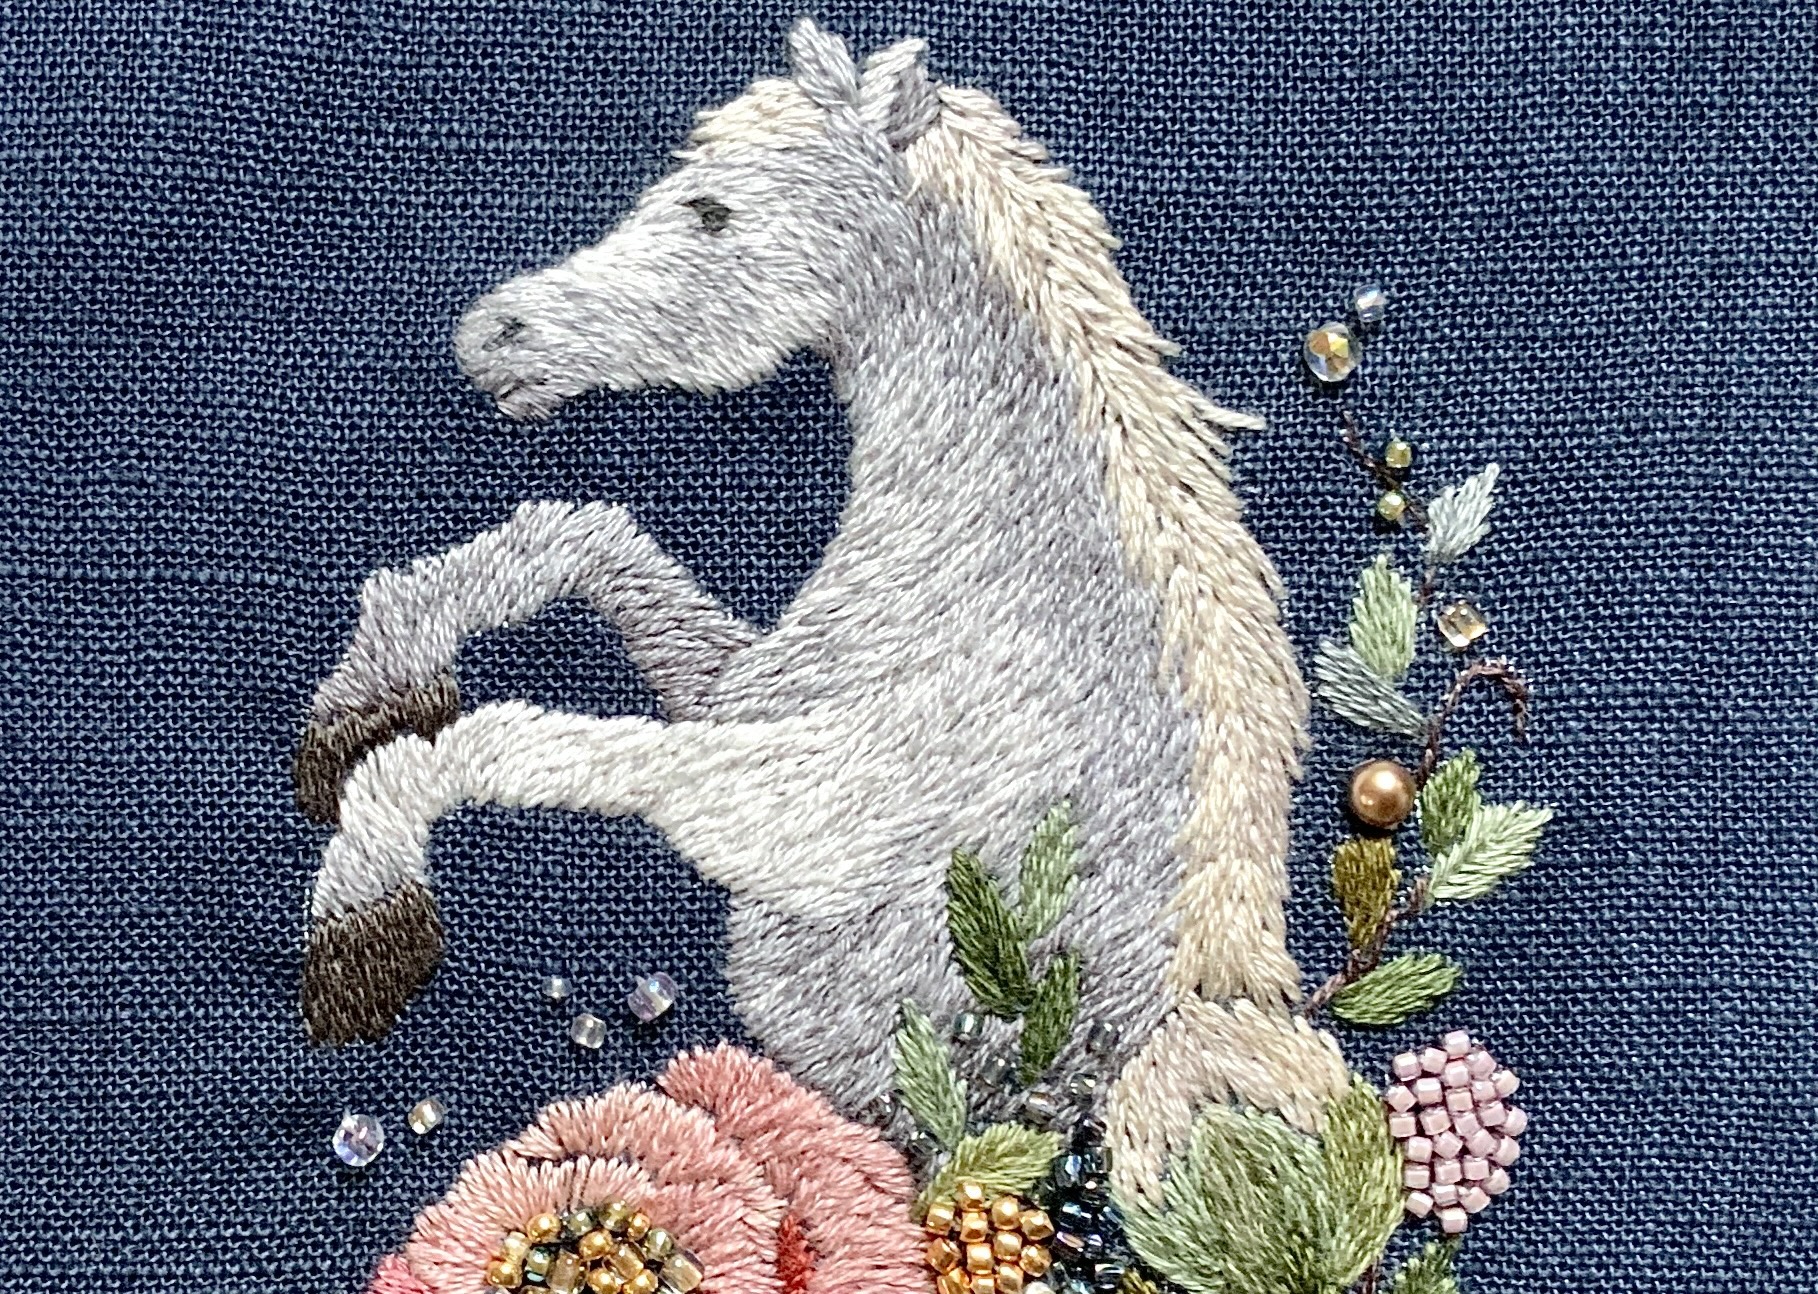
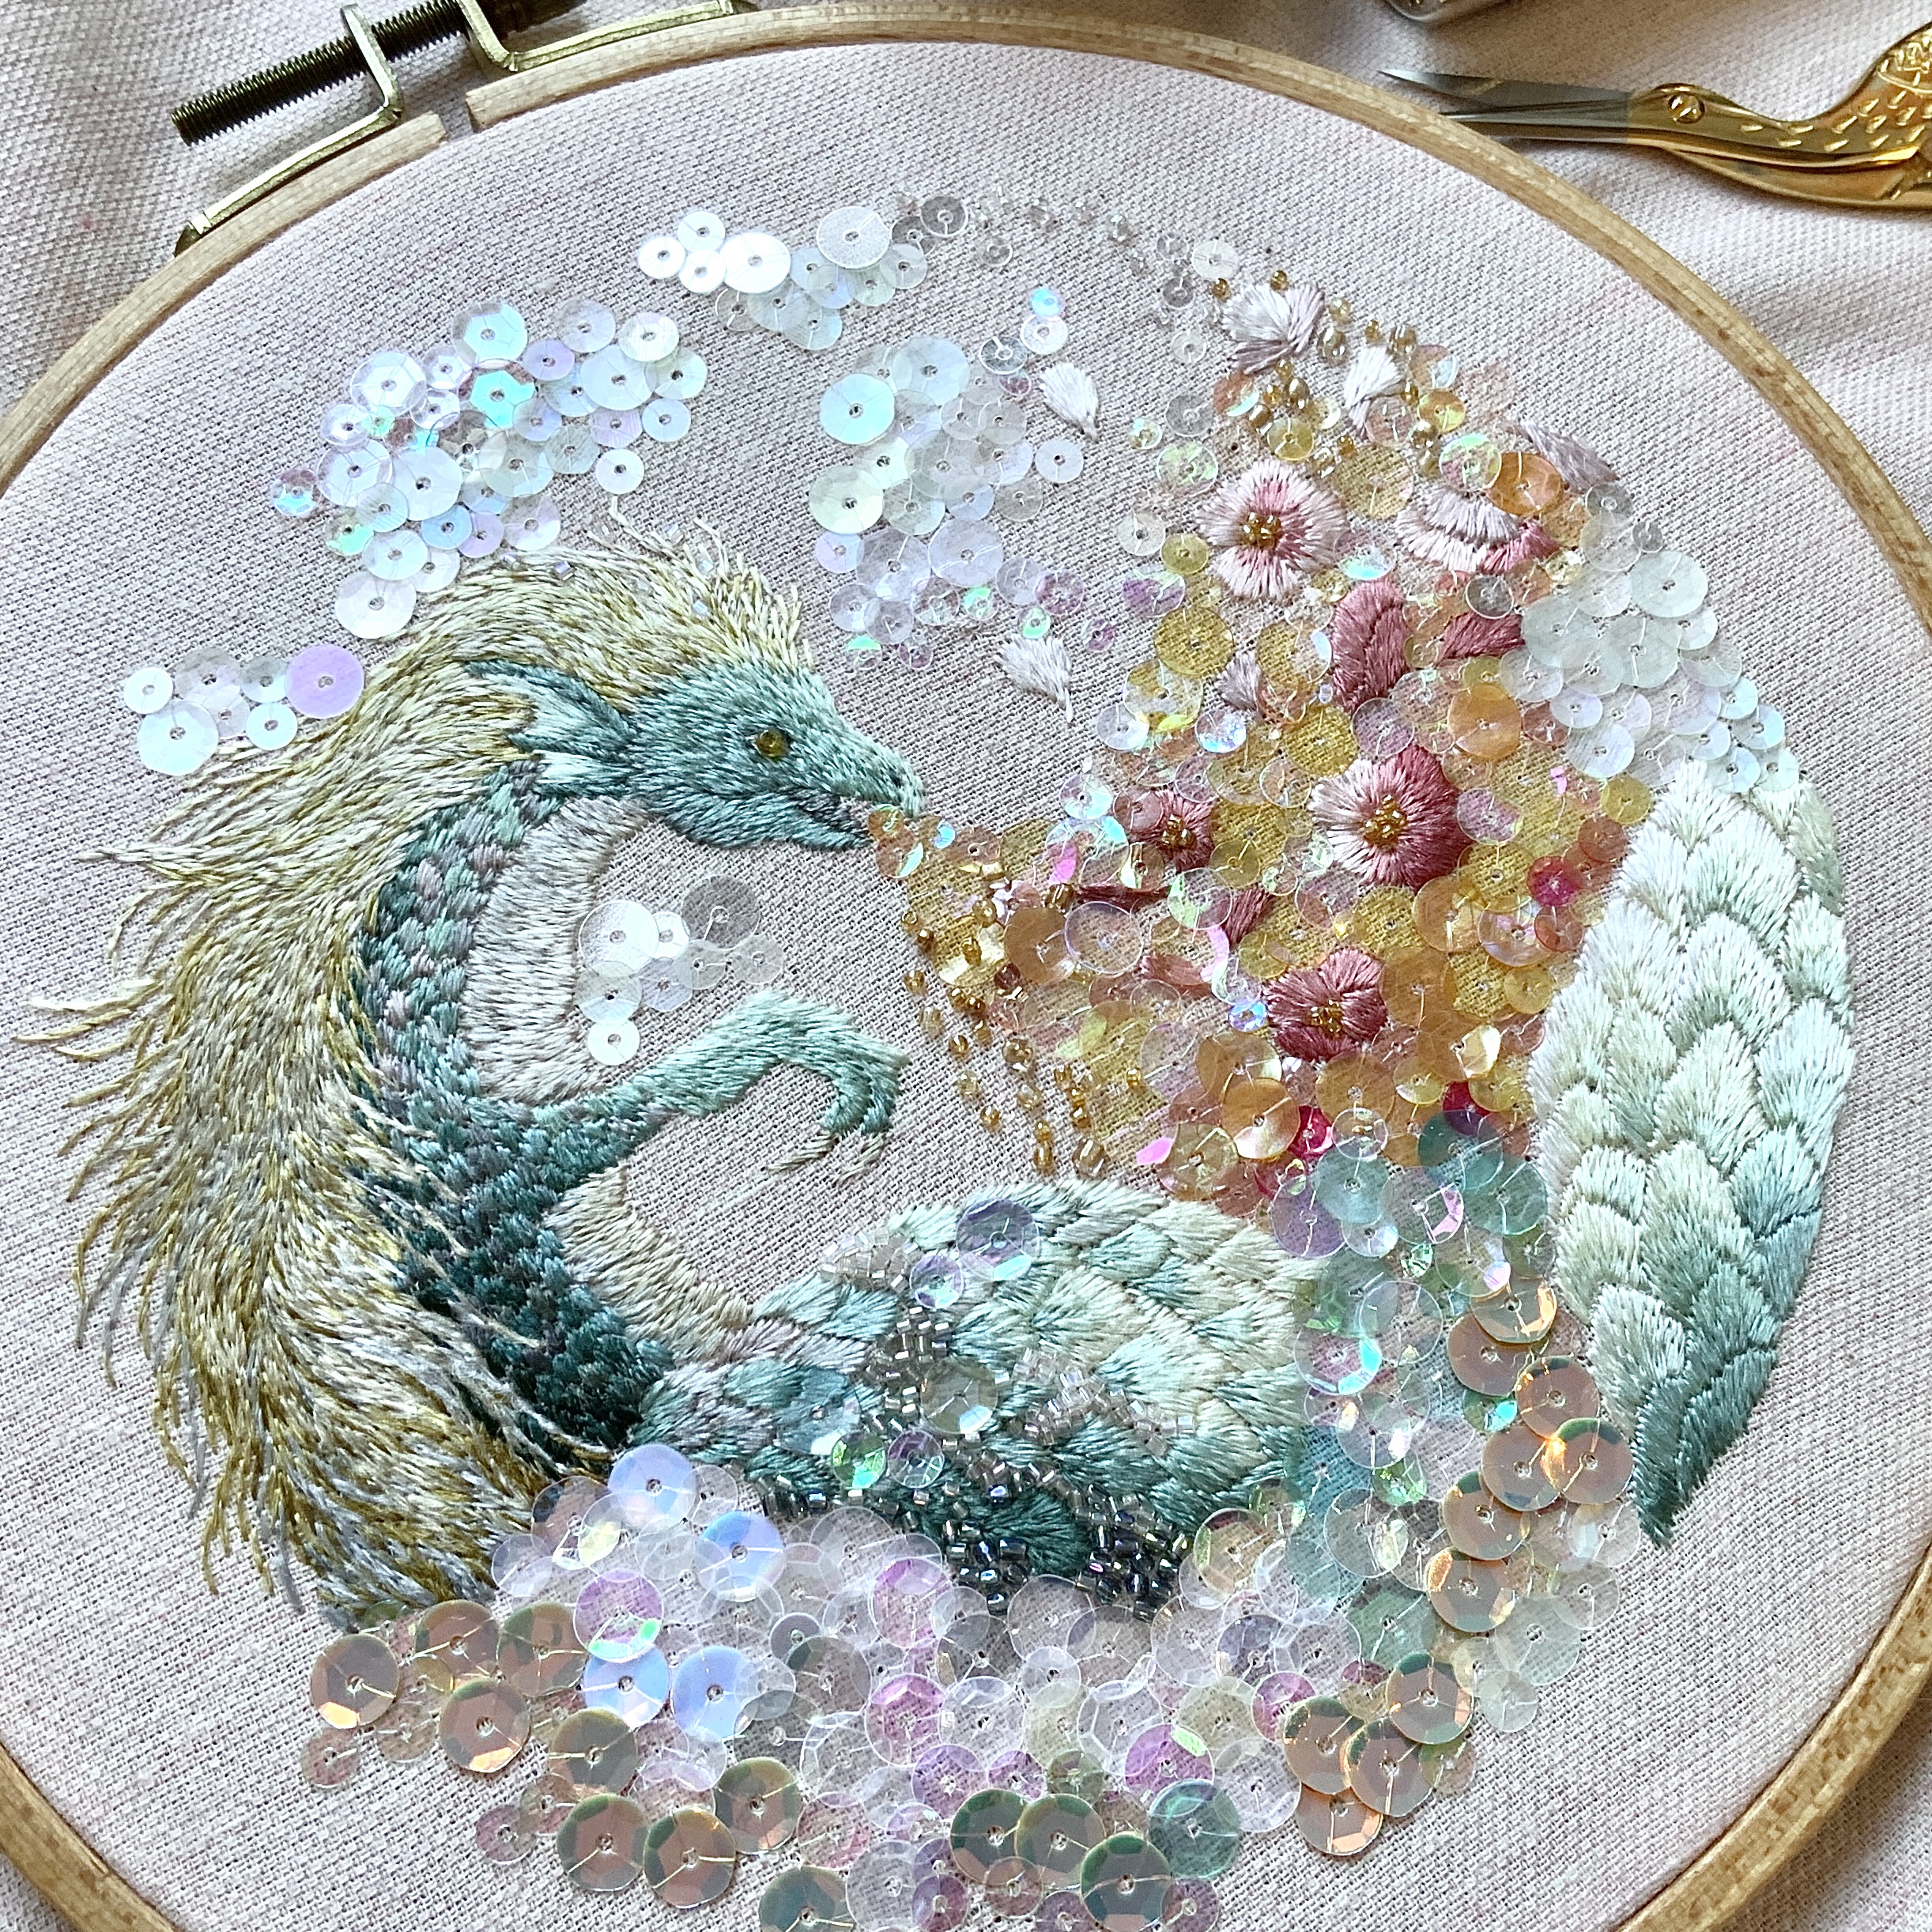
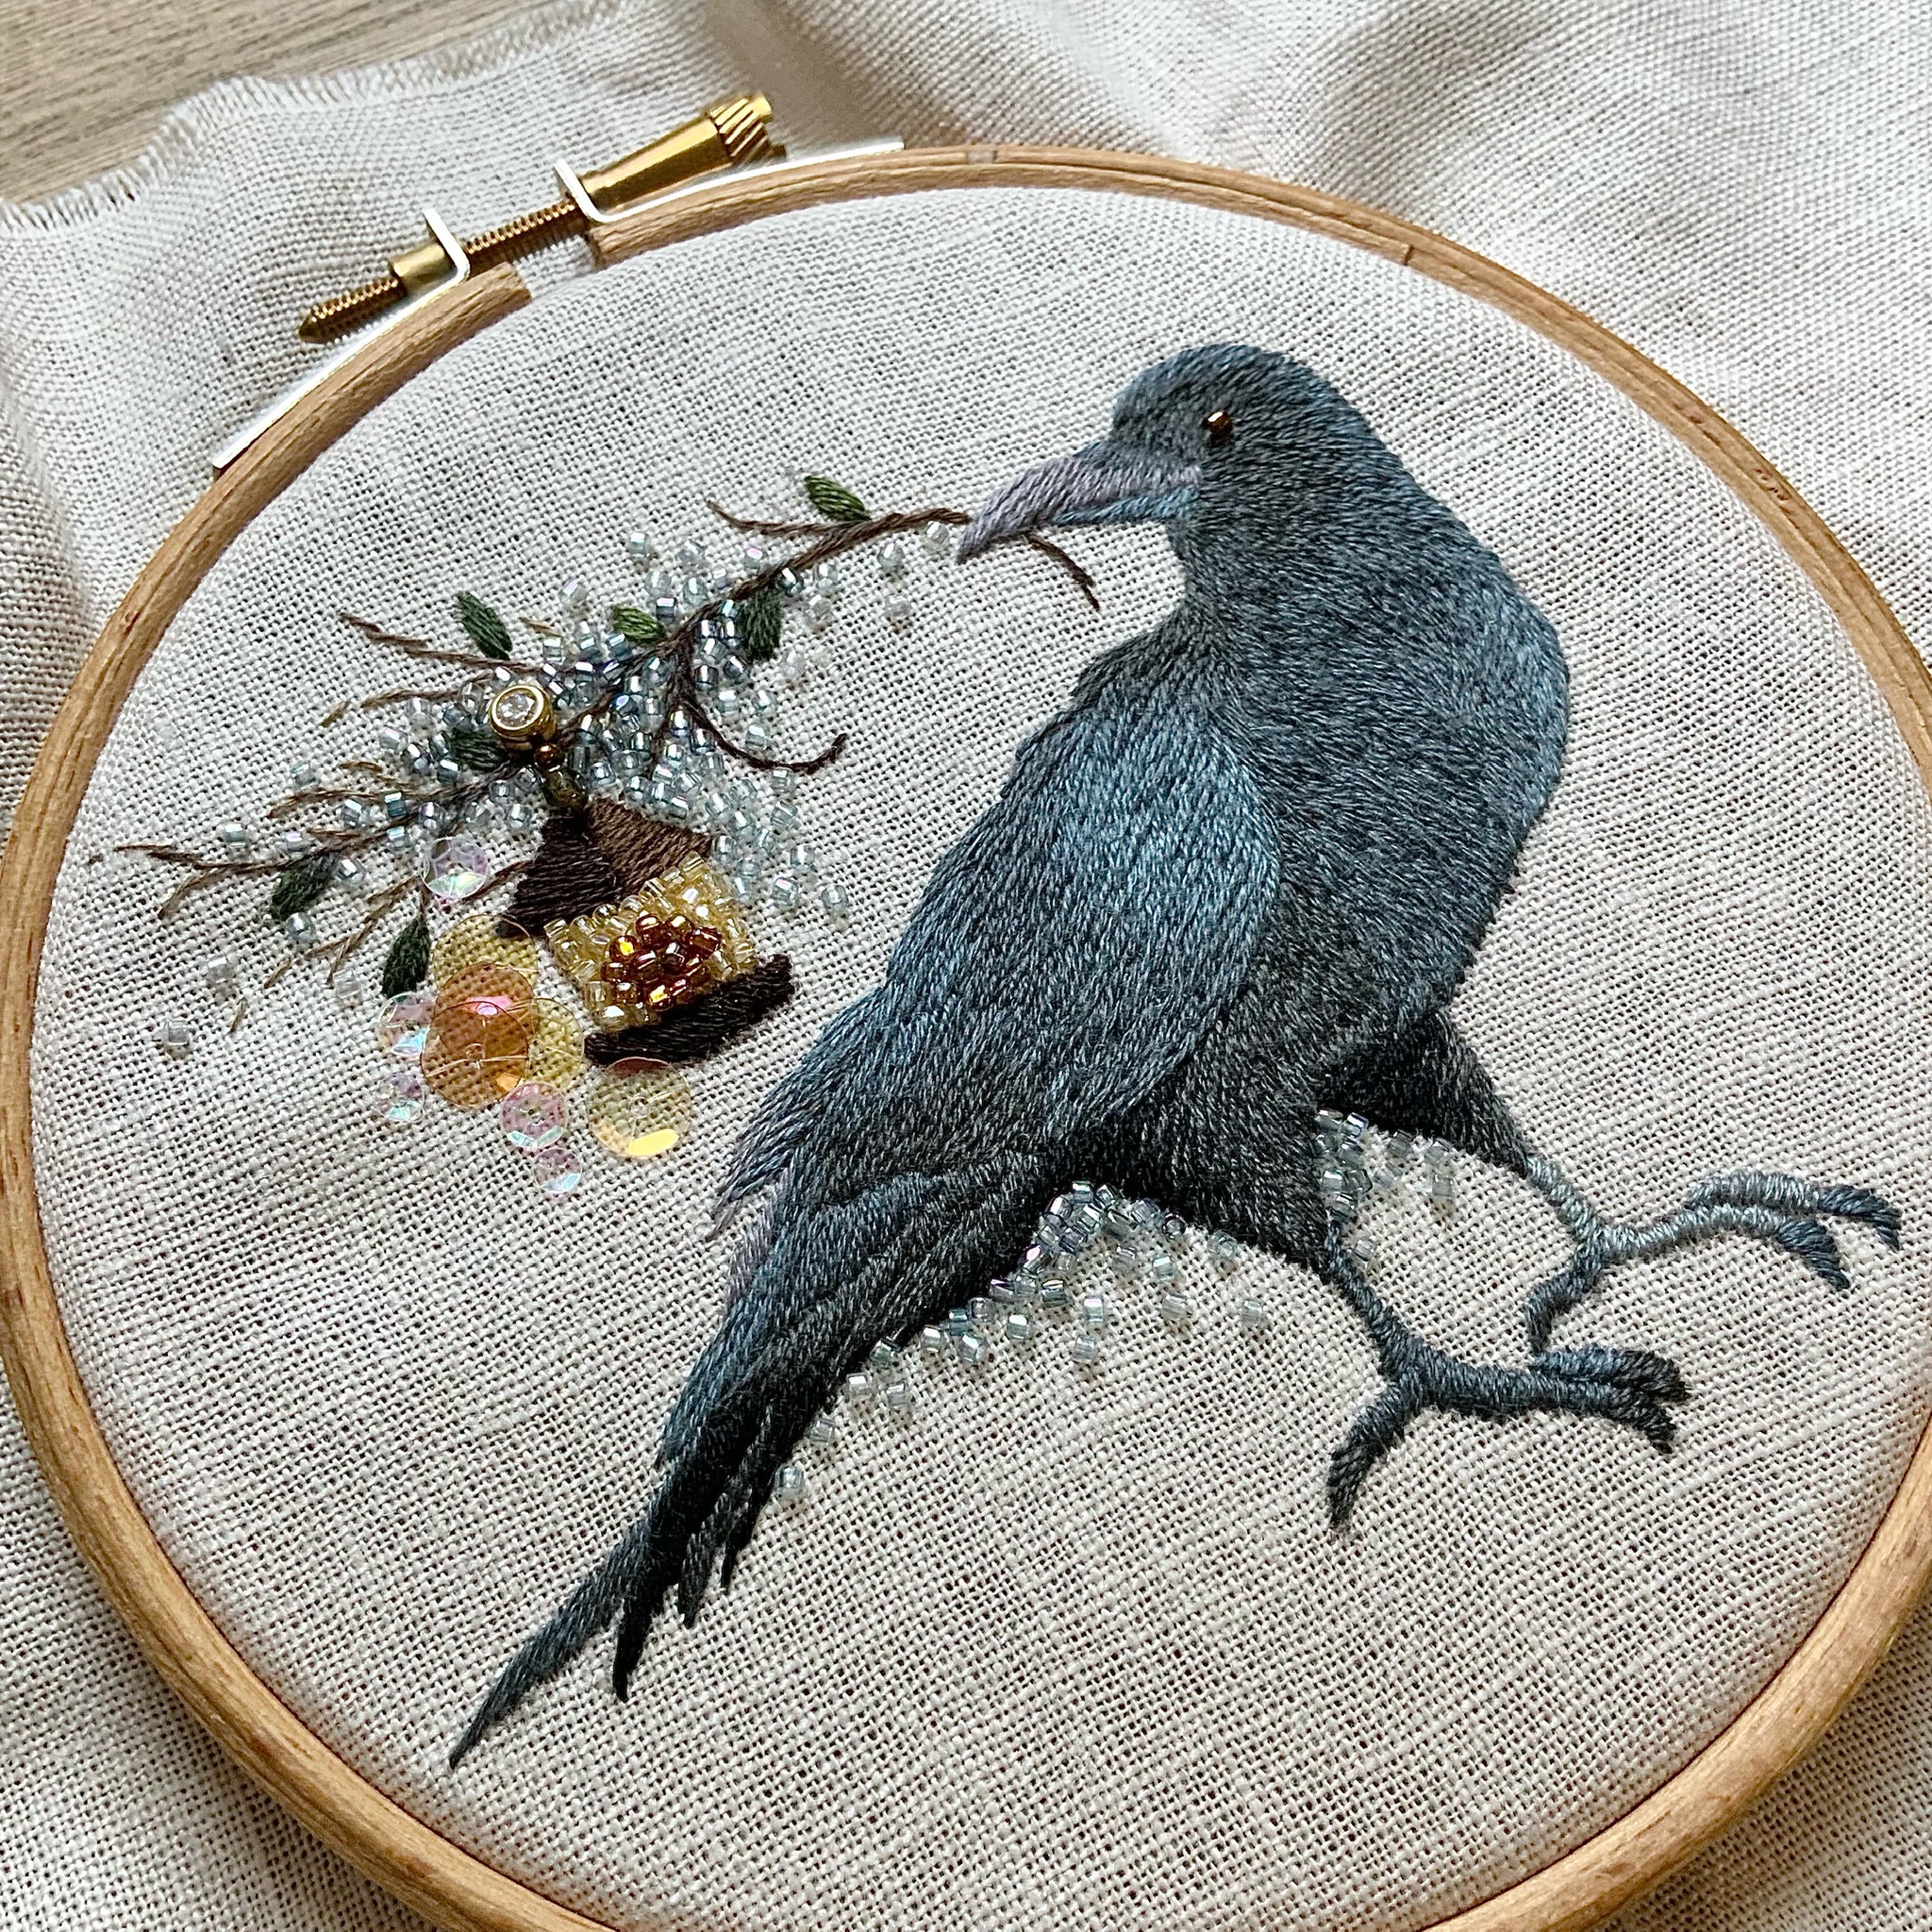
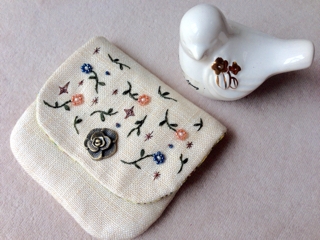
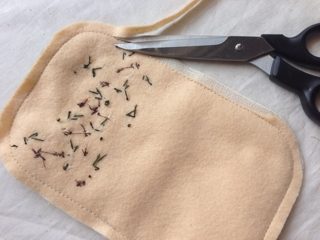
You can add embroidery or decorative details to the flap, making it a fun design to customize and enjoy in your own way.

Easy Yet Professional:
How to Make a Flap Pouch
| Materials & Preparation |
| Cutting the Fabric Things to check before you start |
| 1. Prepare the Parts Arrange the cut main fabric pieces and the felt for interfacing so they are easy to sew together. |
| 2. Sew the Pieces Together Sew the parts together to form the pouch. |
| 3. Turn Right Side Out & Shape Turn the pouch right side out, adjust the shape, and finish it neatly. |
| Finish!! Final tips for a clean and professional result |
—Materials Used—
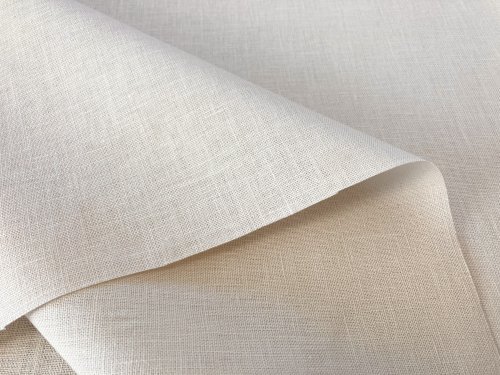
Outer Fabric
Linen fabric in a natural color
Any fabric you like is fine.
A medium-weight fabric is recommended for easier sewing.
If you prefer a lightweight fabric, adding fusible interfacing will help improve stability.
For this project, a slightly firm outer fabric is used.
Canvas, oxford fabric, or twill also work very well.
If you plan to add embroidery or decorative stitching, it is best to complete the embroidery before cutting the fabric.
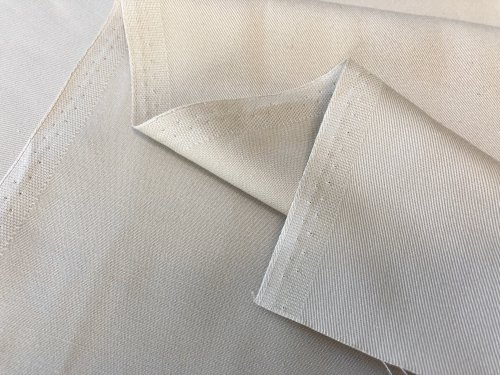
Lining Fabric
For this pouch, a standard cotton sheeting print is used.
It has a similar thickness to a regular bandana or napkin.
You can also choose satin or another smooth fabric for a different look.
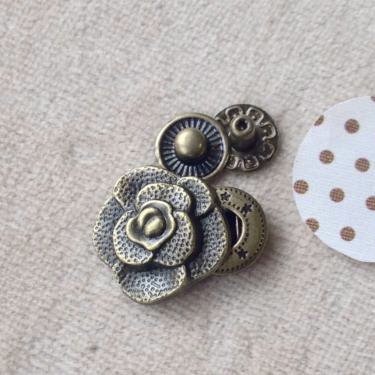
Snap Fastener
A snap fastener attached with a setting tool is used for the pouch opening.
You can also use any closure you prefer, such as a regular button or a sew-on snap fastener.
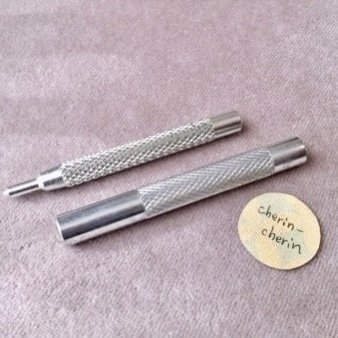
Snap fastener
Snap fastener setting tool
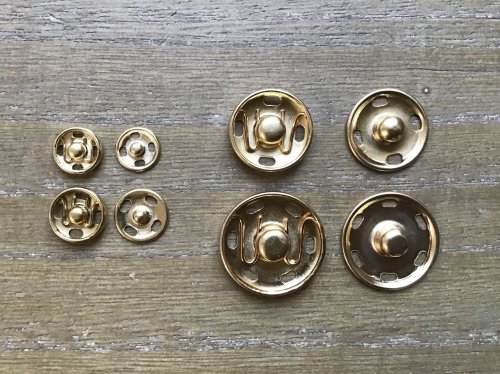
Easy hand-sewn options:
Magnetic button
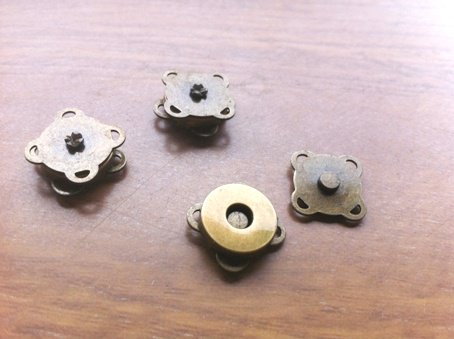
Sew-on snap fastener
Easy hand-sewn options:
Magnetic button
Sew-on snap fastener
Felt
Used as an interfacing substitute.
A thin synthetic felt made of polyester works best.
Choose a type with minimal thickness for easier sewing.
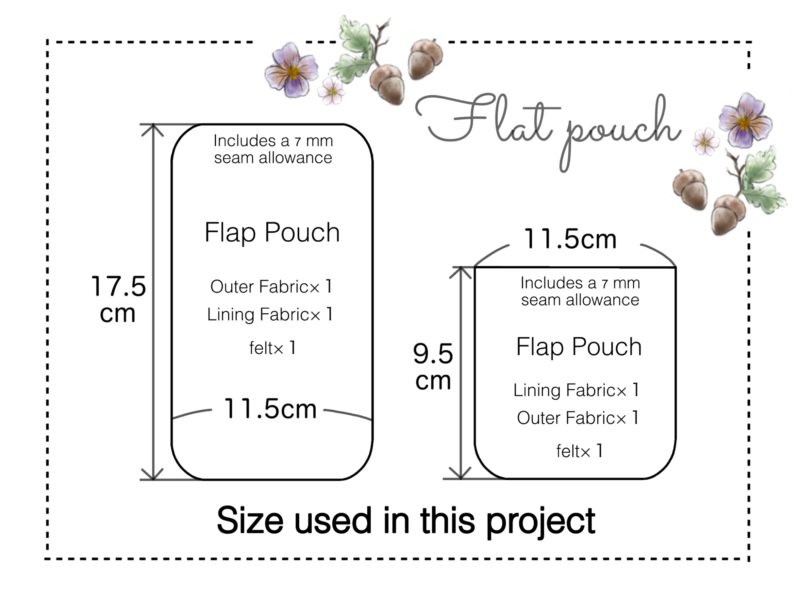
✂️ Fabric Cutting Size
No paper pattern is required.
Almost any size will work, resulting in a proper pouch.
Try making larger versions or smaller ones to explore different variations.
For rounded corners, draw the curve on one corner first, then trace it onto the remaining three corners for consistency.

1. Prepare the Parts
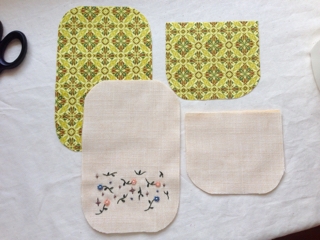
① Cut the outer fabric and lining fabric to the size indicated in the pattern.
② Cut the felt to the same size as each outer fabric piece, then attach it to the wrong side of the fabric, as shown in the photo.
2. Sew the Pieces Together
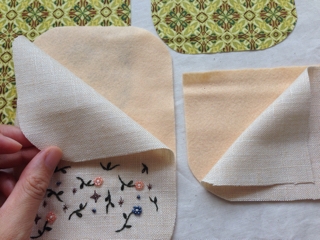
① Place the felt-backed outer fabric and the lining fabric Right Sides Together (RST), then sew around the edges.
(Three layers are sewn together at this stage.)
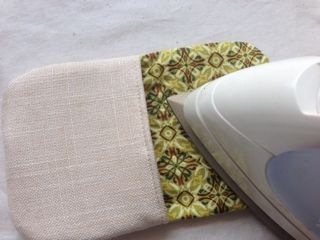
② Turn the piece right side out, press with an iron to shape it, then add a line of stitching along the top edge.
If the lining fabric or felt extends beyond the edge, trim it neatly at this stage.
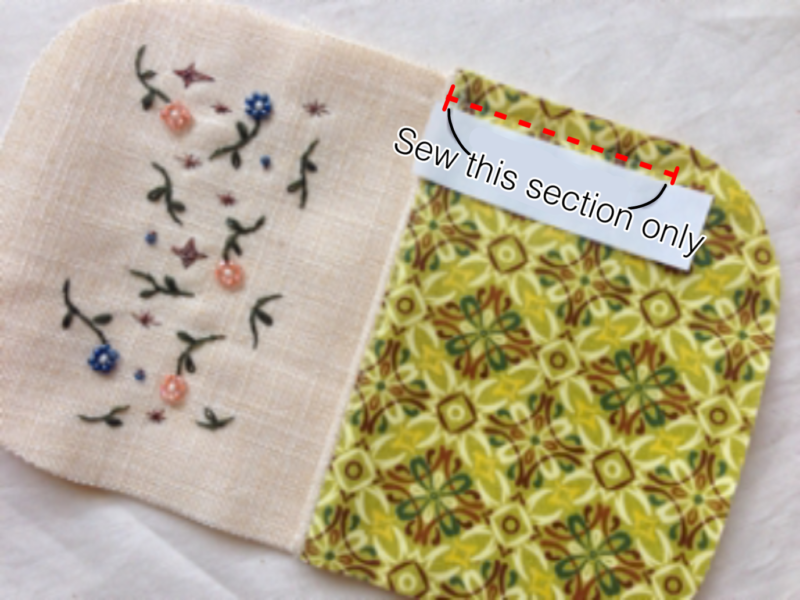
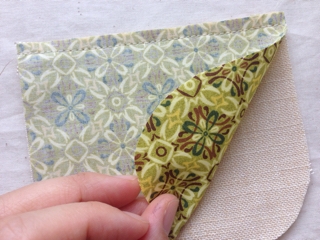
③ Place the finished piece onto the larger outer fabric piece with felt backing.
Sew only the area indicated in the diagram.
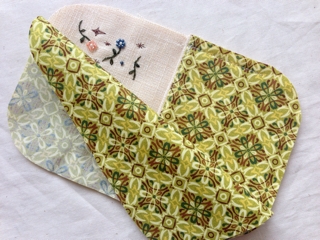
④ Place the lining fabric on top, Right Sides Together (RST).
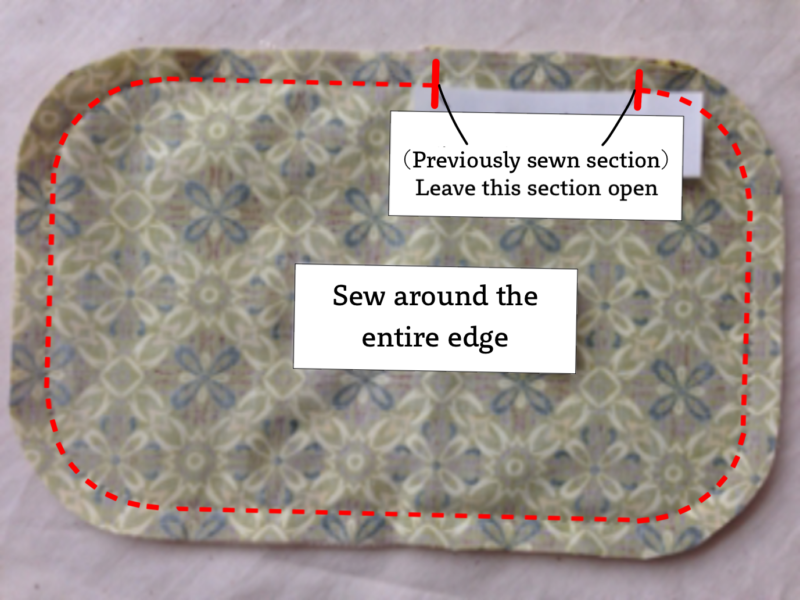
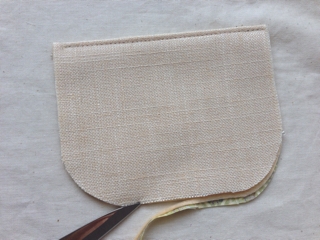
⑤ Sew around the entire edge, leaving the previously sewn section open.
This opening will be used as the turning opening.
Secure the beginning and end of the stitching with Back Stitch.
3. Turn Right Side Out & Shape
① Trim the seam allowance around the felt to reduce bulk.
This helps achieve a clean finish.
Be careful not to cut through the stitching.
Work slowly and carefully.
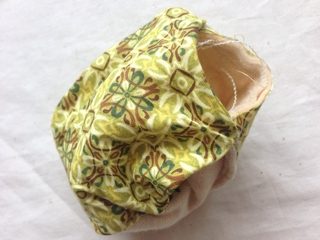
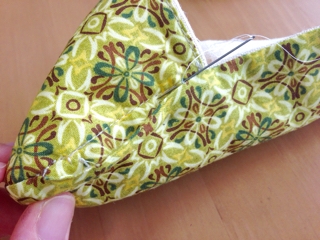
② Turn the pouch right side out through the opening.
If the opening feels too narrow, widen it slightly with a seam ripper.
You can close it later by hand stitching.
③ Shape the pouch neatly using an iron.
④ Close the opening with Whip Stitch.

Finish!!
Attach your favorite button to complete the pouch.
About the Closure
In the sample photos, a snap fastener attached with a setting tool is used for the pouch opening.
You can also choose any closure you like, such as a regular button or a sew-on snap fastener.
In the next blog post, I’ll show you how to attach a sew-on magnetic button step by step.
Easy hand-sewn options:
Magnetic button
Sew-on snap fastener
2015.06.26 Mayuka Morimoto,
2026.01.13 Translation: Sensei-Gura(ChatGPT)