How to Sew on a Magnetic Button for a Refined Finish


In this tutorial, I will show you how to attach a magnetic button for a more refined and professional finish.
Magnetic buttons can be sewn on directly, but with a small extra step, you can achieve a cleaner look and smoother use.
Let’s take a closer look at the method step by step.
—Materials Used—
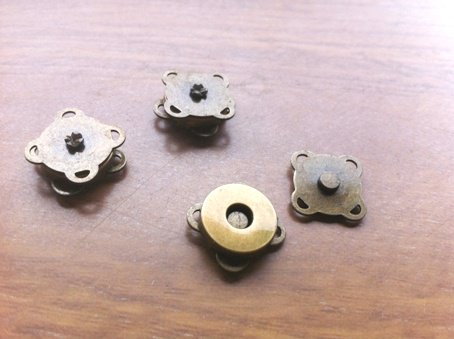
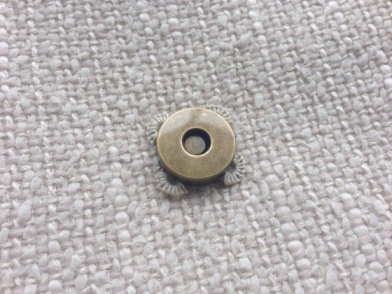
A sew-on type magnetic button. It is suitable for bag or pouch openings, providing a neat and secure finish.
For this project, a strong sewing thread is used.
This type of thread is durable and suitable for many kinds of handmade projects.


-- Steps --
☝️ What makes this method different from a standard sew-on technique is that,
as shown in the photo, the stitches wrap around the metal fitting.

① Bring the needle out through one of the sewing holes of the magnetic button.
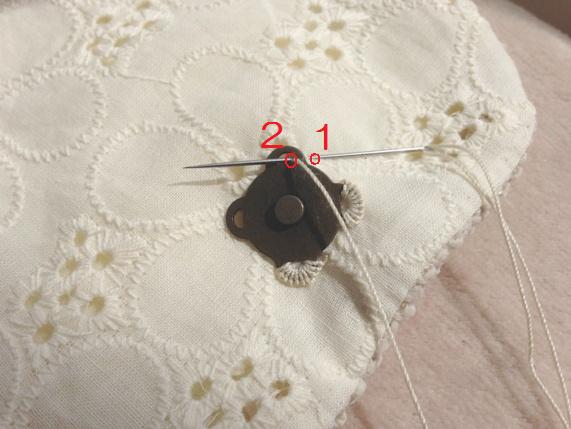
② Following steps ① and ②, pass the needle through the fabric.
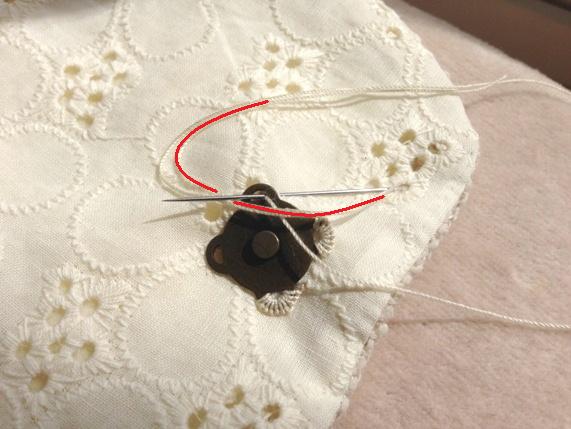
③ Loop the thread around the needle as shown in the diagram.
④ Pull the thread tight.
⑤ Repeat steps ①–④, keeping the stitches even, until all holes are filled.
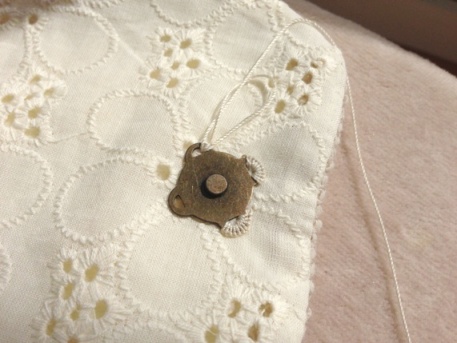
Once finished, the back of the button will look like this.
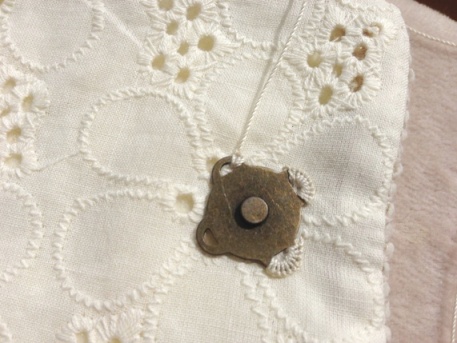
Finish!!
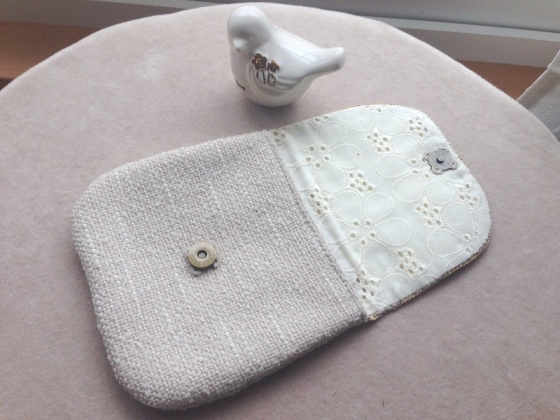
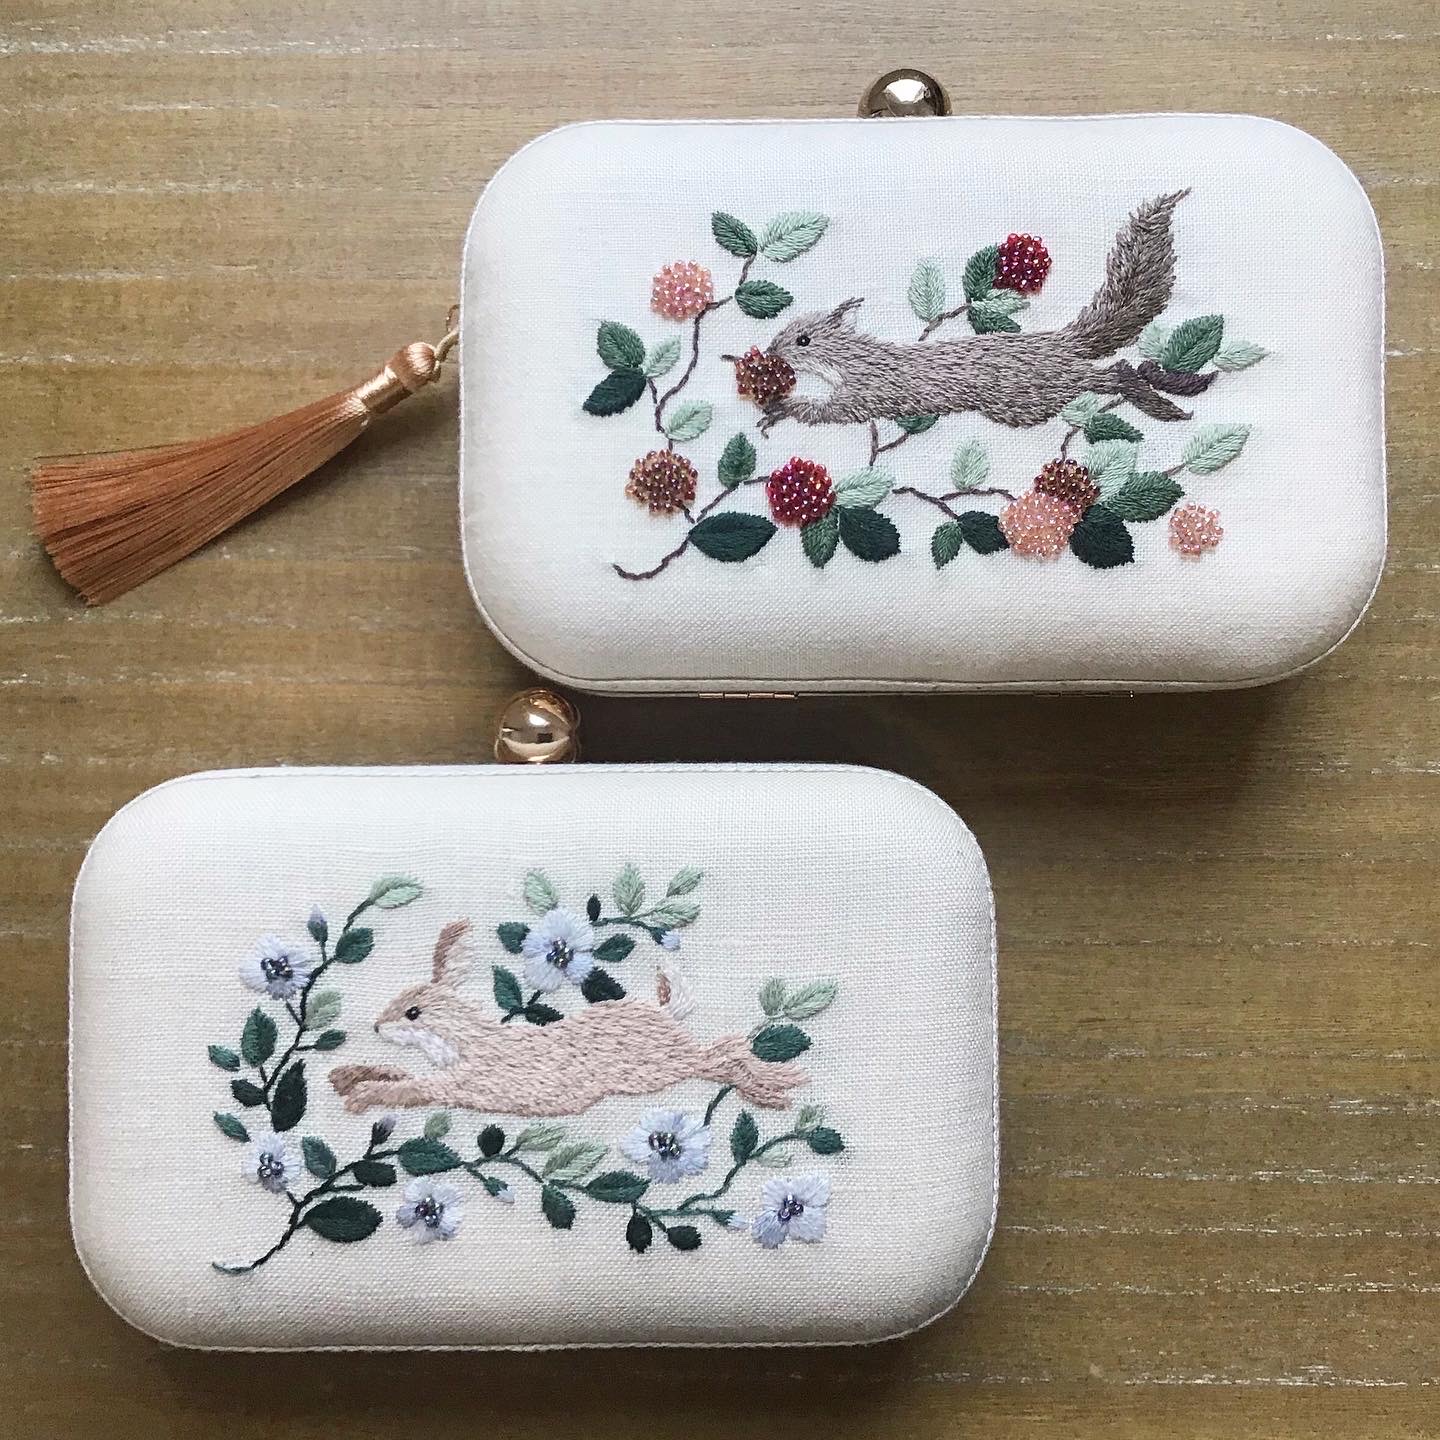
Here is an example of the magnetic button attached to a flap pouch.
Magnetic buttons can be sewn on in a simple way, but by adding a small variation to the stitching,
you can achieve a more refined and elegant finish.
I hope this technique will be useful for your own projects.
With just a small extra stitch, familiar materials can take on a new look.
This method may take a little more time than a standard sew-on technique, but the finished result is well worth it.
Stay tuned for the next tutorial.
2015.06.06 Mayuka Morimoto,
2026.02.02 Translation: Sensei-Gura(ChatGPT)